

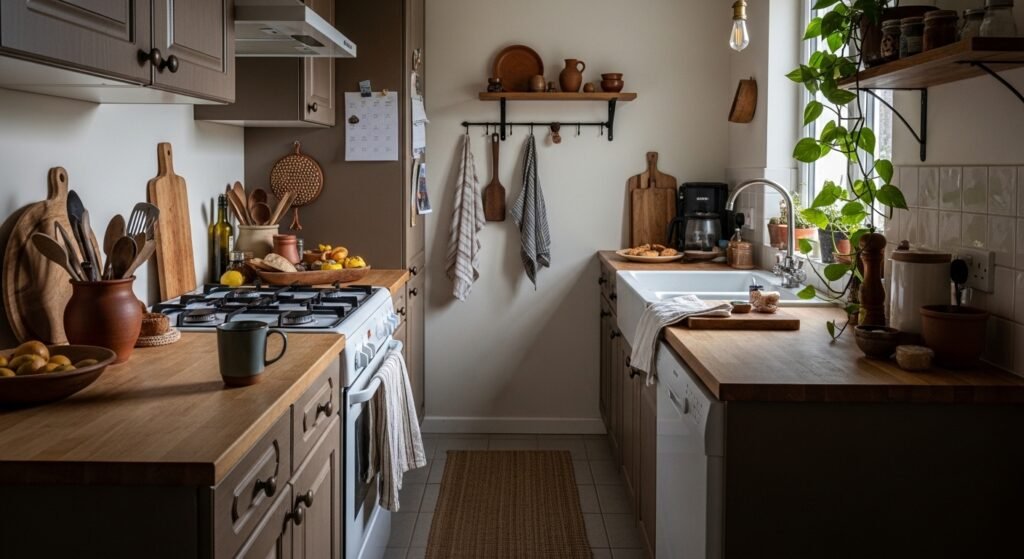
I had a kitchen that felt cold even though everything was beige and white. I tried adding plants, switching light bulbs, and stacking bowls on the island. Nothing read as grounded. Eventually I realized the palette was fine, but the scale and textures were wrong. It was all flat surfaces and shiny metal, no weight.
My first few attempts looked cluttered because I piled items in a corner, afraid of empty space. After the third redo I learned to plan where the eye lands, then add texture and leave breathing room. That is what changed the feel from random to calm.
Step 1: Pick a simple earthy palette and stick to it
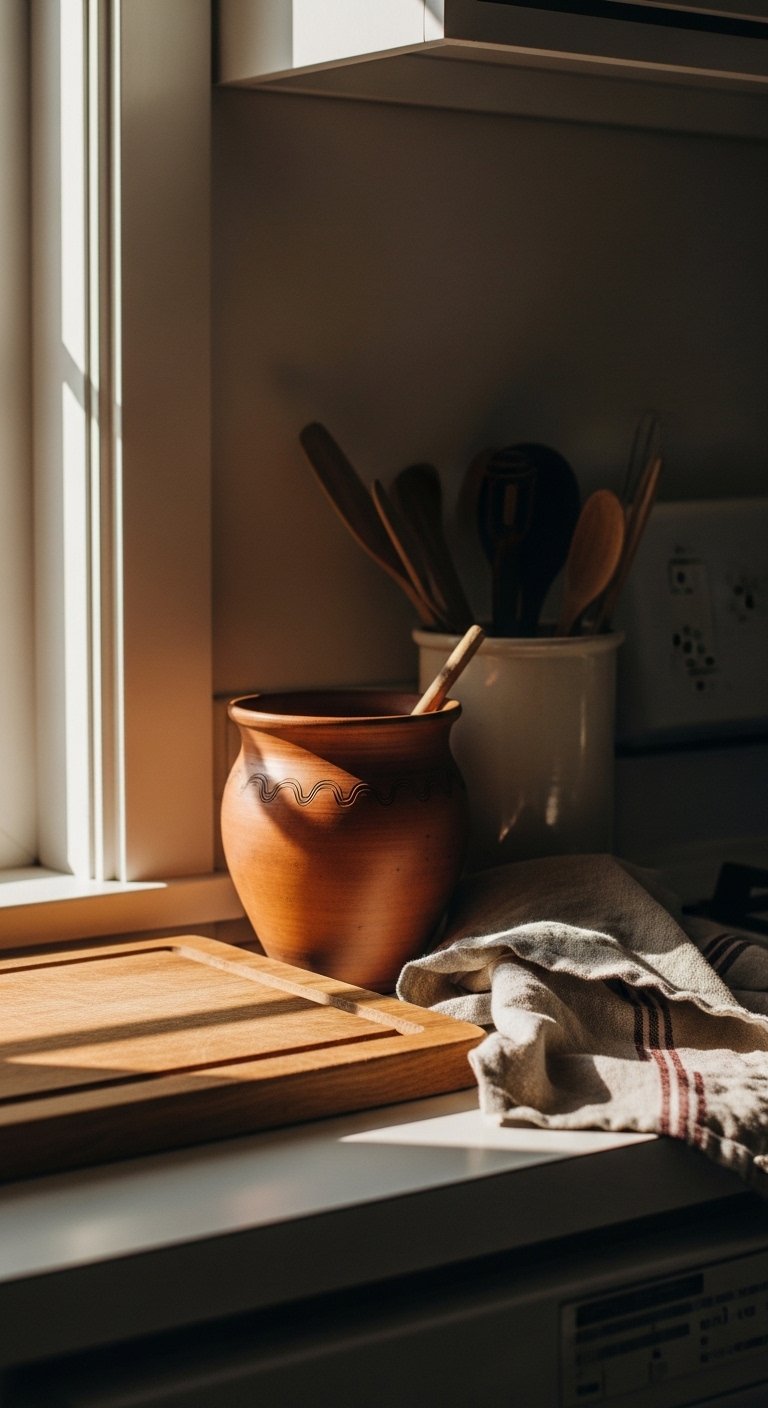
Start by choosing one dominant tone, one secondary, and one accent. I use a 60/30/10 split in color. For example, 60 percent warm off-white cabinets, 30 percent wood and clay, 10 percent olive or terracotta accents. Make a quick swatch sheet with paint chips, a wood tone sample, and a fabric scrap. Hold them together under the light you actually have in the kitchen, not in the paint store. I once picked a green that read gray in my kitchen and had to repaint the trim. That mistake cost a weekend but taught me to always check colors in real light.
Step 2: Anchor the room with one large, tactile piece
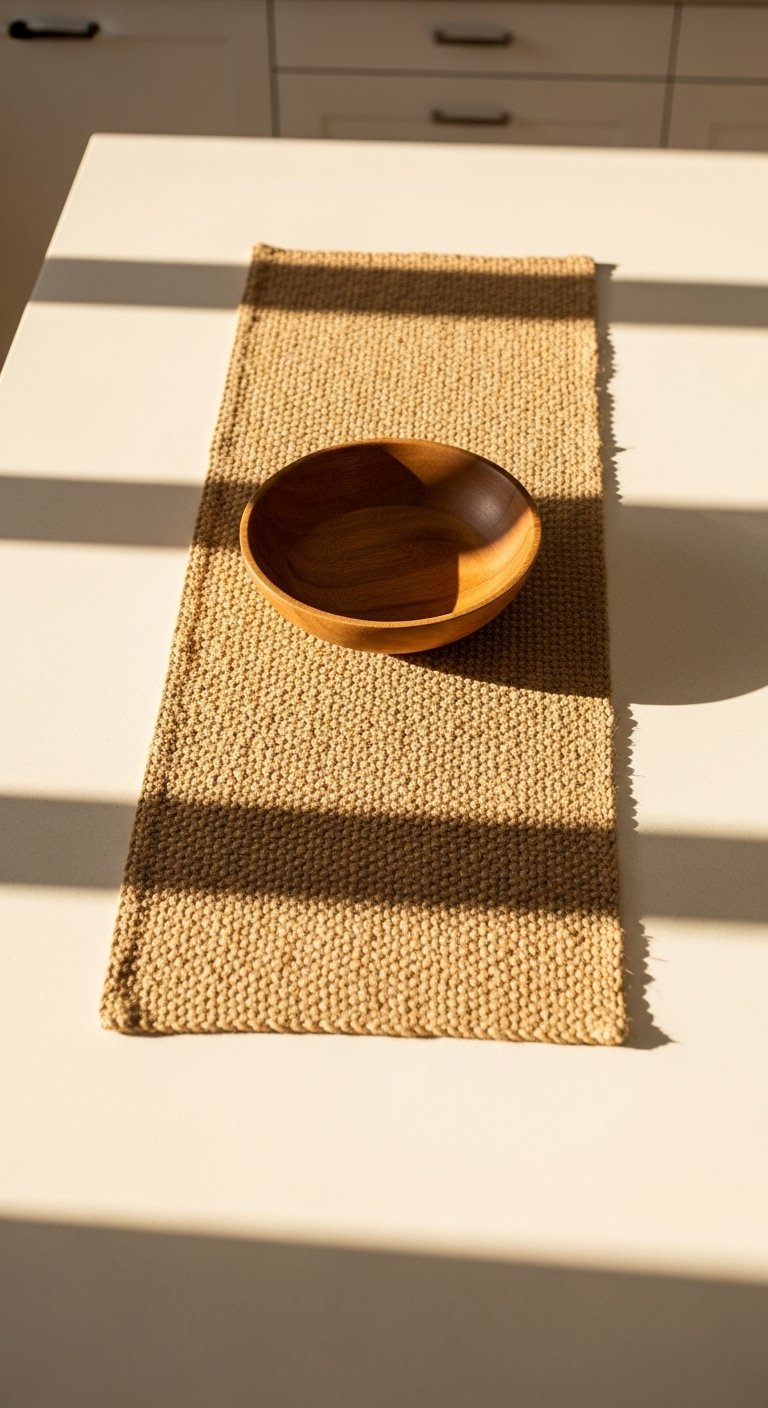
Pick one big item that gives weight, like a jute runner that goes under the island or a large wooden fruit bowl. Rugs should leave 12 to 18 inches of floor visible around edges in smaller kitchens. In mine, adding an 8×10 jute rug instantly made the cabinets feel rooted and the floor less echoey. The texture is rough underfoot, which makes the cool tile feel less clinical. Avoid a busy pattern that fights with wood grain. Common mistake: choosing a rug that is too small, which makes the room look chopped up.
Step 3: Layer textures in odd groups and vary heights
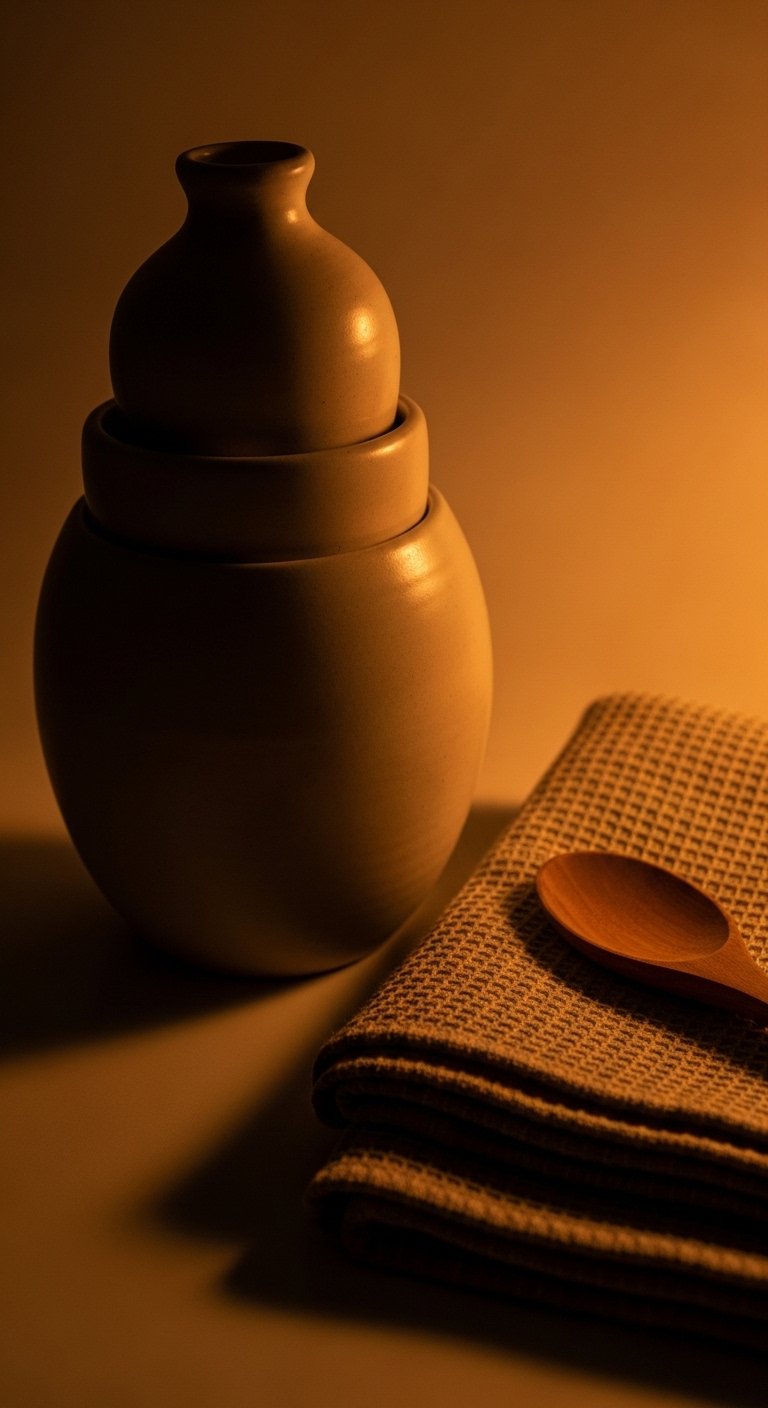
Group objects in odd numbers, typically 3 to 5 pieces, and vary heights so your eye can rest. I group a 12 to 18 inch tall matte ceramic vase, a mid-height wooden utensil jar, and a small clay ramekin. The vase feels cool and smooth, the wood feels warm and slightly heavy in your hands, the clay is matte and slightly gritty. A common error is lining things up symmetrically, which made my counter feel staged. I also learned to avoid too many glossy items together. Matte ceramics and linen towels break up shine and feel more lived in.
Step 4: Edit like you mean it, then walk away
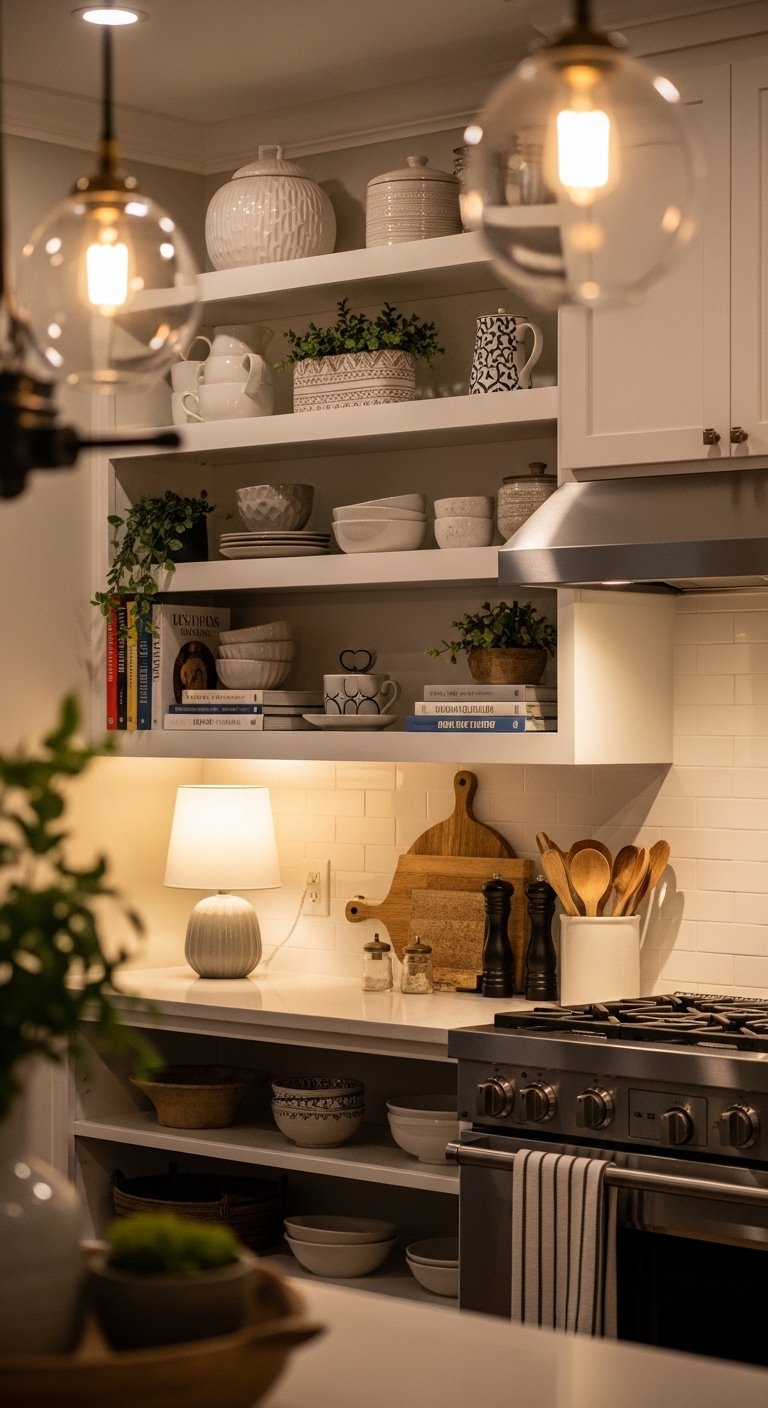
After styling, remove one item from every group and leave a noticeable gap. That empty space is intentional breathing room. I used to cram shelves because I was afraid of looking sparse. The second attempt still looked crowded. The third attempt, with fewer items and 2 to 4 inches between groupings, finally clicked. Practical tip: leave at least 10 to 12 inches between stacked clusters on countertops so you can prep food without knocking anything over. My roommate knocked over a clay pot once, so I moved it higher and farther from the task zone.
Step 5: Live with it for a week and make tiny swaps
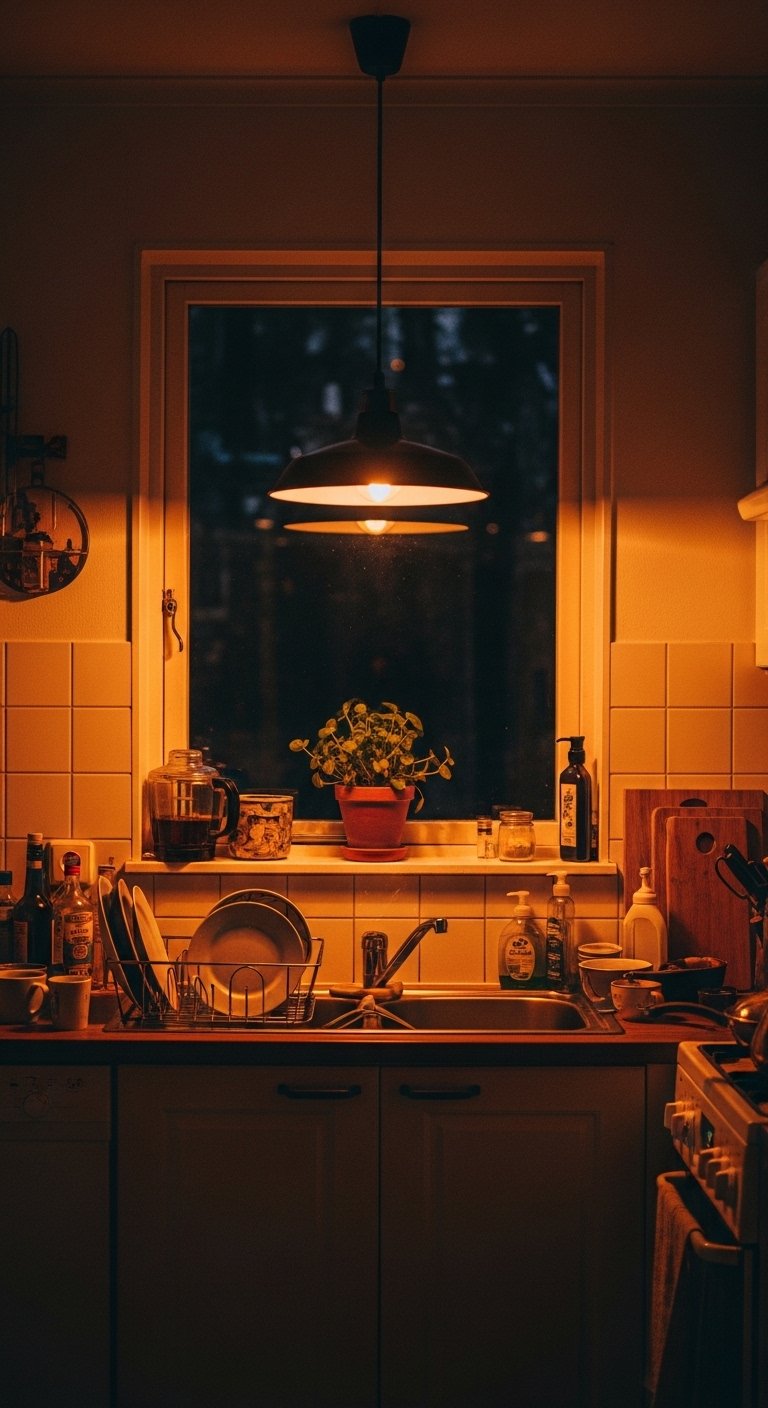
Give the room a week before deciding it's done. I thought I was finished after step four, then night cooking revealed that the olive accent looked too dark under warm bulbs. Swapping the accent to a terracotta bowl solved it. Track two small things to change each week, not everything at once. Expect spills on linen, dust on jute, and leaves on plant soil. These materials age and gather life. Tip: a single ceramic vase or a wooden cutting board is an easy low-commitment change that shows results fast.
Your Earthy Kitchen Shopping List
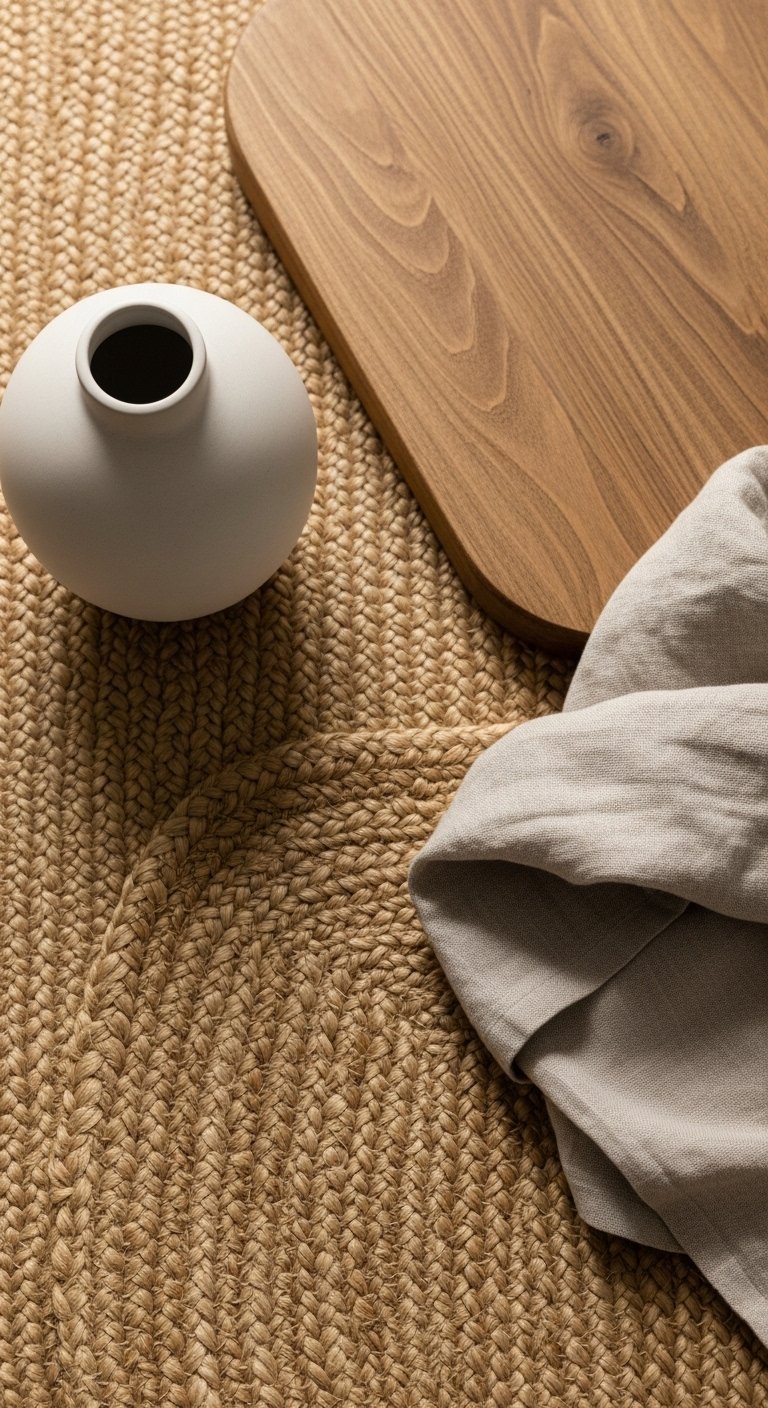
- 8×10 jute area rug ($90-160). Anchors the space, used in Step 2.
- Matte ceramic vase set, 3-piece, 6-12 inches ($25-40). For the height variation in Step 3.
- Solid wood large fruit bowl, 14-inch ($30-55). Serves as a tactile anchor from Step 2.
- Linen tea towels, oatmeal, pack of 4 ($18-30). Soft texture that soaks up spills, referenced in Step 3.
- Handmade clay planters, 6-8 inches ($20-35). Adds warm color accents like in Step 5.
- Brass hooks, 4-pack, 2.5-inch ($12-22). Useful for hanging towels, suggested in Step 4.
- Solid wood cutting board, 18×12 inches ($35-60). Heavy in the hands, used in Step 3.
- Warm white pendant light, 10-inch shade ($60-120). Changes evening tone as mentioned in Step 5.
Why your kitchen still feels flat after a refresh
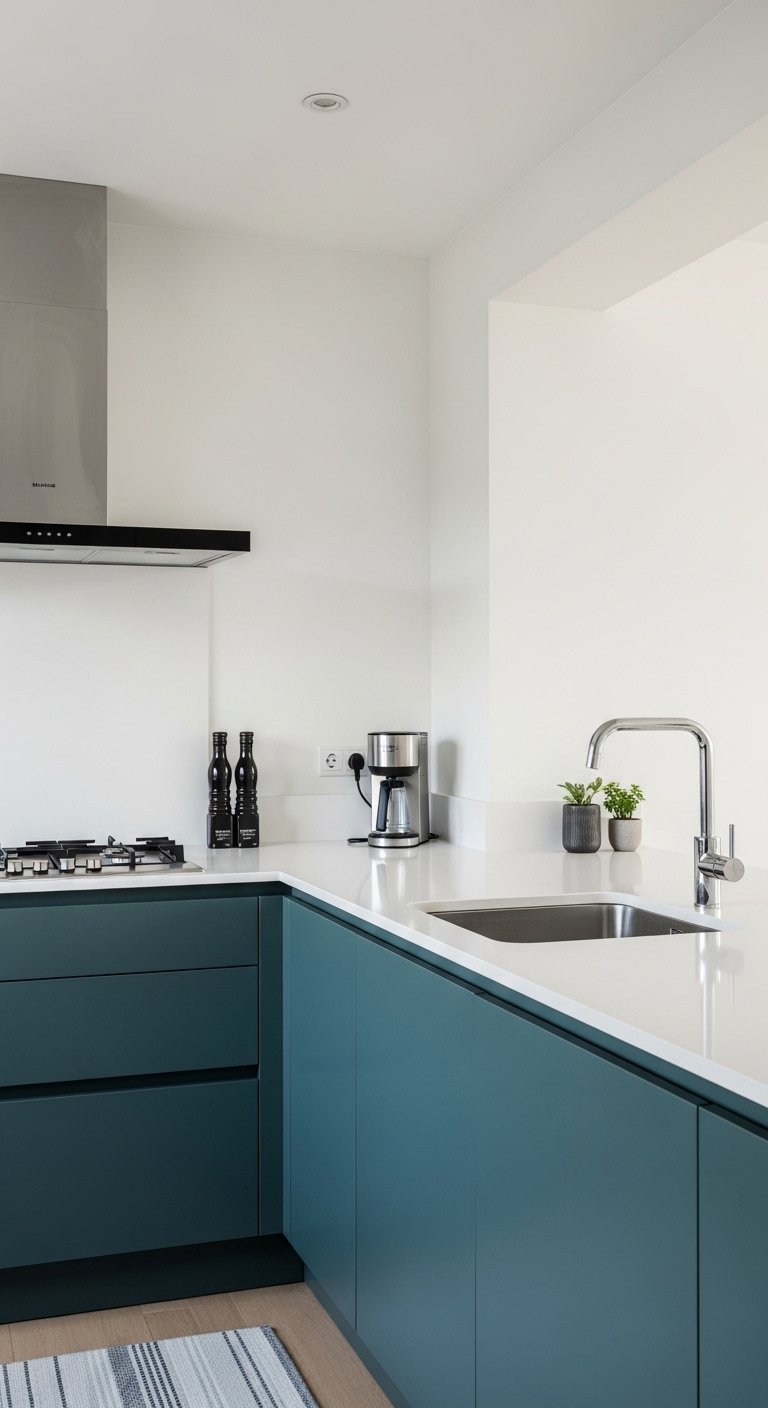
Flatness usually comes from repeating the same finish. If everything is glossy metal or smooth quartz, add one or two matte or fibrous elements. Common misstep: replacing old items with newer versions that are too similar. Try swapping one metal for wood or clay. Another issue is scale. People pick tiny accessories for big surfaces. Use the 60/30/10 idea across finishes, not just color. Small wins: add one linen towel, swap a ceramic mug for matte, and step back.
Making this approach work in a small kitchen
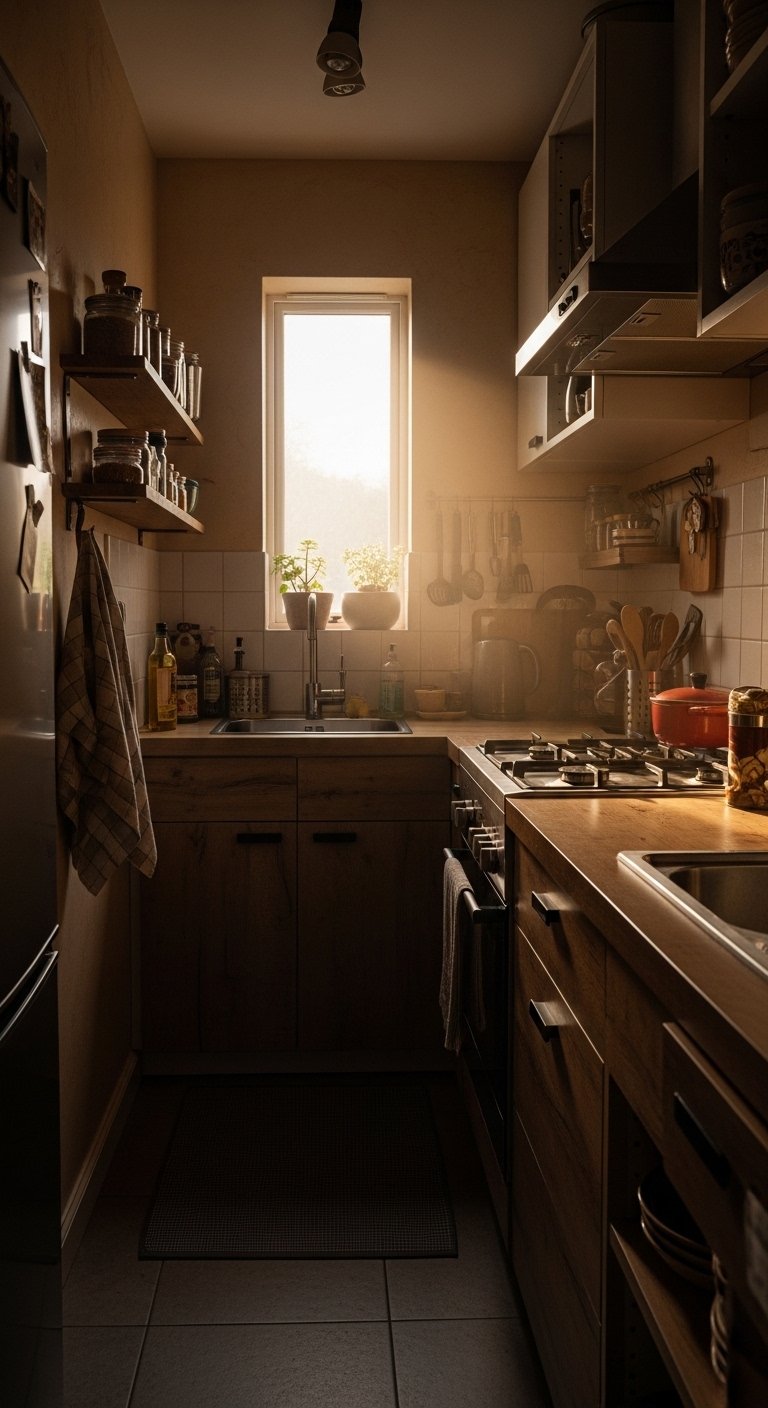
Small kitchens need fewer, stronger pieces. Start with one anchor, like a 2×6 foot runner or a single large cutting board. Vertical storage helps. Use a floating shelf for three to five curated objects, not a crowded full shelf. Bulleted checklist:
- Keep countertops 60 percent clear for prep and flow.
- Use a 12 to 18 inch tall vase for vertical interest, not an oversized one that blocks sightlines.
- Choose a single accent tone and repeat it in two places to create cohesion.
What this looks like after a week of cooking and life
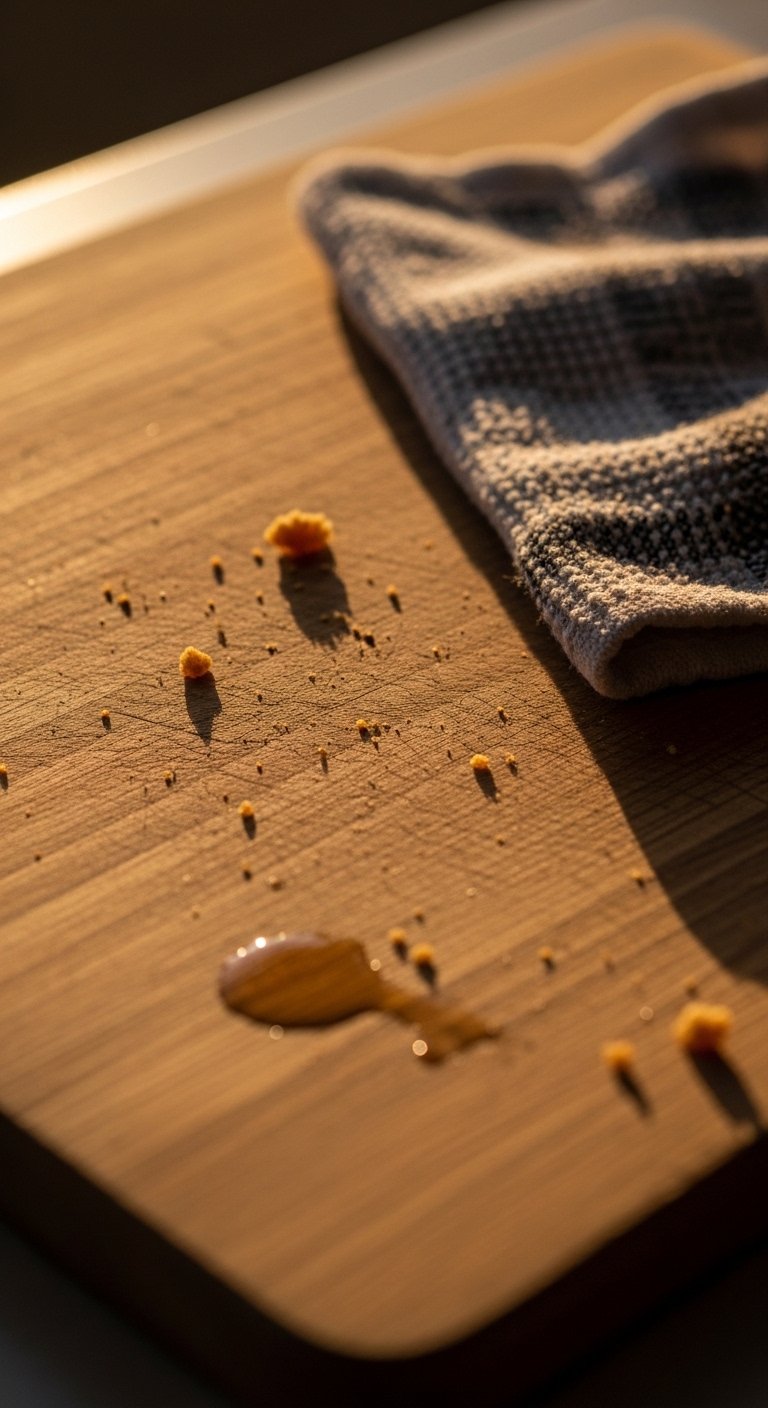
After a week the kitchen should feel settled but not perfect. Expect linen towels to be slightly crinkled, jute to show footprints, and clay to collect a light dust patina. If something gets in the way of cooking, move it. The goal is warm and usable. My countertops now hold one wooden bowl and one ceramic utensil jar, and I swap a small planter weekly. That tiny habit keeps the space feeling fresh without a full restyle.
Start with One Counter That Bothers You
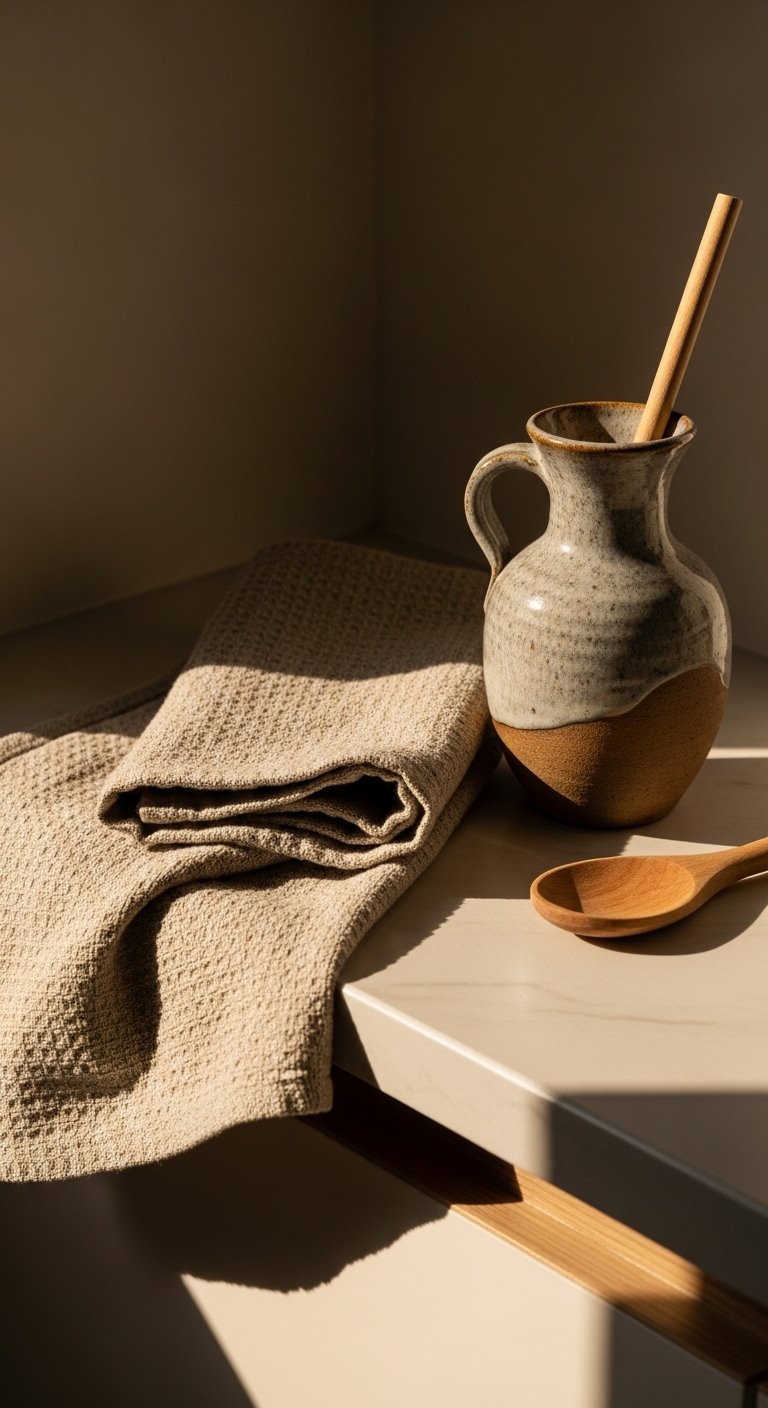
Pick the counter that annoys you the most and apply the steps there. Choose a dominant tone, add one anchor piece like a wooden bowl or jute runner, then layer a matte ceramic and linen. Edit ruthlessly, live with it for a week, and change one small thing if it feels off. If you want a single low-commitment start, grab a 12 to 18 inch matte vase and a linen towel and style just that corner. After that small win you will see the rest of the kitchen differently.

