

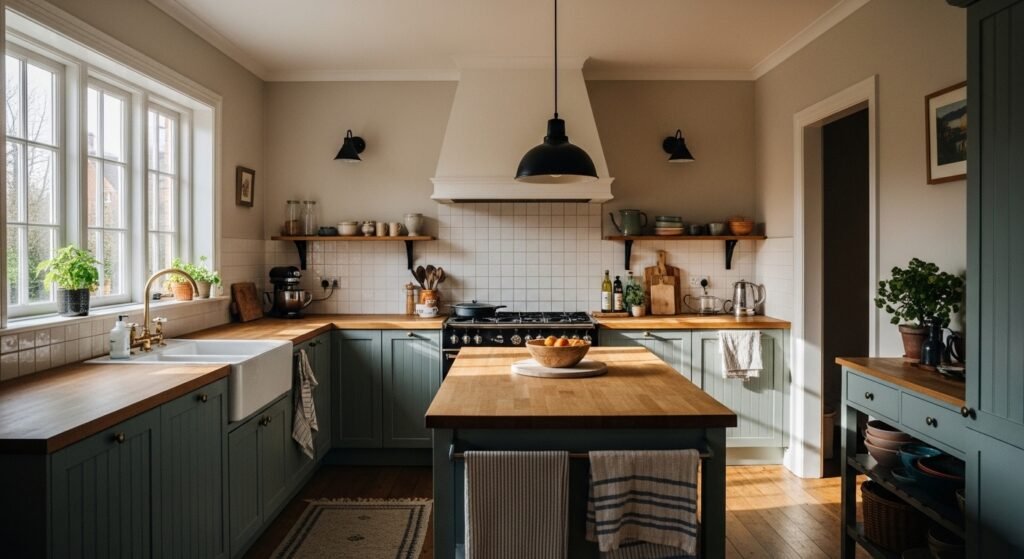
I used to stand in my kitchen and pinch the back of my neck. Cabinets were fine, but the room felt flat and ornery, like it refused to be useful and pretty at the same time. I tried swapping a vase here, stacking plates there, and even bought a trendy rug. Nothing stuck. It took a few failed attempts before I realized the problem was scale and placement, not better stuff.
Once I learned to set an anchor, respect empty space, and work in thirds, the kitchen started to feel calm. Below are the exact moves I used, the mistakes I made, and the small buys that actually changed how the room feels.
Step 1: Create a single visual anchor on your main counter
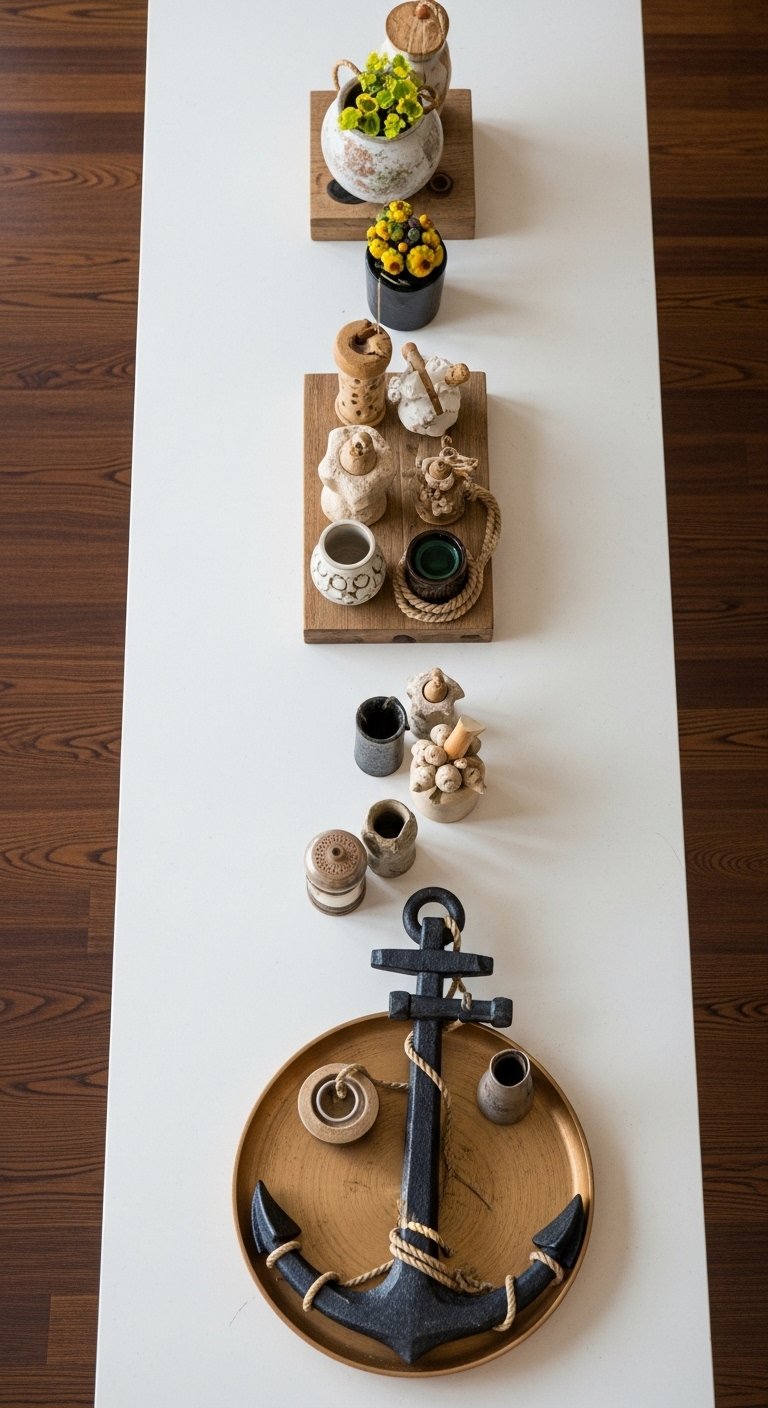
Pick one spot, usually the counter near the sink or stove, and make it the visual anchor. I clear everything off, then put down one large, grounding item that takes up roughly 2/3 of the shorter side of the counter. For me that was a heavy acacia cutting board, 18×12 inches, warm and solid under hand. Add a tall item for height, like a matte ceramic vase about 12 inches tall, and one soft object, maybe a folded linen tea towel. The feel matters. The cutting board is porous and warm to the touch, the vase is smooth and cool. Common mistake, I used too many medium objects before. That looked cluttered. One anchor, three elements, odd numbers, and leave breathing room.
Step 2: Edit open shelves into groups, not a shelf full of single things
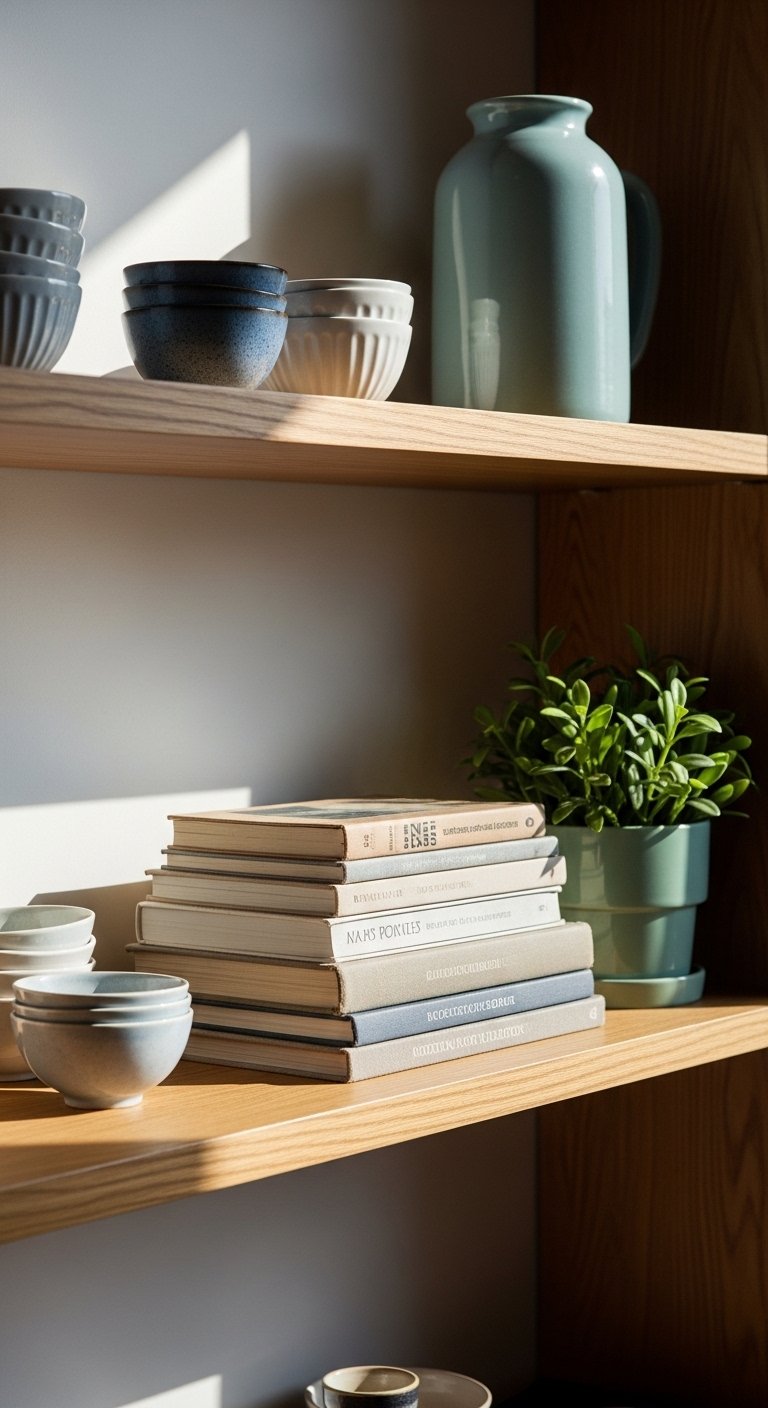
Pull everything off and regroup in sets of three to five. I used to place items evenly spaced and it felt formal and bland. Instead, make small clusters: tall, medium, low. Use one larger object to stop the eye. For scale, let a group occupy about one third of the shelf length, then leave the rest airy. Texture helps. Mix a glazed mug, a matte ceramic bowl, and a woven basket for a nubby, tactile contrast. Big mistake I made once was matching colors too closely. A little contrast makes the group feel intentional. If you have pets, skip fragile things on the bottom shelf. My roommate knocked over a pot plant twice before I moved it.
Step 3: Ground the floor with a textured rug and anchor the island
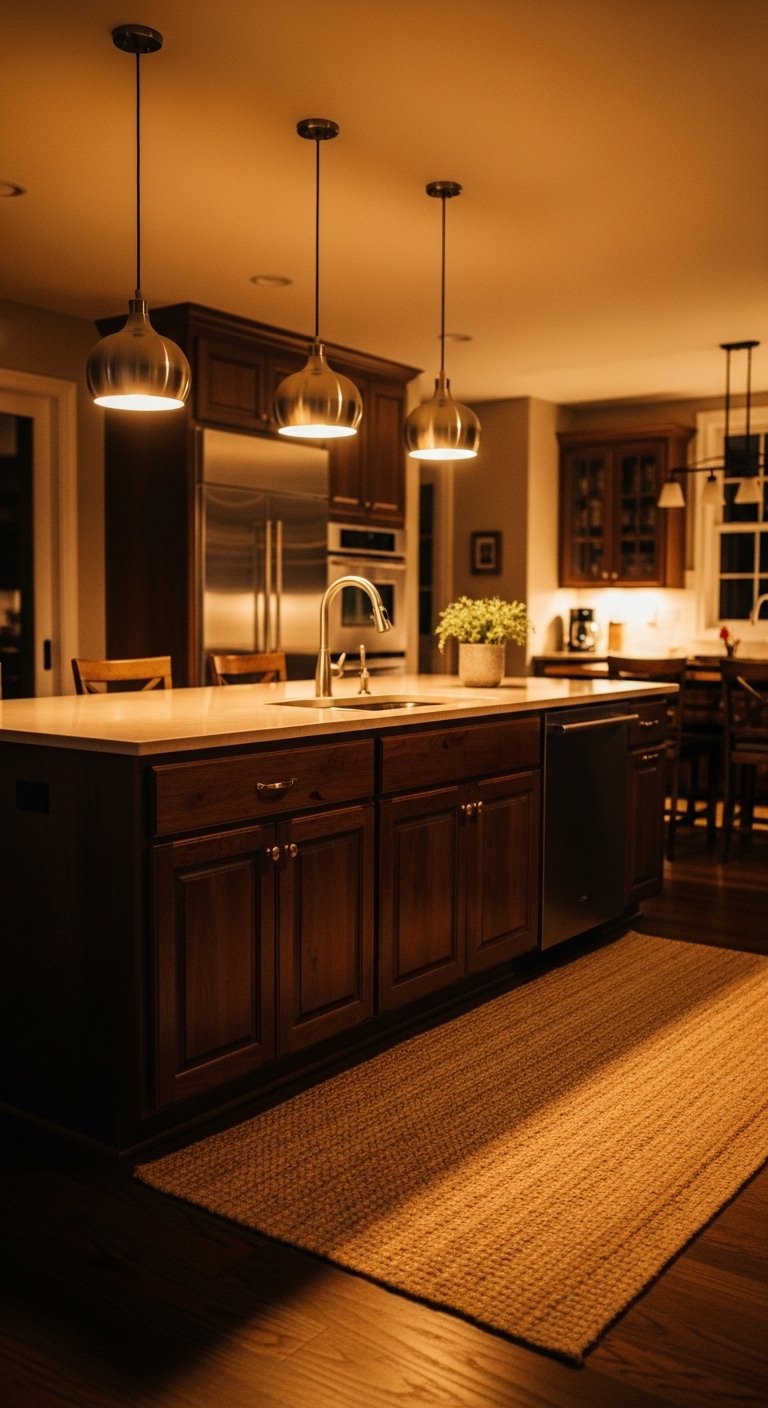
A jute rug, about 8×10, does a lot. It feels rough and natural under bare feet, and it visually anchors the island or sink area. Place the rug so furniture legs or stools sit about 2 inches on the rug, not floating. I learned to let the rug be slightly smaller than the space, about leaving a 6-12 inch border of floor, which keeps traffic clear. One error I made was choosing a super busy pattern in a small kitchen. The space felt noisy. The jute keeps things calm, and the texture balances smooth countertops and cool metals.
Step 4: Layer lighting and small upgrades that feel luxe, not loud
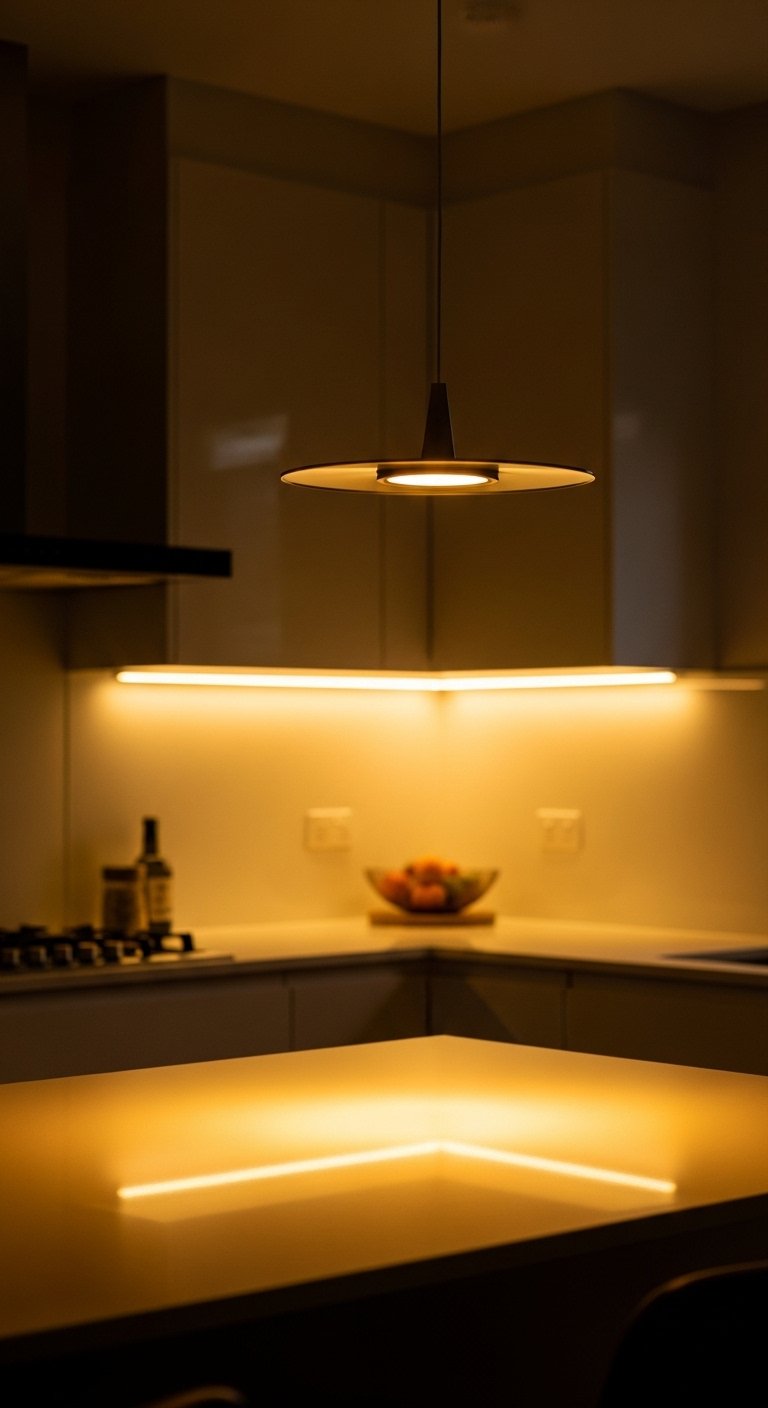
Swap in a pendant light over the island or add a warm LED under-cabinet strip. The light changes the whole mood. Warm, low lighting makes the countertop surfaces look softer and the wood grain richer. I replaced a dated overhead fixture with a single pendant in brushed brass and it felt heavier than it looks, a solid tactile presence when you touch the rim. Another upgrade is a magnetic knife strip, metal and cool in the hand, which removes a cluttered block from the counter. The mistake here is overdoing it with three new lights. One clean change is more effective.
Step 5: Finish with small, functional decor that earns its spot
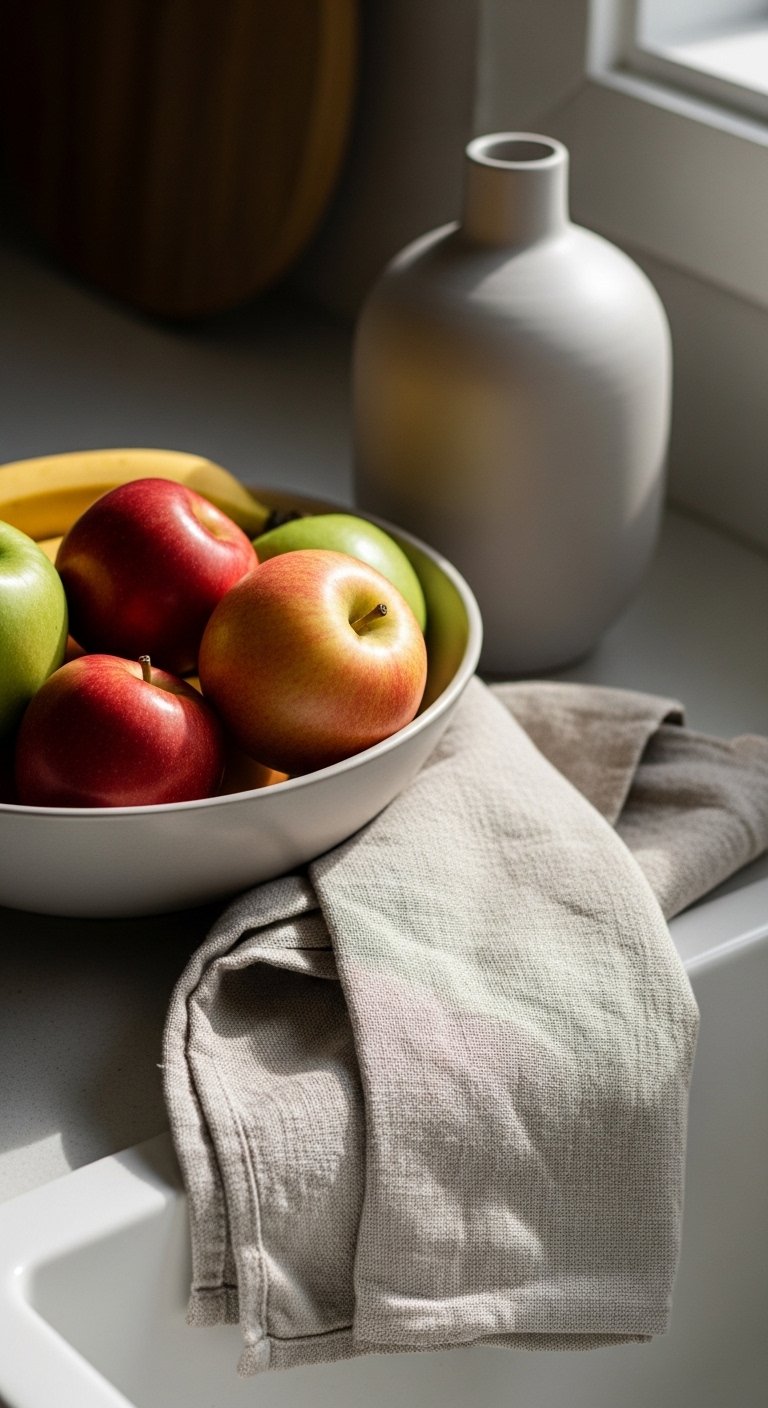
This is where utility meets beauty. Choose three useful items that you enjoy touching. A linen towel has a nubby softness, a ceramic fruit bowl is pleasantly heavy, and a woven basket catches stray mail. Keep items that are used daily in an easy reach zone, about 18-24 inches from the sink for convenience. I almost skipped this step and the room felt staged. Instead, pick things you will actually handle, not just look at. The payoff is a kitchen that reads as lived-in and thoughtfully arranged.
Your Simple Kitchen Refresh Checklist
- Jute area rug, 8×10 ($90-160). Neutral texture that grounds the island. Used in Step 3.
- Acacia cutting board, 18×12 ($25-45). Heavy, warm, and used as a counter anchor in Step 1.
- Matte ceramic vase set, 3 pieces, tallest 12-inch ($25-40). Smooth cool surface for vertical interest, used in Steps 1 and 5.
- Chunky knit throw, oatmeal 50×60 ($40-65). I keep one nearby for extra texture on a breakfast bench. Used as a soft layer in Step 5.
- Brass pendant light, single, 12-inch shade ($70-140). Warmer light and a tactile metal rim used in Step 4. Similar options at HomeGoods.
- Under-cabinet LED strip, warm white, 6-foot ($15-35). Adds soft task light, used in Step 4.
- Magnetic knife strip, 18-inch stainless steel ($20-40). Saves counter space and feels solid in the hand. Mentioned in Step 4.
- Woven storage basket set, small and large ($25-50). For open shelf clutter control, used in Step 2.
- Peel-and-stick subway tile backsplash, white 3×6, 12-pack ($30-60). Low-commitment refresh behind stove or sink, used when renters want a temporary update.
Why your counters still feel cluttered
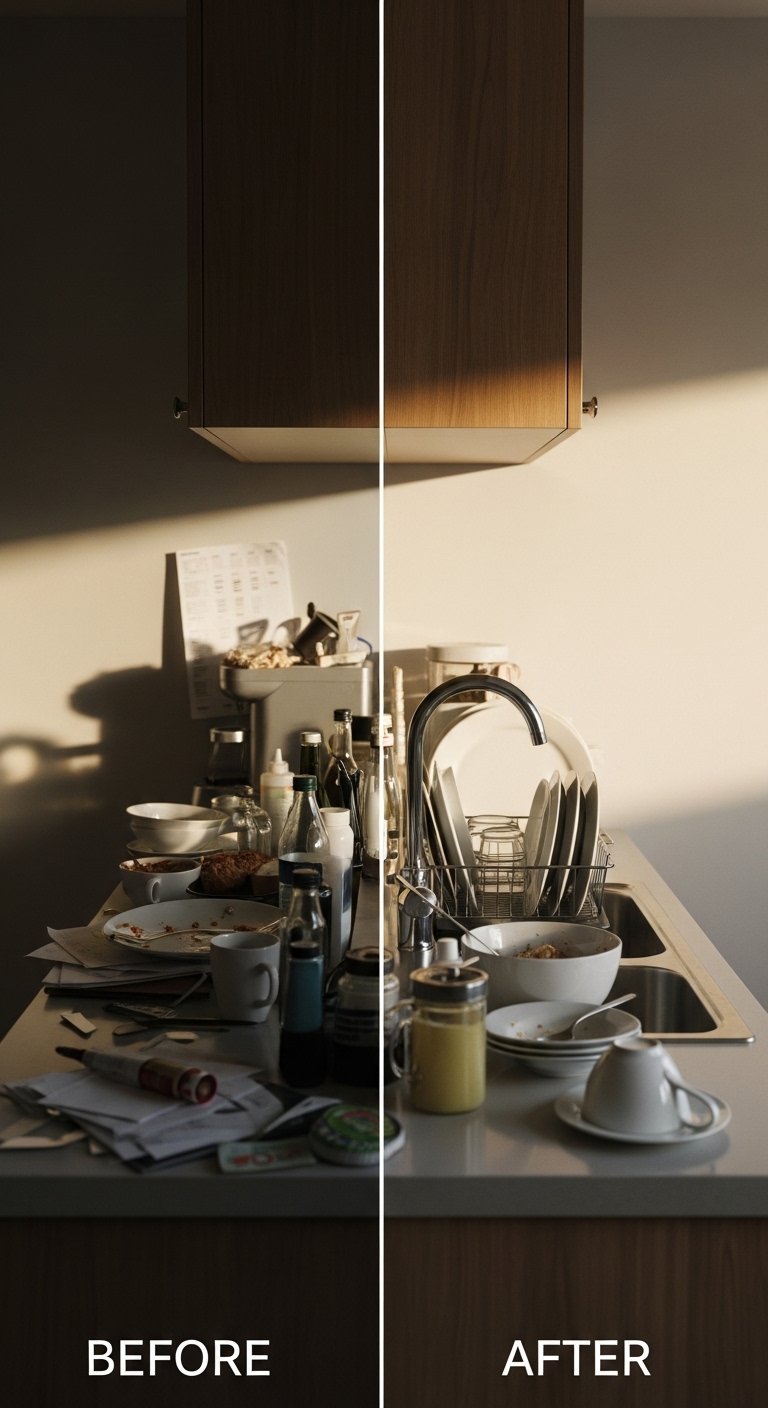
Too much stuff spread evenly looks like clutter masquerading as style. The fix is editing into zones. Keep one active zone for prep, one for display, and one clear for everyday use. Use the 2/3 to 1/3 rule. Let the display occupy about 2/3 of a chosen area while 1/3 is empty. Another mistake I made was matching everything in the same finish. Mixing wood, matte ceramic, and a single metal pulls the eye and feels intentional. If you can touch an item and enjoy it, it probably belongs. If not, store it.
Making this work in a small kitchen
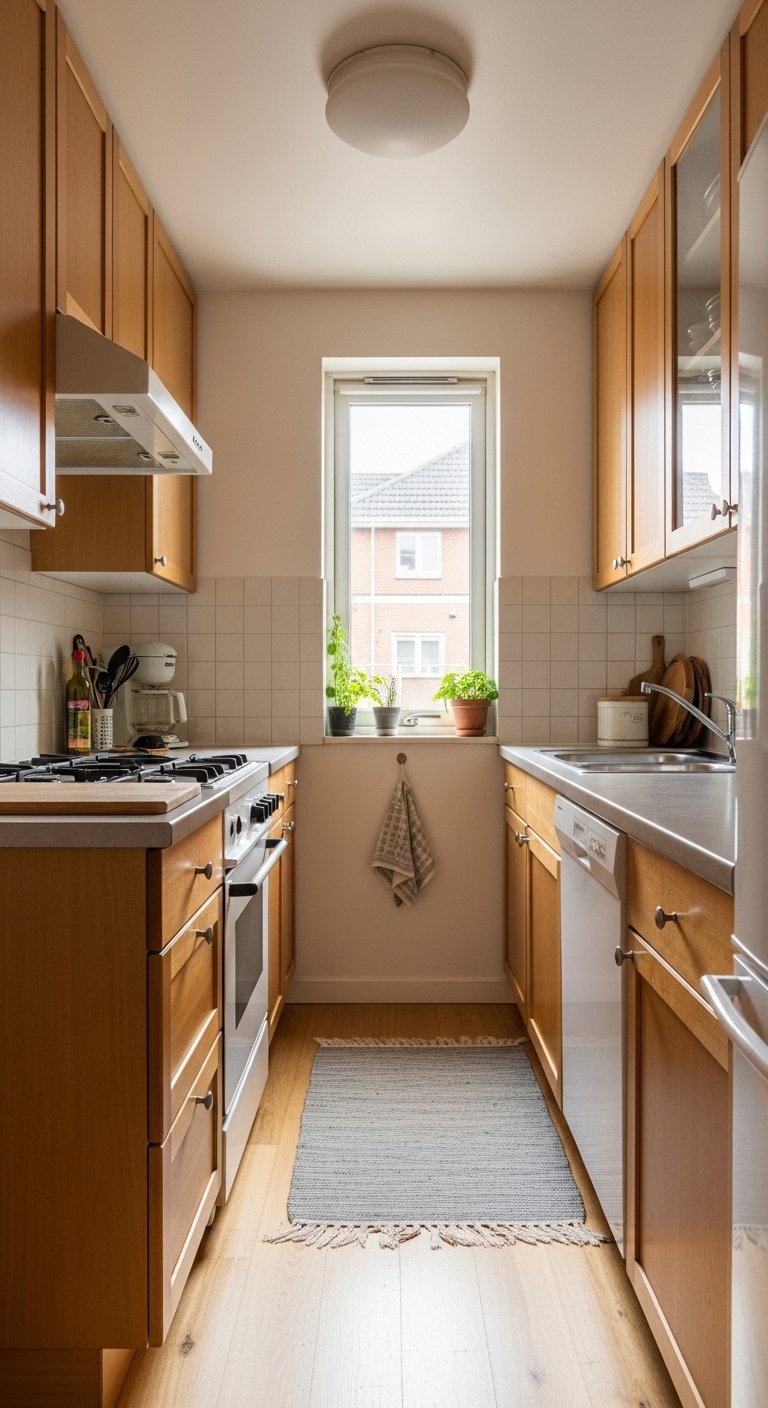
Small kitchens need lighter anchors and more vertical thinking. Use a 24-inch brass picture ledge or a 24-inch magnetic knife strip to clear counter real estate. Keep rugs at 2×3 or 3×5 in front of the sink rather than an 8×10. Try open shelving only on a single wall, cluster items tightly, and use mirrors or a glossy backsplash to bounce light. My first tiny kitchen attempt failed because I used a large rug and it swallowed the space. Scale down and let one small area be dramatic.
What it looks like after a week with kids and a dog
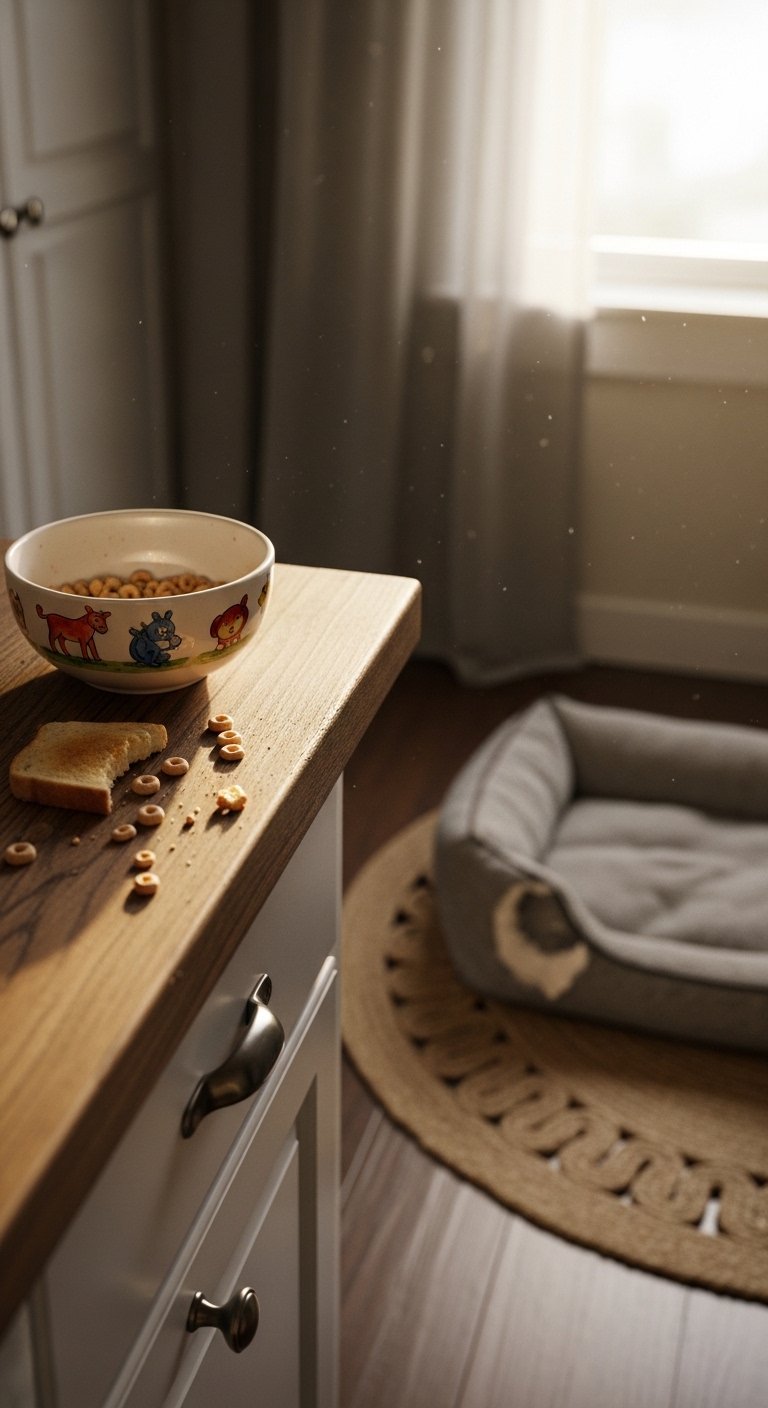
Expect life to rearrange your styling. After a week, the towel will be used, fruit will drop out of the bowl, and the woven basket will collect mail. That is fine. Keep fragile pieces higher and use washable textiles. I learned to place one replaceable piece low, like a ceramic mixing bowl, instead of a delicate vase. Small wins feel good. If something tilts or slides, add a rubber pad under it. The goal is a kitchen that survives real use and still reads as calm.
Start with One Counter Zone
Pick the easiest counter, clear it completely, and spend 20 minutes making a small anchor group: a cutting board, a tall vase, and a soft textile. Leave space around them, step back, and live with it for a day. If it still bothers you, swap one item, not three. My favorite low-commitment starter is the acacia cutting board from the list. After a week you will notice the room feels steadier, and that quiet confidence makes the rest of the kitchen easier to edit.

