

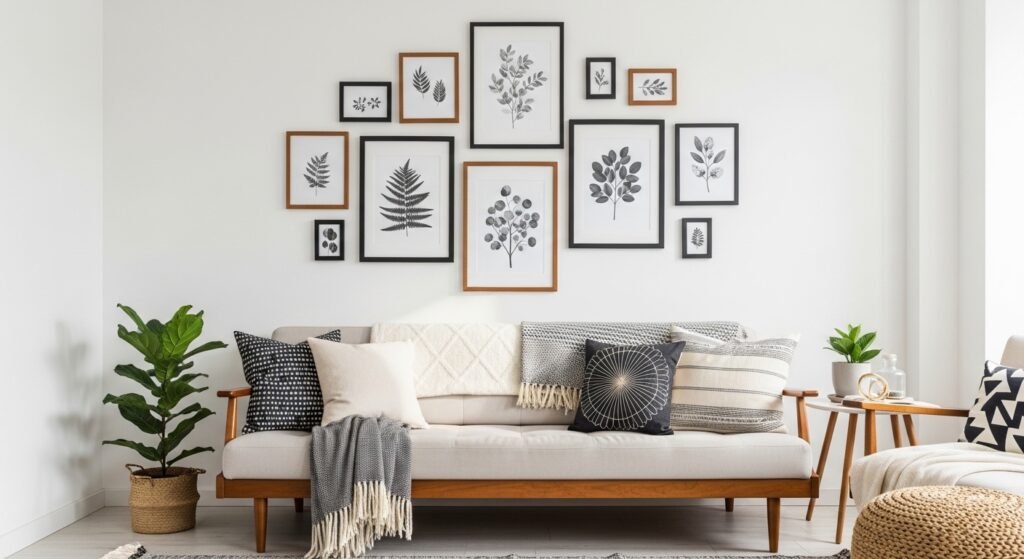
My living room had nice furniture and decent lighting but it still felt like a waiting room. Took me embarrassingly long to figure out it was missing texture. I started adding small tactile wall art pieces and suddenly the space felt lived in. These are the easy diy room decor wall art craft ideas I actually made, tested, and kept.
These ideas lean modern cozy with a few vintage and minimalist options mixed in. Most projects are under $50, with a handful near $100 for materials or frames. Works for living rooms, bedrooms, entryways, or any wall that feels like it needs personality.
Neutral Macrame Wall Hanging for a Cozy Bedroom
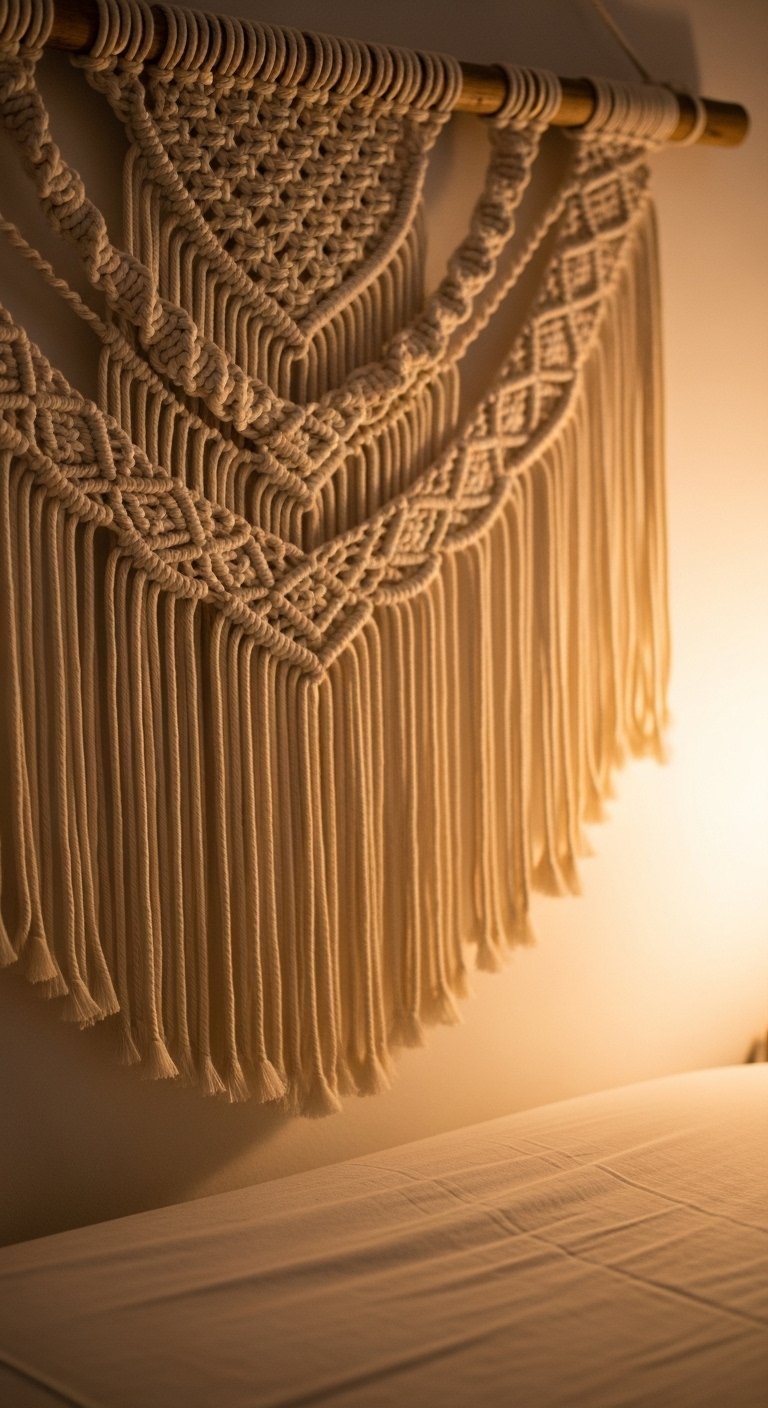
The moment I hung a 24-inch macrame above my guest bed the whole corner stopped feeling boring. Macrame brings texture without color, so it fits modern cozy or boho bedrooms and costs about $15-40 in rope and a wooden dowel. I used 3mm cotton cord and kept the piece 2/3 the width of the headboard for balance. Common mistake, people make their hangings too wide or tiny. If you want to skip knotting, try these cotton macrame wall hangings for under $30 and layer a small framed print next to it.
Minimalist Framed Pressed Flowers for a Calm Hallway
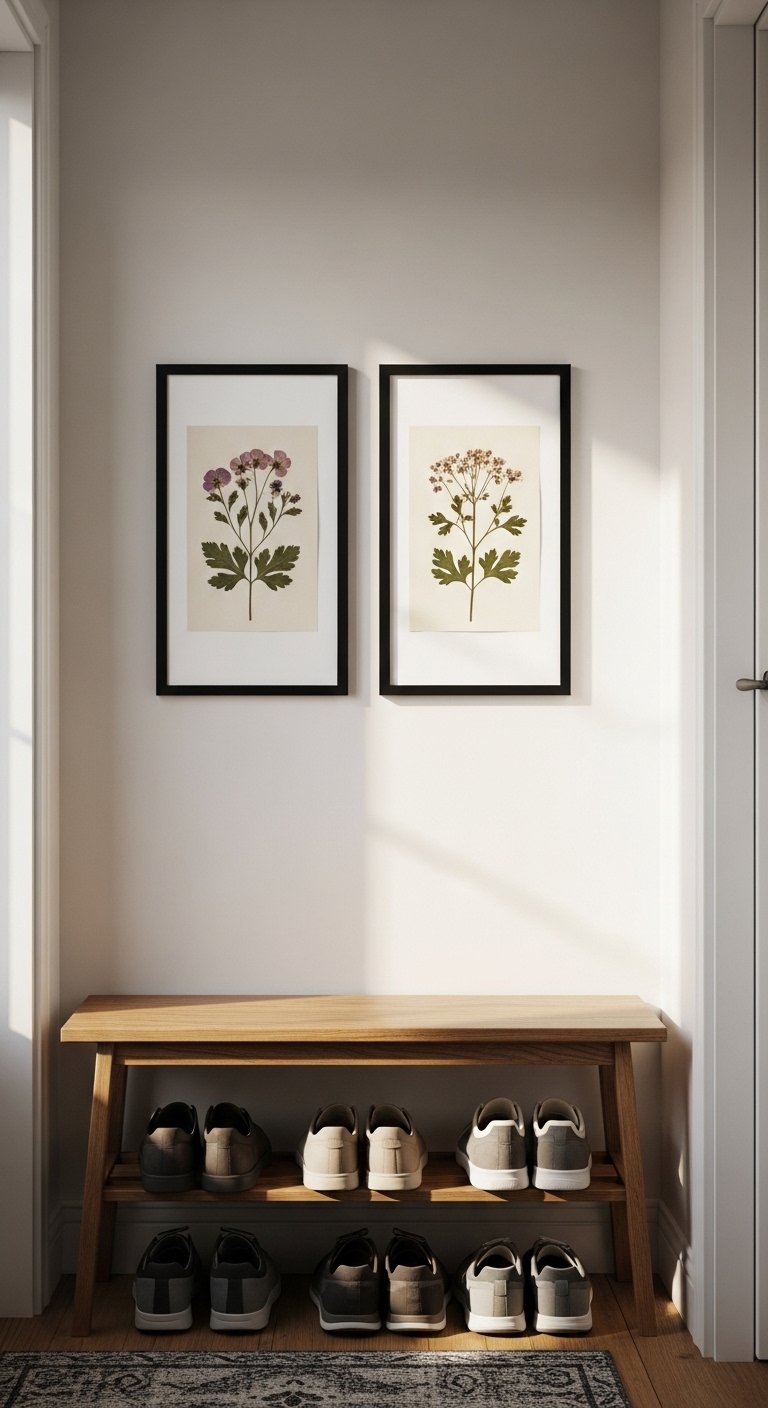
Pressed flowers look pricier than they are. I taped blooms between glass and used slim black frames to keep it modern and unfussy. Use 5×7 frames if the wall is narrow, or go 11×14 to make a statement. The result reads like boutique stationery, perfect for hallways or bathrooms, and runs $10-25 per frame if you shop basic frames. People often cram too many stems in one frame. Keep it one to three stems to follow the rule of three and avoid a cluttered look. For ready-made options try simple botanical framed prints.
Gallery Ledge with Swappable Prints for Living Rooms
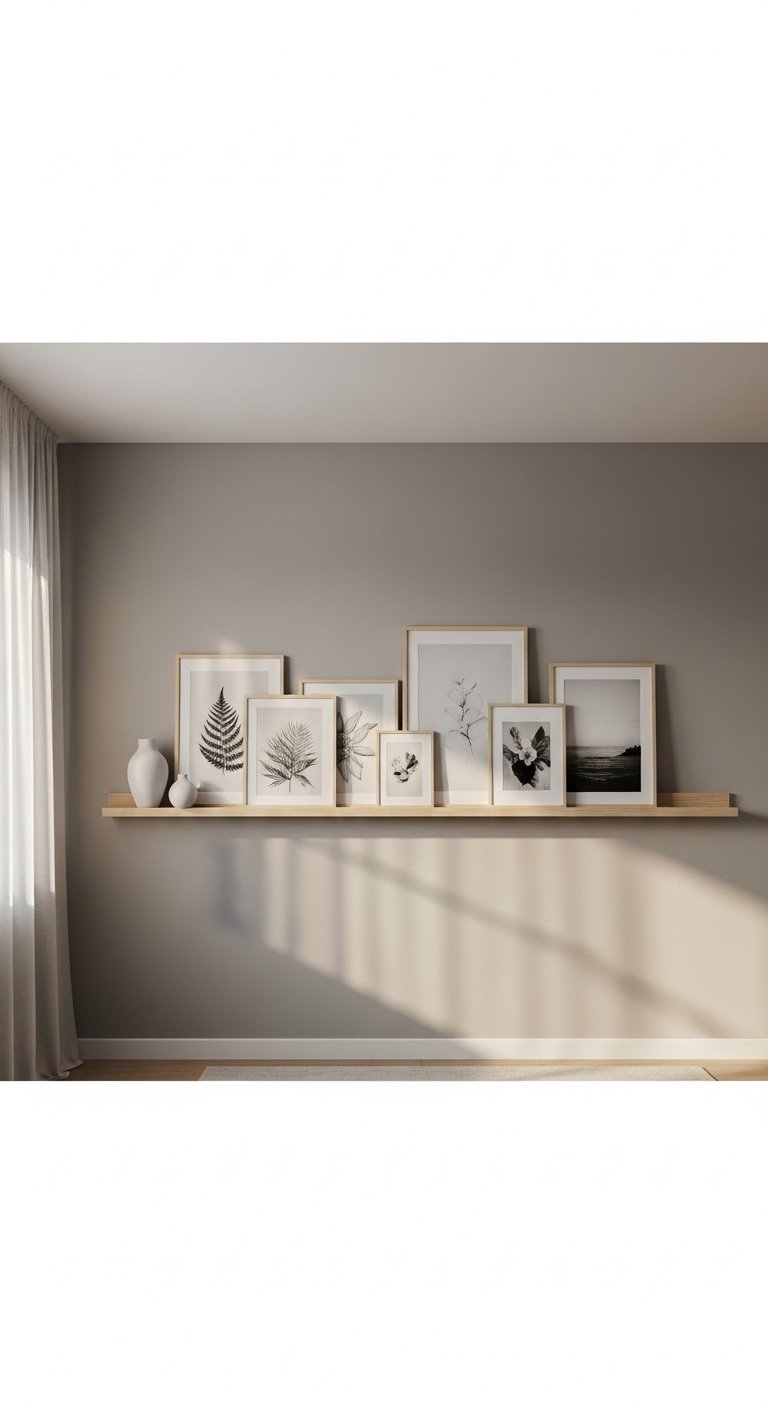
I found these brass picture ledges and they fixed my commitment issues. A single ledge lets you layer a large 16×20 print behind smaller pieces and swap prints without new holes. Aim for a ledge that is two-thirds the width of the sofa for proportional balance. Budget is $15-60 depending on length and finish. The trap is hanging too low. Center the ledge about 3-6 inches above the sofa back. For an easy buy, these wooden gallery ledges work great and come in several lengths.
Textured Canvas Install for a Modern Dining Area
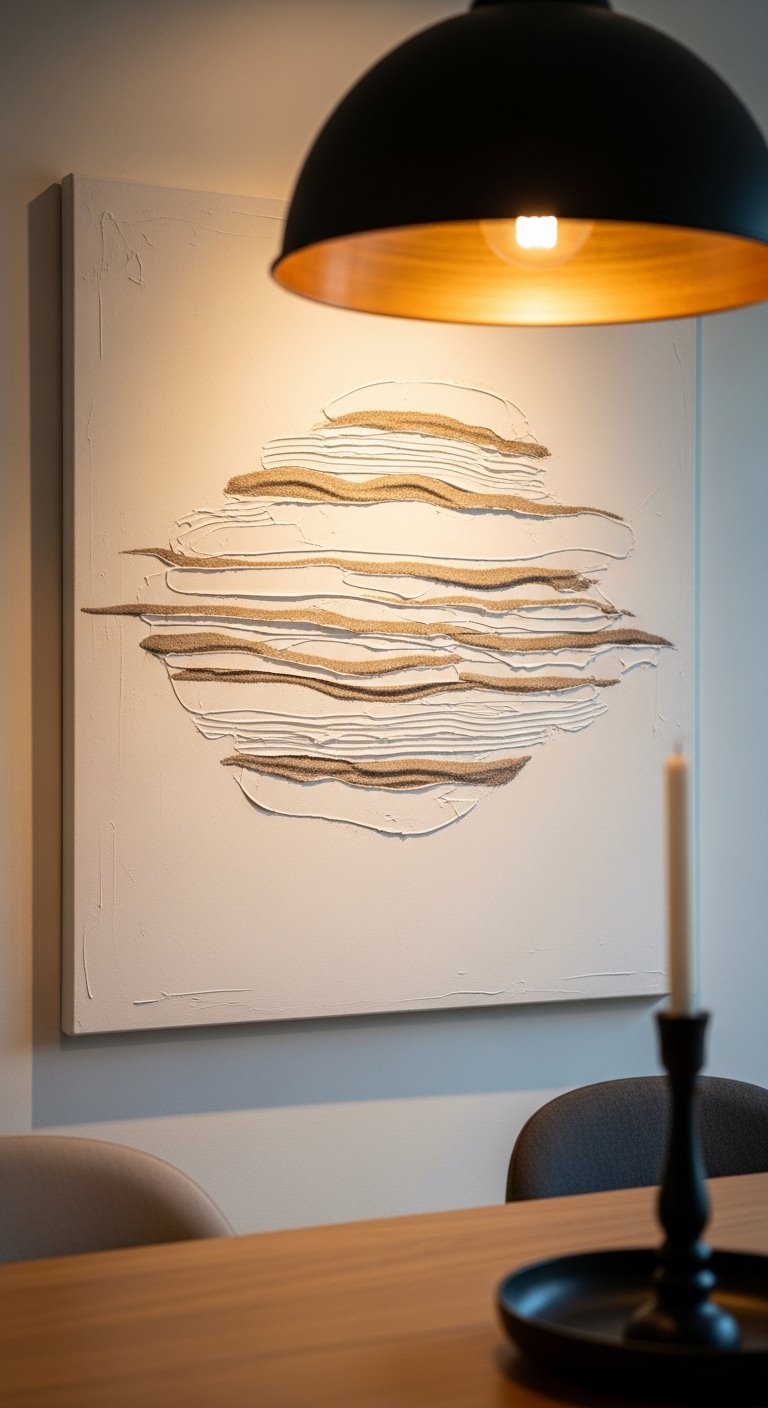
A textured canvas can read expensive even if you DIY the surface with joint compound and acrylic paint. I used a 30×40 canvas and a trowel to create ridges, then dry-brushed two neutrals and a warm accent. Costs under $70 for canvas and supplies. What makes it look sophisticated is keeping the palette 80/20, 80 percent neutral and 20 percent warm color. Don’t overwork it. Let some rough edges stay visible. If you want supplies, grab artist canvas and texture medium to get started.
Oversized Black-and-White Photo for a Statement Entry
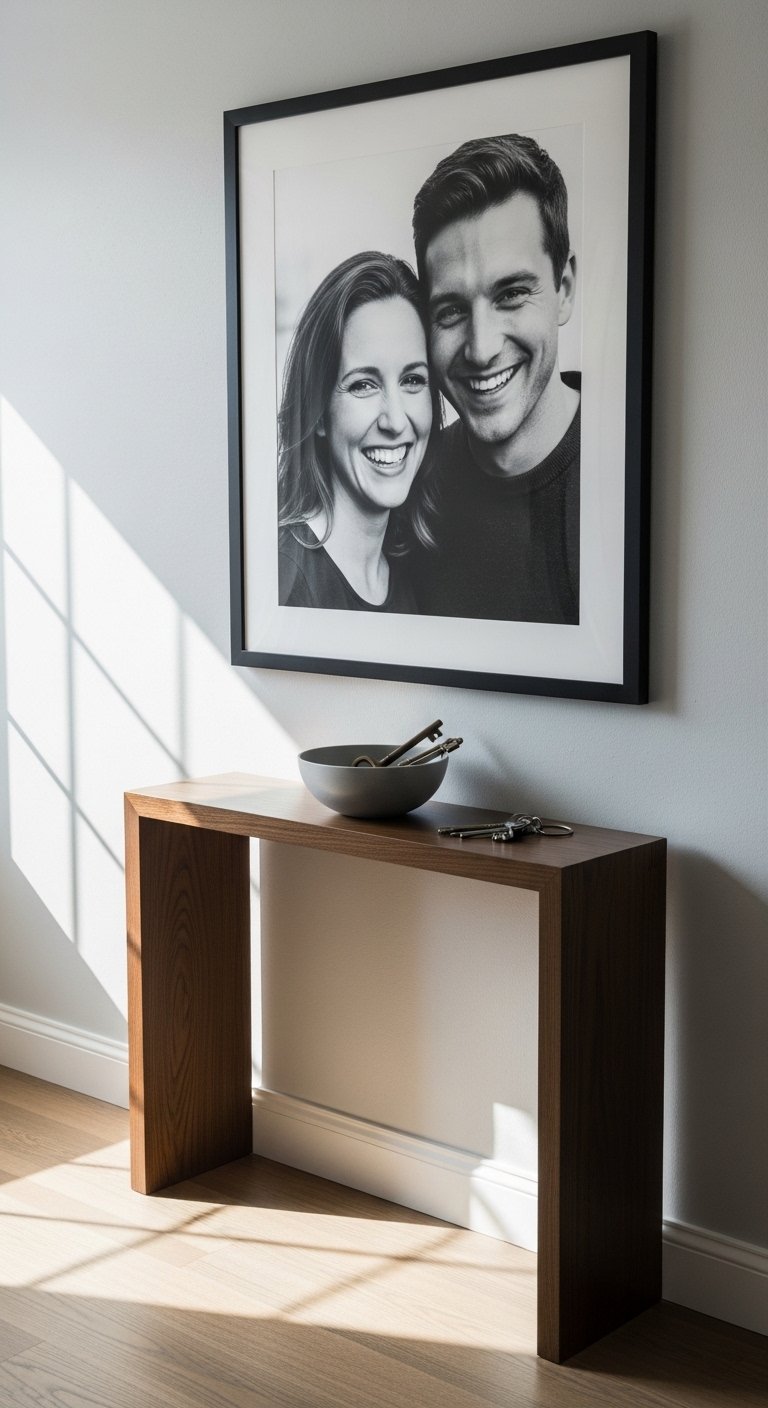
A single oversized black-and-white photo reads like a gallery print and makes a small entry feel intentional. I printed an 18×24 favorite photo on matte paper and used a crisp black frame for contrast. Budget is mainly for printing and a frame, around $30-80. The frequent mistake is choosing too small a size. Aim for one large piece rather than five little ones if your entry is narrow. For quick framing try these large black frames.
DIY Floating Wood Panel Art for a Rustic Living Room
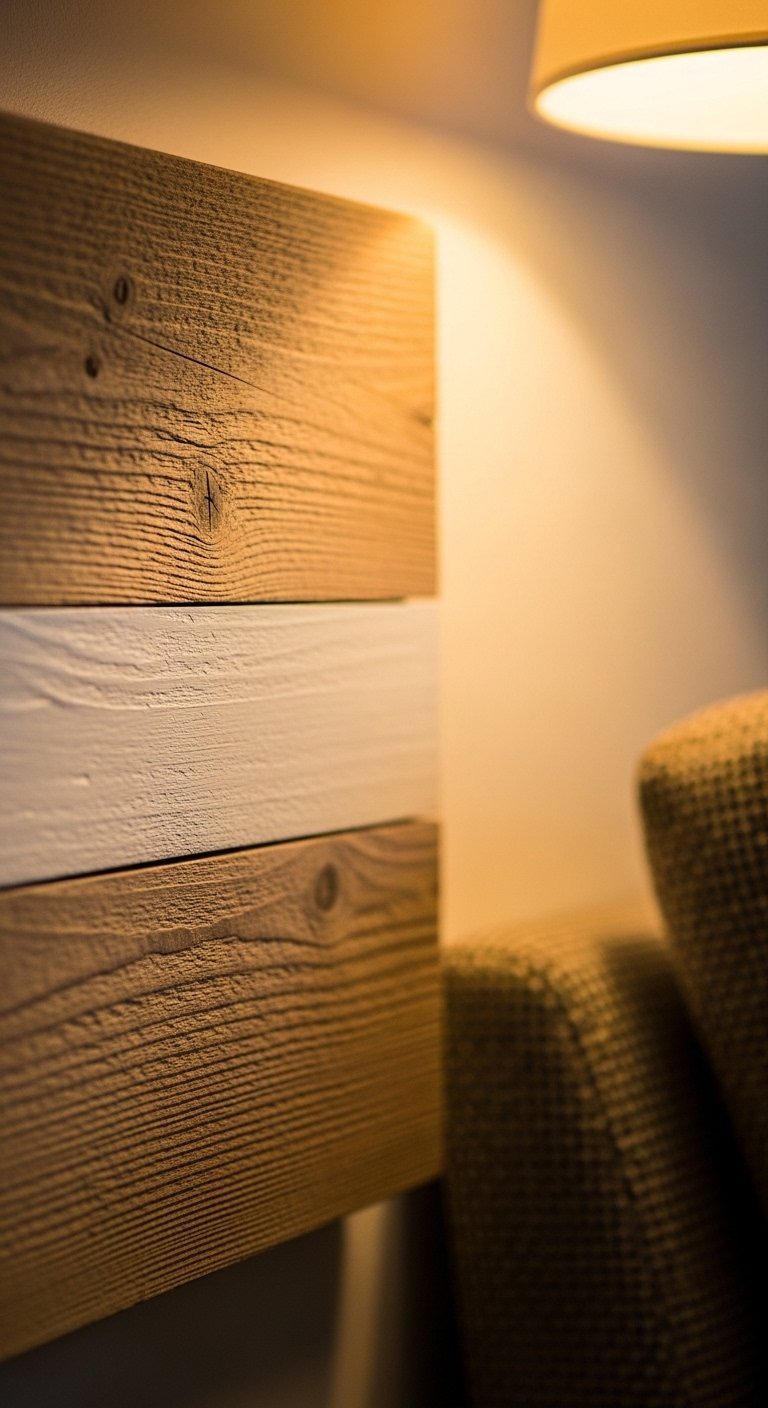
A reclaimed wood panel with a single painted stripe looks intentional and a bit rustic, without feeling kitschy. I cut a 24×36 pine panel, stained it, and painted a 6-inch white stripe off-center. Cost was under $40. Visual trick, keep the stripe width at roughly one-sixth of the panel for balance. People try too many colors. Stick to one accent shade. If you need materials fast, these pine wood panels are ready to finish.
Ombre Paper Collage for a Playful Bedroom
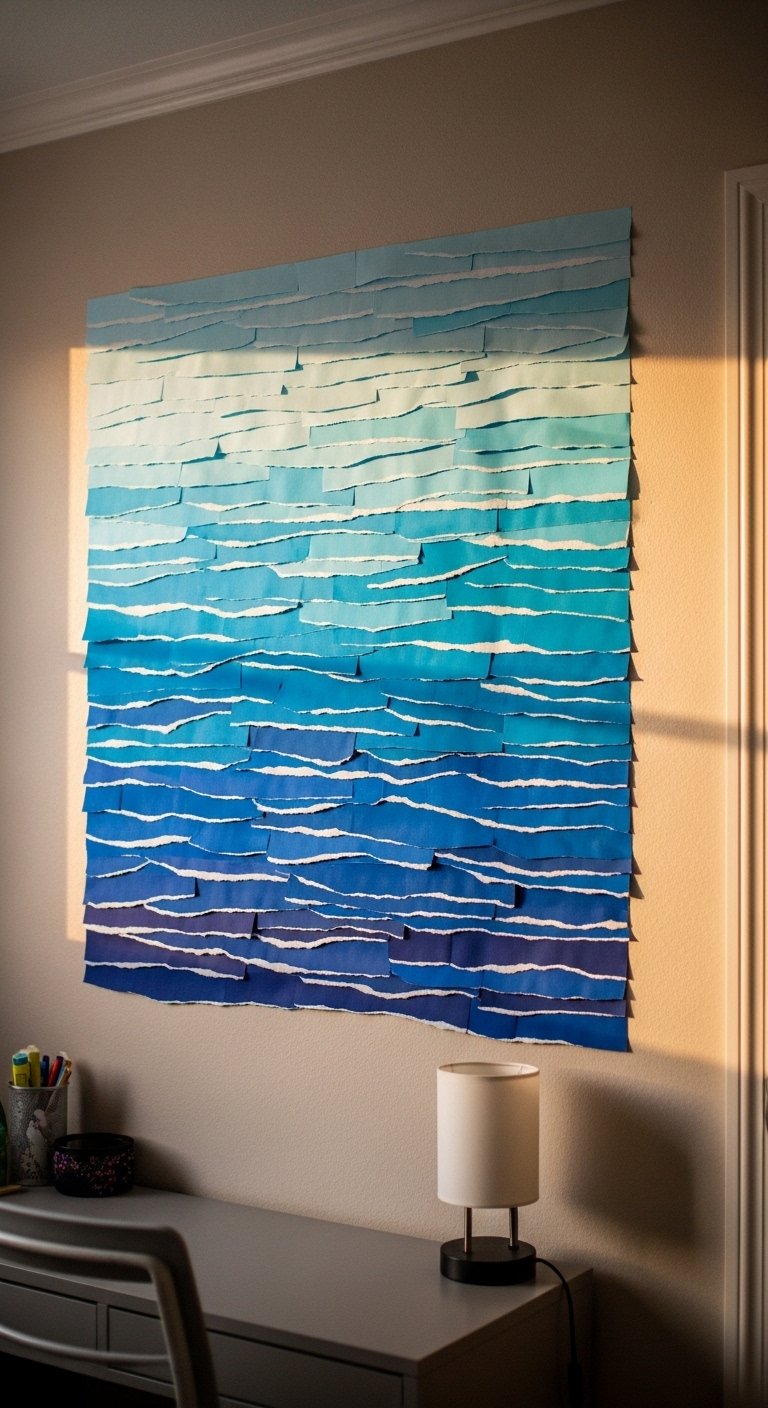
I tore different shades of paper and glued them into an ombre collage, framed in a shallow box frame. It cost about $12 in craft paper and glue and looks custom. Use 9×12 or 11×14 to fit above a desk or nightstand. Mistake, people use same-scale paper which flattens the effect. Mix strip widths from 1/4 to 2 inches. Want an easy route, these colored cardstock packs have the right tones for quick collages.
Metallic Leaf Accents for a Modern Glam Bedroom
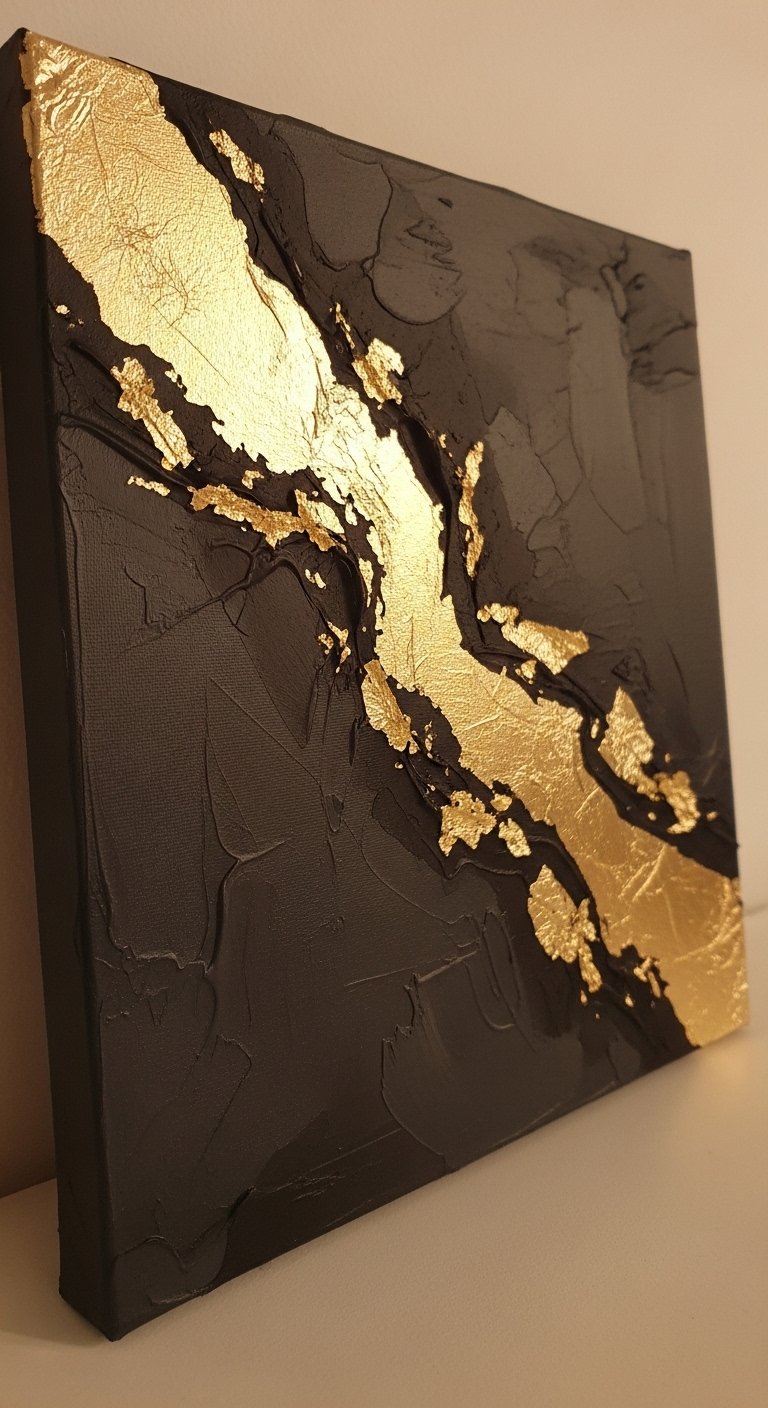
Gold leaf on a small abstract canvas gives a high-end shimmer without the price. I applied adhesive in thin lines then layered gold leaf over matte black paint. Keep the gold at 10-15 percent of the piece so it reads luxe, not loud. This suits modern glam bedrooms or a dressing area and runs about $20-40 for kit and canvas. A common error is using too large a gold area. For materials try this gold leaf kit.
Vintage Map Collage for a Travel-Themed Home Office
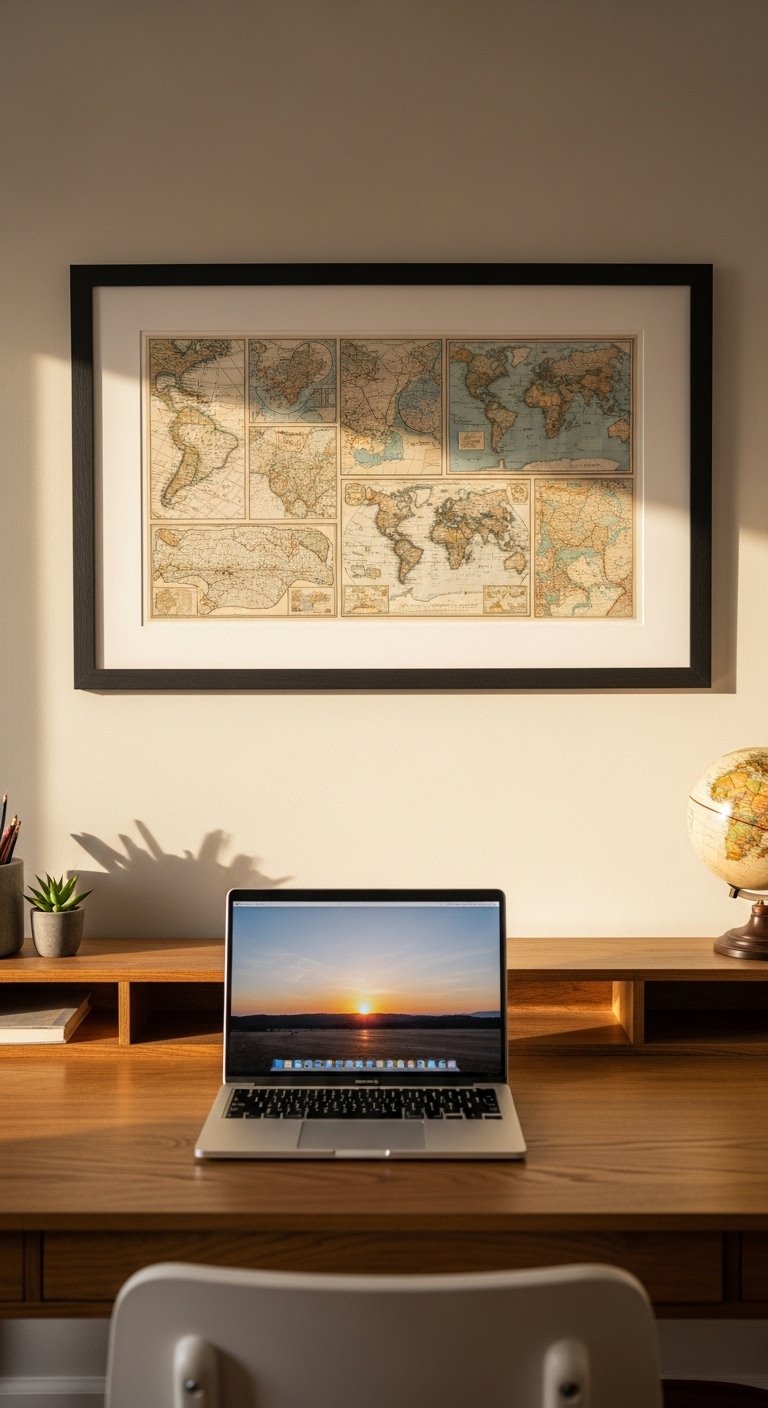
I collected old maps, cut interesting coastlines, and arranged them in a uniform grid of 8×10 frames. It cost under $50 for prints and frames and makes an office feel curated. Pro tip, pick three dominant colors from the maps and echo them in your desk accessories for cohesion. A frequent mistake is inconsistent mat sizes. Keep mats the same width for a polished look. For quick sourcing try these 8×10 frames with mats.
Shadow Box with Found Textures for an Eclectic Living Room
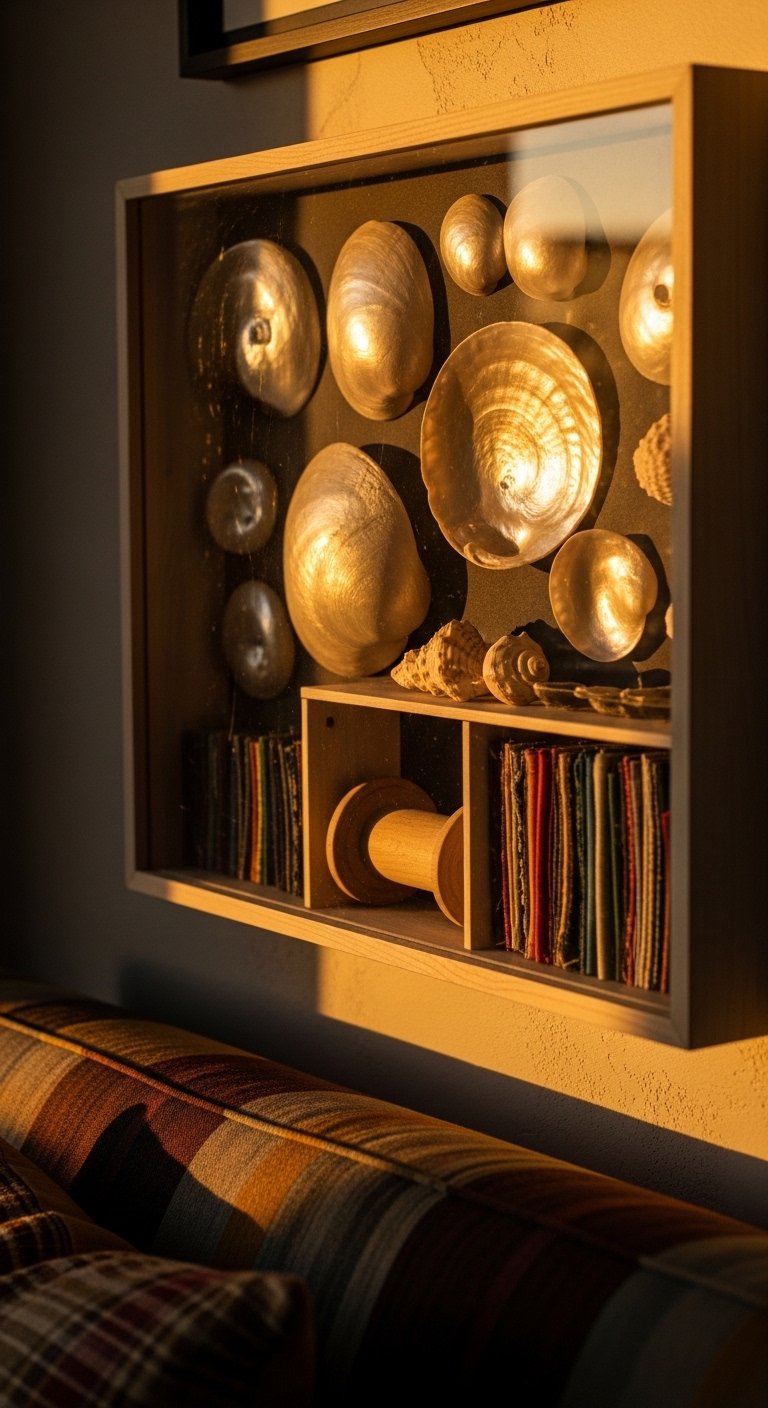
A shadow box lets you display small textured finds like shells, keys, and textile swatches. I arranged items on a neutral backing and kept the spacing at least one inch between objects so each thing reads. It cost about $20-45 depending on the box size. People often try to cram too many items. Stick to 5 to 7 pieces and use the rule of three for focal grouping. If you want an easy frame, check these deep shadow boxes.
Geometric Washi Tape Mural for a Renter-Friendly Accent
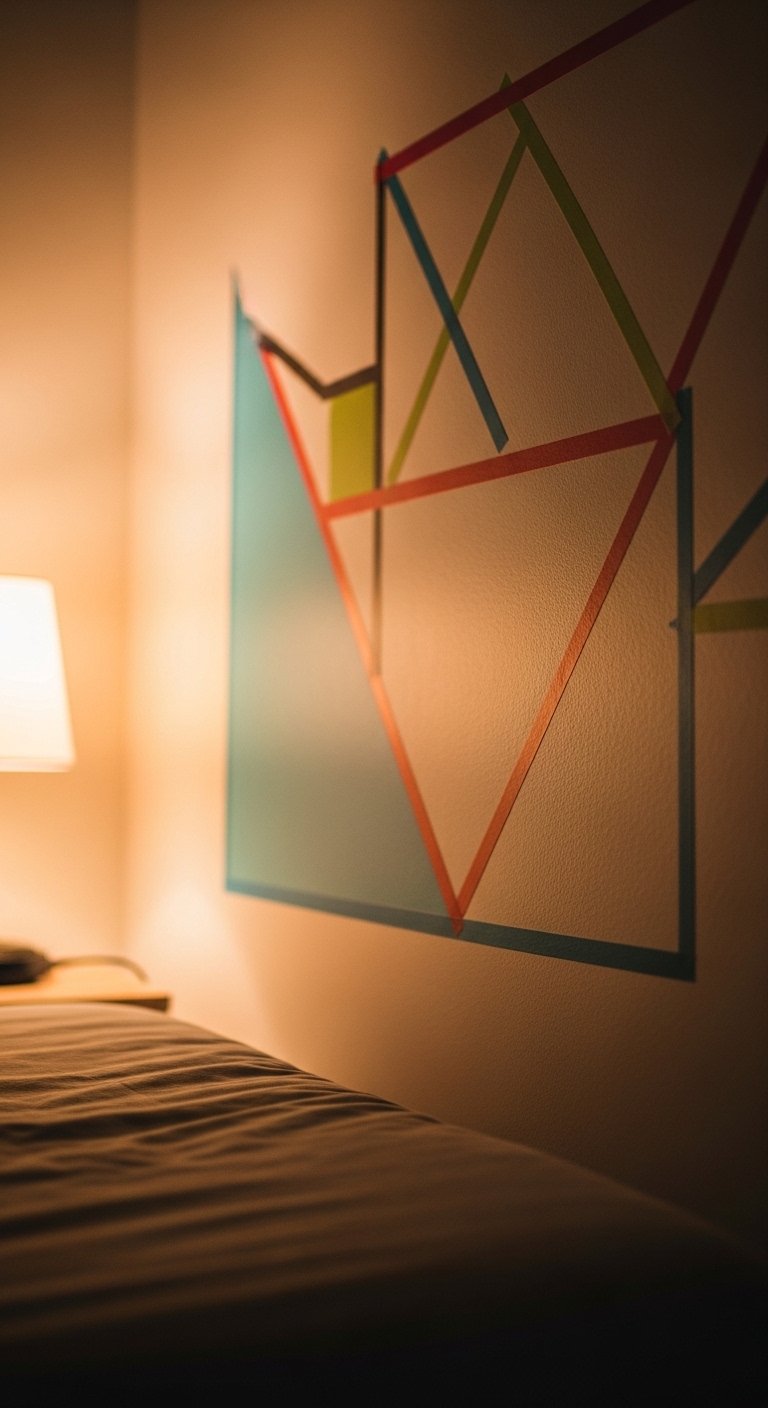
Washi tape is my favorite renter trick. I created a 4×6 foot geometric mural above a bed with three washi patterns and a matte finish. It cost under $20 and peels off cleanly. Measure first and map lines with a chalk line. Most people eyeball it and get crooked grids. Use 2-inch strips for bold lines and 1/2-inch for details. For flexible tape options try this washi tape sampler pack.
Fabric Wall Panels for Sound and Style in a Media Room
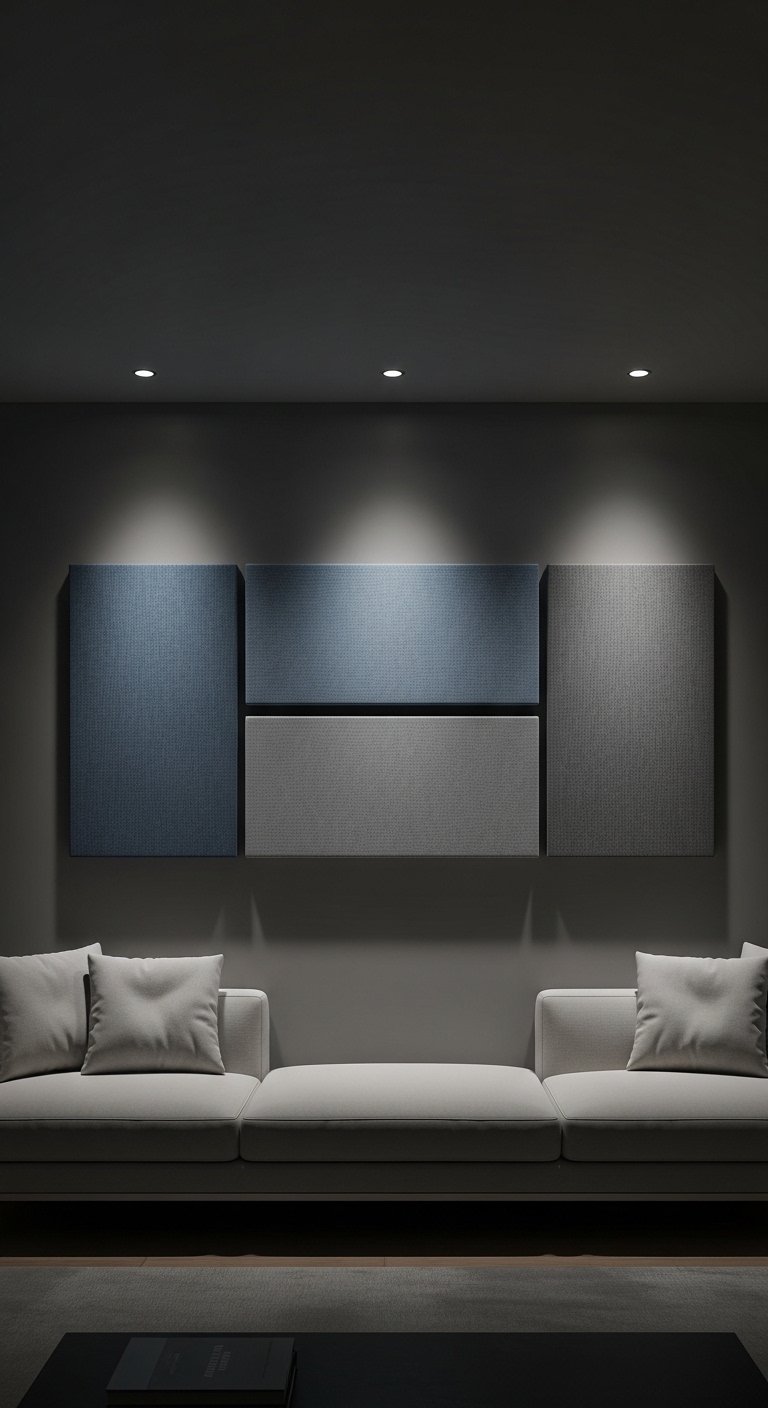
Fabric-wrapped panels look custom and improve acoustics. I wrapped 24×48 panels in linen and mounted them horizontally behind the TV to reduce echo. Materials were about $40-80 total per panel. Visual tip, space panels 2-4 inches apart and keep them at eye level for balance. A mistake is making panels too thin, which looks cheap. Use 1.5 to 2-inch foam core or acoustic backing. For supplies check fabric-wrapped acoustic panels.
Painted Trim Frames on a Plain Wall for a Minimalist Living Room
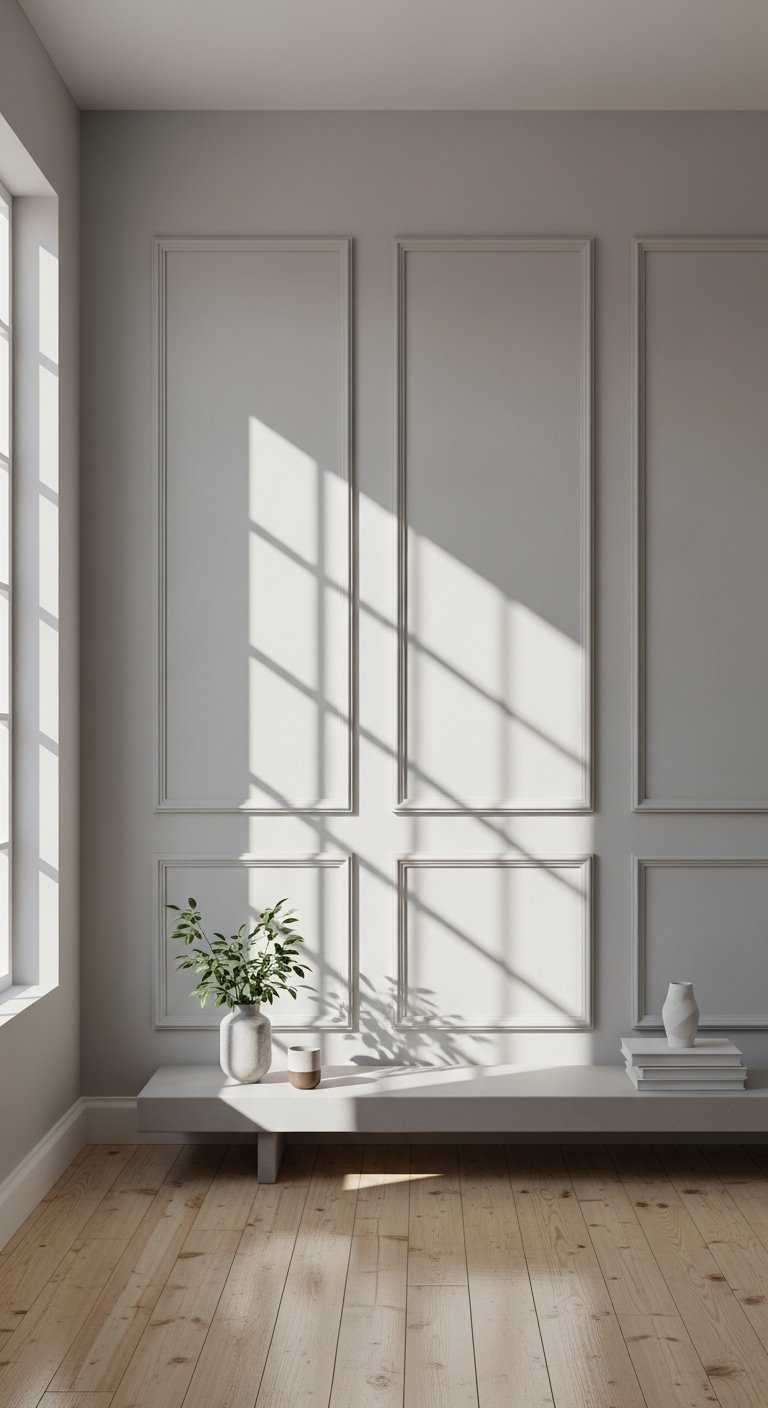
I painted faux frames directly on the wall using trim paint to create a gallery without frames. Keep the inner rectangle at about 70 percent of the outer for pleasing proportions. It cost under $10 in sample paints. People usually space frames too far apart. Keep 3-6 inches between shapes for unity. This works well in minimalist living rooms or a long hallway. For paint try sample paint set.
Layered Mirrors for a Small Bedroom That Needs Light
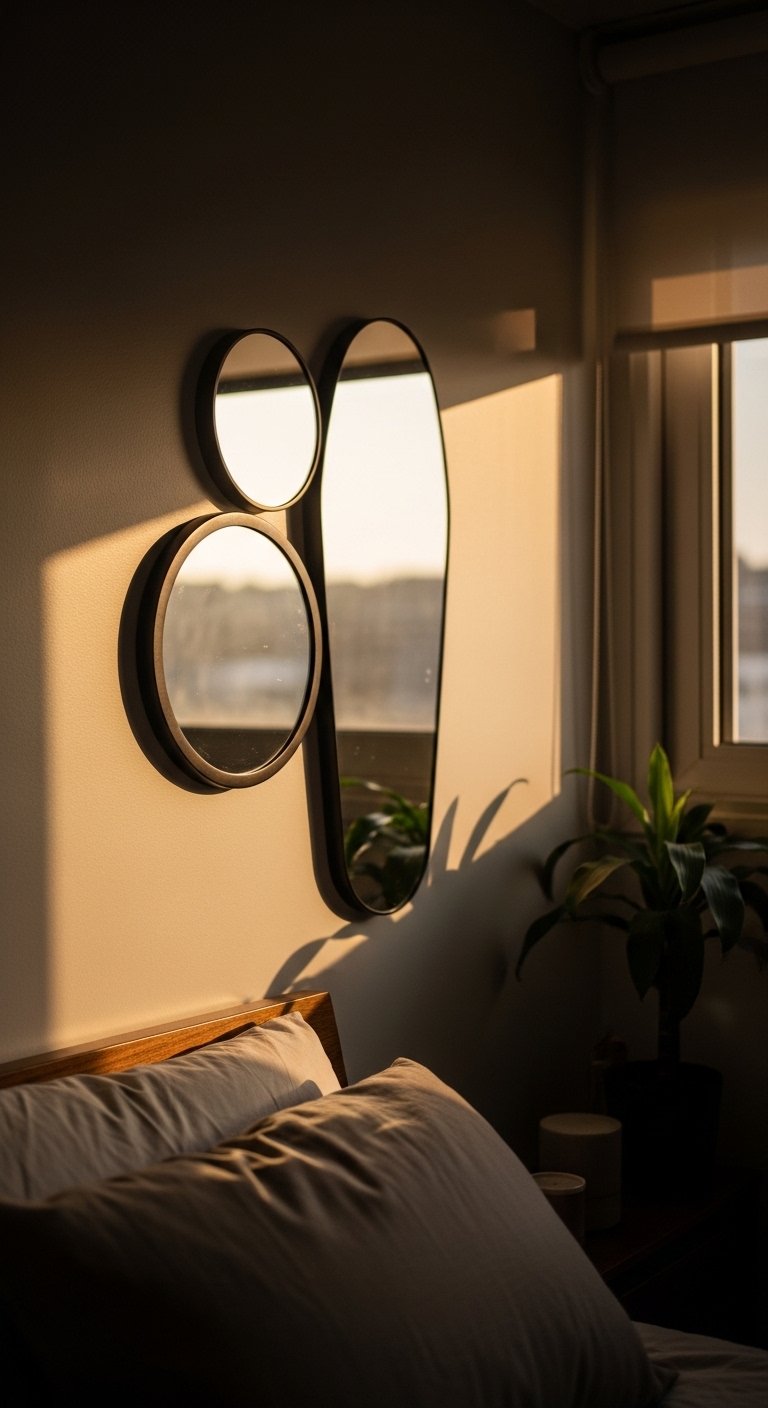
Mirrors instantly add light and look expensive in a cluster. I used one large round mirror and two smaller irregular mirrors to keep it relaxed. Arrange mirrors so their centers form an imaginary triangle for balance. Cost depends on mirrors, but you can do this for $60-150. Common error, hanging them all at the same height. Stagger the bottoms by 3-6 inches for a natural look. For ready options try mixed shape mirrors set.
DIY Neon-Style Rope Light Quote for a Fun Game Room
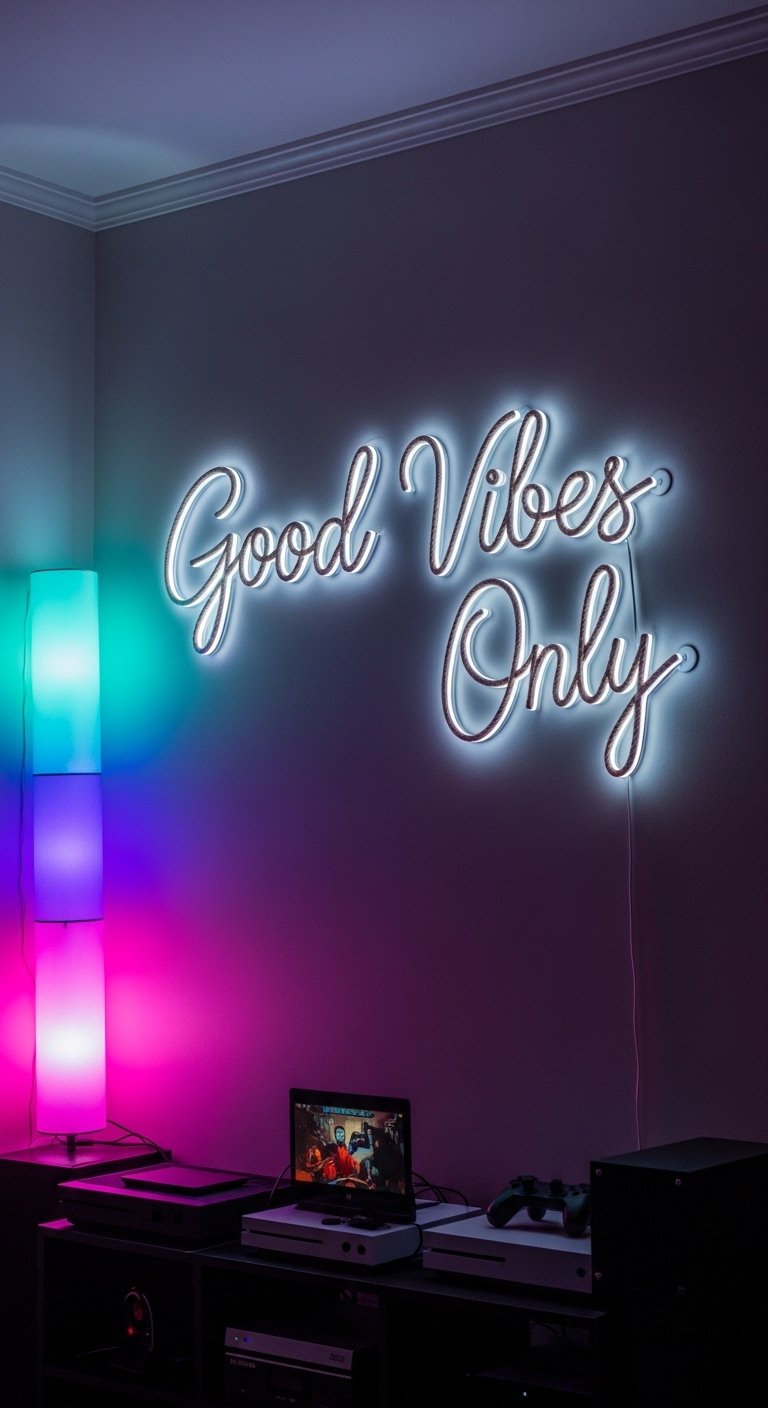
I bent craft rope LED into a short phrase and mounted it on a painted board for a neon look without the cost. Keep the phrase to 2-3 words maximum and 24-36 inches wide so it reads from across the room. Budget is $25-60. The usual mistake is choosing a full sentence that becomes hard to read. For materials try this flexible LED rope light.
Framed Textile Swatches for a Textile-Focused Bedroom
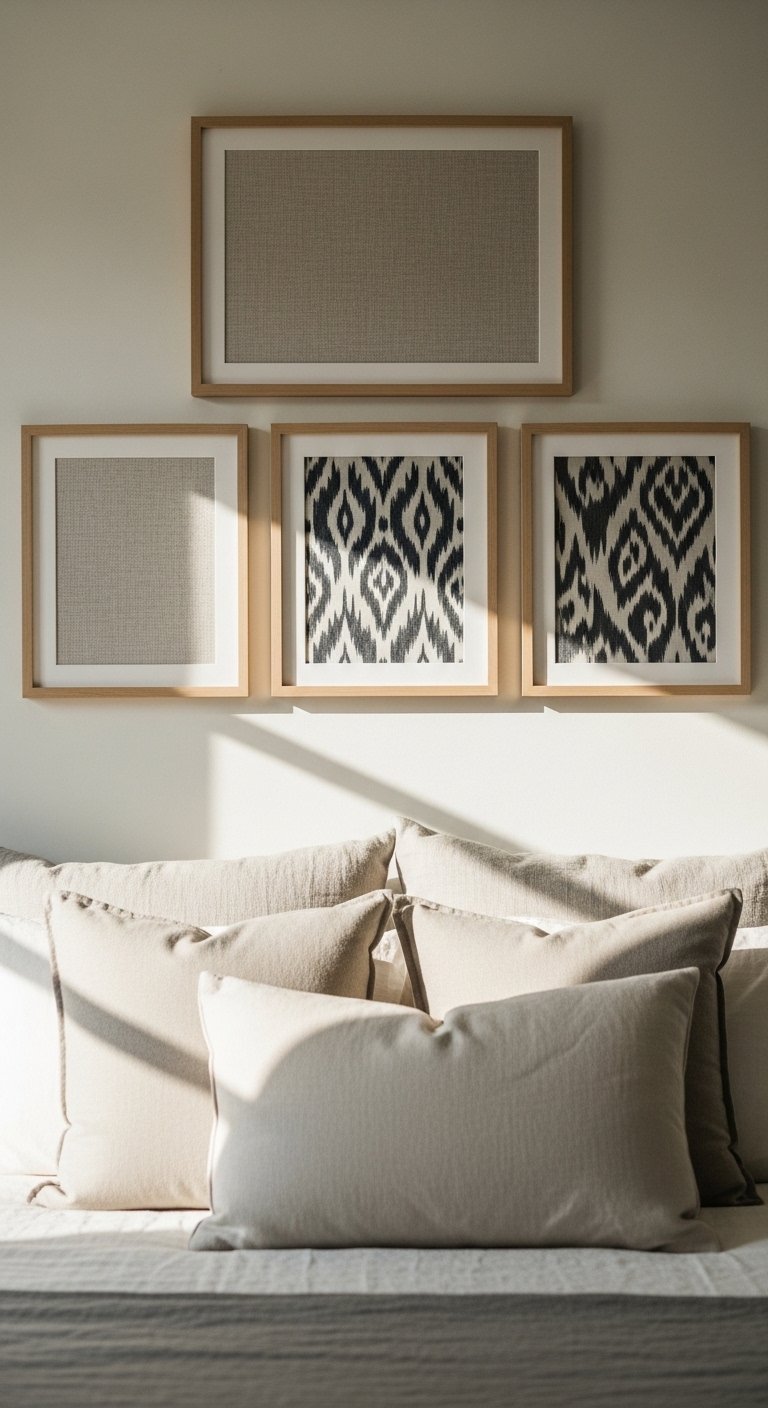
Framed textile swatches give the look of a boutique hotel without the expense. I framed 12×12 swatches of linen and ikat and hung them in a straight row above the headboard. Keep swatch size consistent and mat width the same to avoid a DIY look. Cost is $10-30 per framed swatch. A helpful detail, use 1.5-inch mats around each swatch for a gallery feel. If buying swatches, this linen fabric sample bundle has the right textures.
Reclaimed Frame Collage for a Vintage Living Room
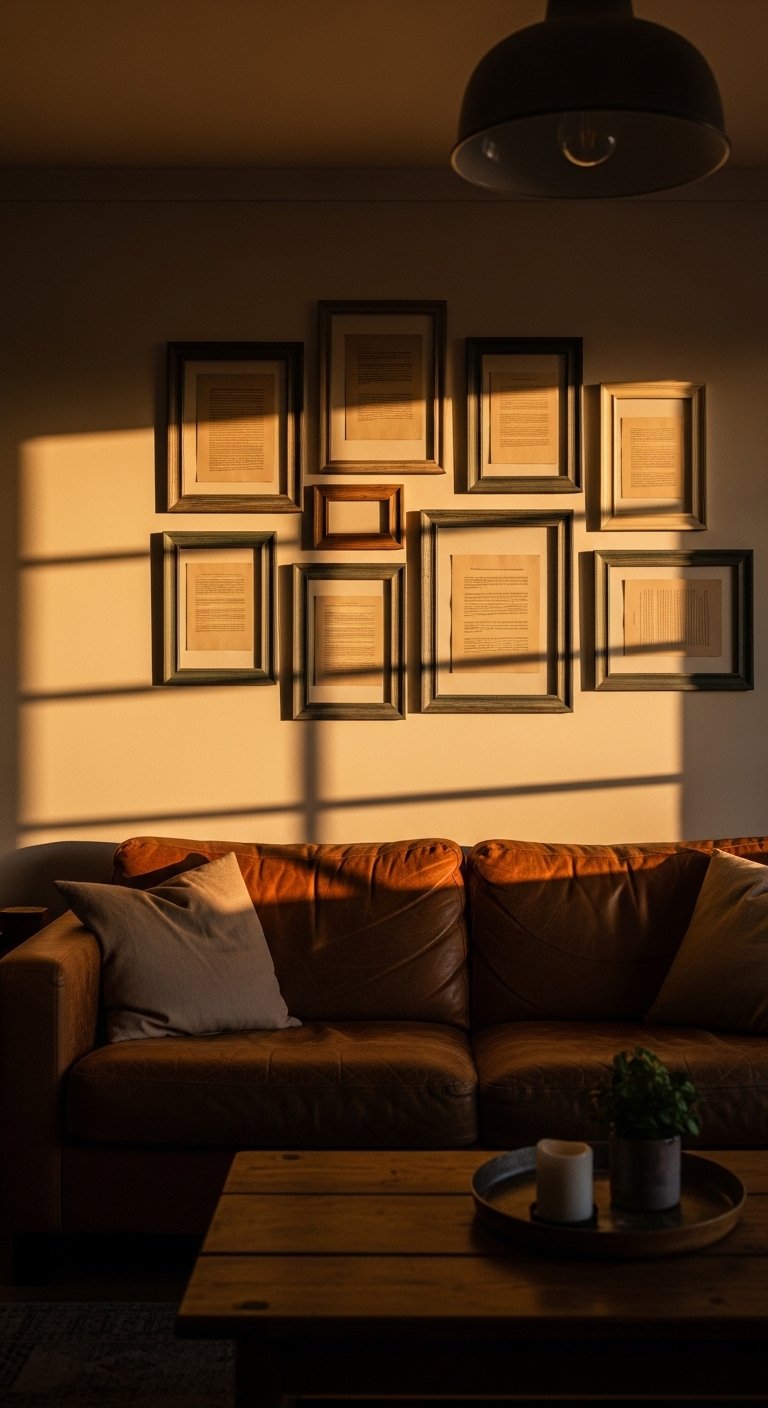
I thrifted mismatched frames, painted them a unified color, and filled them with neutral paper. The result looks curated and vintage without heavy spending. Keep frame widths varied but paint them the same color so the collection reads cohesive. Budget varies by thrift luck, but painting helps unify pieces for under $40 total. Common mistake, leaving frames raw which can look haphazard. For paint try chalk paint sample set.
Floating Shelf with Art + Plants for a Casual Entry
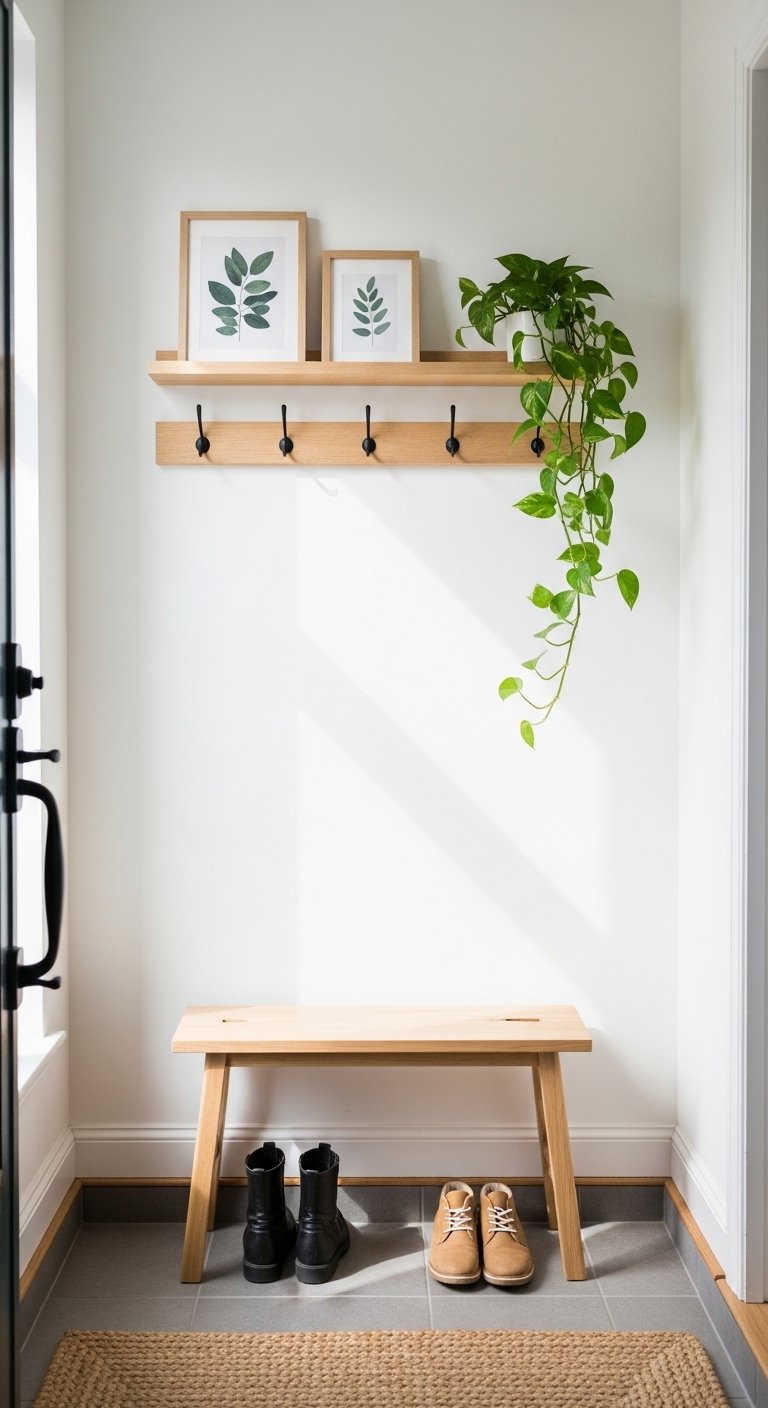
One floating shelf combining a small print and a plant makes an entry feel styled, not staged. I favor a 36-inch shelf for most small entries. Place the shelf 30-36 inches above a console top for eye-level balance. Cost is $20-50 for a sturdy shelf. Pitfall, people overstuff the shelf. Keep three objects maximum and use odd numbers for interest. Try these white floating shelves.
DIY Chalkboard Wallpaper Panel for a Kitchen Message Center
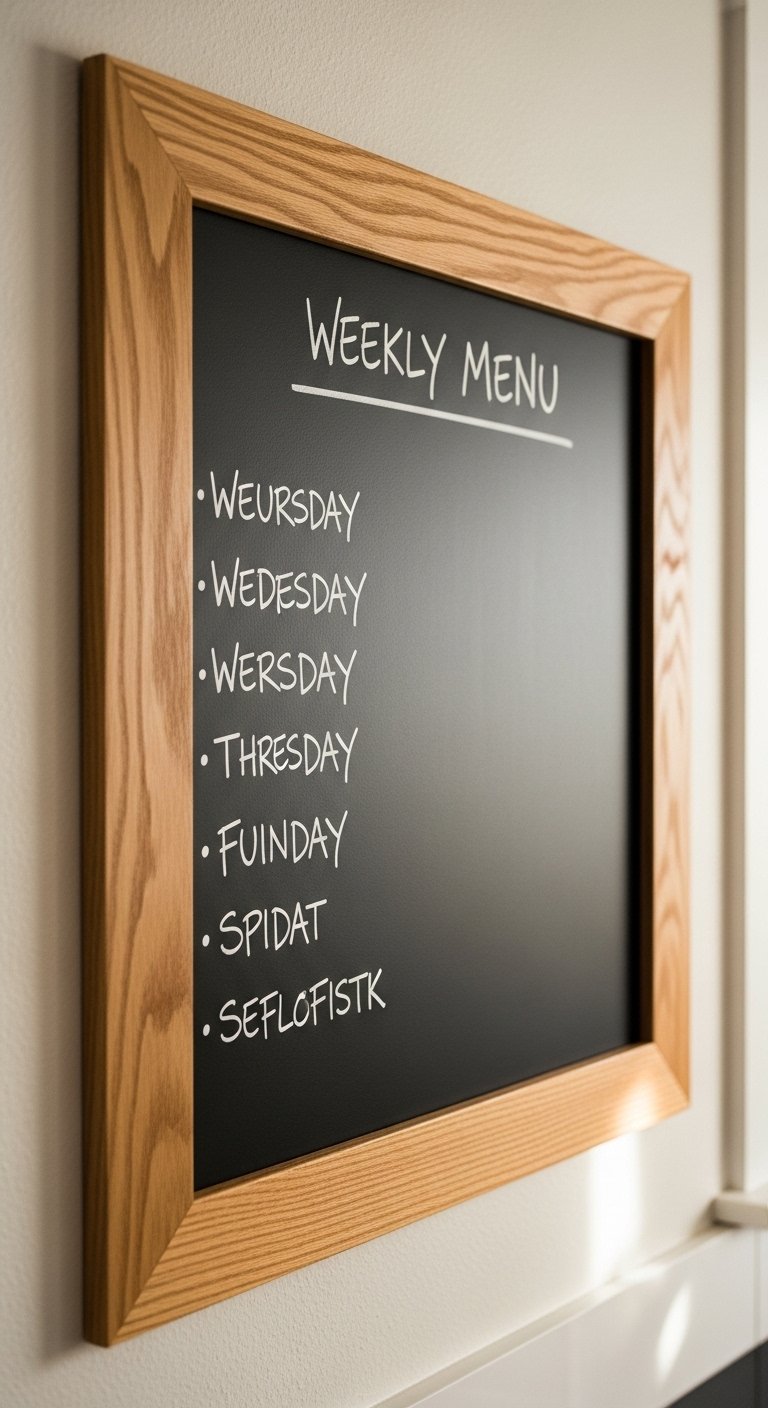
Chalkboard wallpaper framed with simple trim turns a backsplash area into a useful art wall. I used a 24×36 panel and wrote a weekly menu in chalk marker. It cost about $25 and is renter-friendly if you use removable adhesive. Measure carefully, most people go too small. Make the panel at least 18 inches taller than the counter to be readable. For a quick purchase try removable chalkboard wallpaper.
DIY Tile Stencil Art for a Small Bathroom
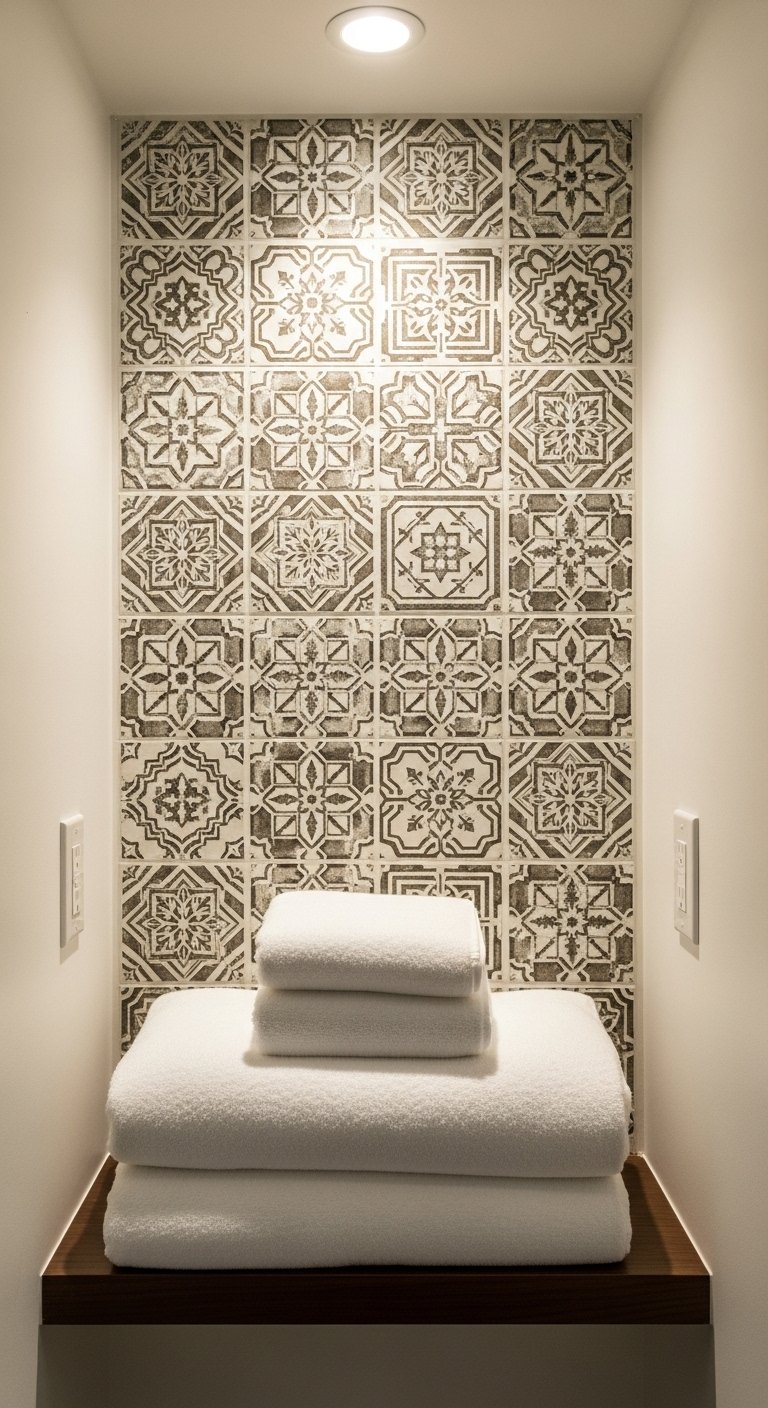
I stenciled a tile pattern on a bathroom accent wall using waterproof paint. Choose a 6×6 or 8×8 stencil and keep the repeat offsets at one stencil width for rhythm. It took a day and about $25 in paint. Many people try complex patterns and end up uneven. Start with a simple geometric repeat and practice on cardboard first. For tools get this tile stencil set.
Mixed Media Collage with Magazine Cutouts for a Creative Studio
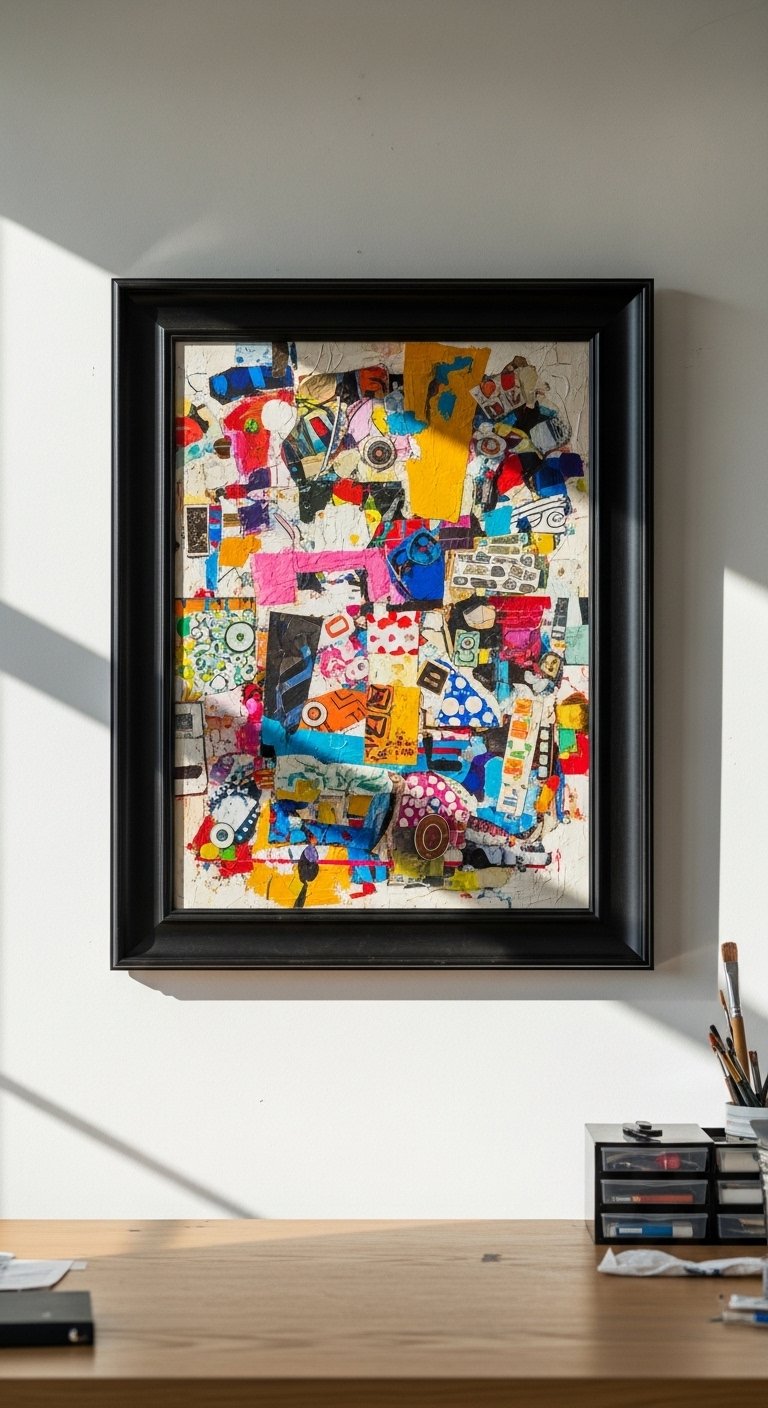
I made a large mixed media piece with magazine cutouts, gold pen highlights, and a matte varnish. It cost about $20 and reads like a custom gallery piece. Use a 24×36 backing board and keep the collage focal area to the lower two-thirds for better balance. People often paste things flat with no depth. Add fabric scraps or thin cardboard layers to create shadow and interest. If you want supplies, these adhesive photo mounting squares speed the process.
Your Decor Shopping List
Textiles
- Honestly the best $40 I have spent. Chunky knit throw blanket in cream 50×60 inches for draping over sofas
- Velvet pillow covers set of 4 22-inch, down-filled inserts recommended, mix two colors
Wall Decor
- Wooden gallery ledge 36-inch perfect above a sofa or console
- Large black picture frame 24×36 for oversized prints
Lighting & Hardware
- Flexible LED rope light kit for DIY neon-style signs
- Brass picture ledges 24-inch for swap-and-go art
Craft Supplies
Plants & Accessories
- Faux fiddle leaf fig 6-foot for height where real plants are doomed
- White ceramic vase set of 2 for ledges and shelves
Most items have similar options at Target or HomeGoods if you prefer to touch before buying.
Shopping Tips
White oak beats dark wood in 2026. Design feeds have shifted completely. These white oak floating shelves look current, not dated.
Grab these velvet pillow covers for $12 each. Swap them every season and the whole room feels different.
Curtains should puddle or kiss the floor, never hang halfway up. These 96-inch linen panels are right for standard 9-foot ceilings.
Lead with one big plant instead of five small ones. Try a 6-foot faux fiddle leaf fig for immediate scale.
Measure twice, buy once. Adjustable picture hanging kit makes gallery walls painless.
If you are unsure about color, start with neutrals and add a single accent color in accessories. Neutral paint sample set helps you test before committing.
Frequently Asked Questions
Q: What height should I hang wall art above furniture?
A: Aim for the center of the art to be about 57 to 60 inches from the floor, and 3-6 inches above the furniture top. For gallery ledges hang the ledge 3-6 inches above the sofa back.
Q: Can I mix boho textiles with modern furniture without it looking messy?
A: Yes, keep the color palette tight and use the rule of three. I mixed one ikat pillow, one linen pillow, and one textured knit on a modern sofa and it read intentional. Use similar tones to tie them together.
Q: How do I avoid a cheap-looking DIY gallery wall?
A: Use consistent mat widths or paint all frames the same color, and keep spacing between frames at 2-4 inches. Thrift frames then unify them with paint for a higher-end look.
Q: Are faux plants acceptable for styling wall shelves and art displays?
A: Absolutely. Real plants are great, but a well-placed faux fiddle leaf fig or trailing pothos adds scale and requires zero maintenance. Use faux options where light or care is a problem.
Q: What size rug should I use when hanging artwork over a seating area?
A: Bigger than you think. For a standard living room use at least an 8×10 so front legs sit on the rug. Matching the art scale to rug size prevents the room from feeling disjointed.
Q: How can I make a small piece of art look intentional in a large room?
A: Float small art within a larger mat or hang it as part of a group. Alternatively, place it over a tall console at eye-catching height, with a 30-36 inch gap above the furniture for balance.
Q: Can I do these easy diy room decor wall art craft ideas in a rental?
A: Yes, many ideas are renter-friendly. Use removable adhesive, washi tape murals, peel-and-stick wallpaper, and shelves that use drywall anchors rather than permanent fixtures.

