

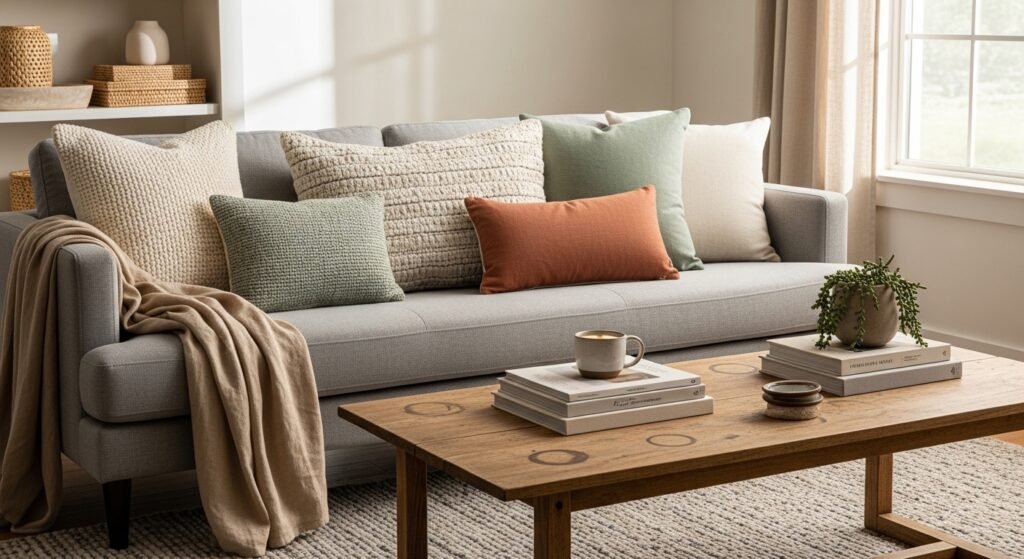
My living room had nice furniture and decent lighting but it still felt like a waiting room. Took me embarrassingly long to figure out it was missing texture. Every surface was smooth, every color was flat, and nothing invited you to actually sit down. Sewing a few simple covers and adding a couple of tailored touches made it finally feel lived in.
These ideas lean toward modern and approachable classic. Most projects are under $50 in materials, with a few bigger ones around $75-150 if you add upholstery foam or long linen panels. They work in living rooms, bedrooms, entryways, and anywhere that needs a softer, more polished finish.
Box-Pleat Cushion Covers for a Tailored Living Room Look
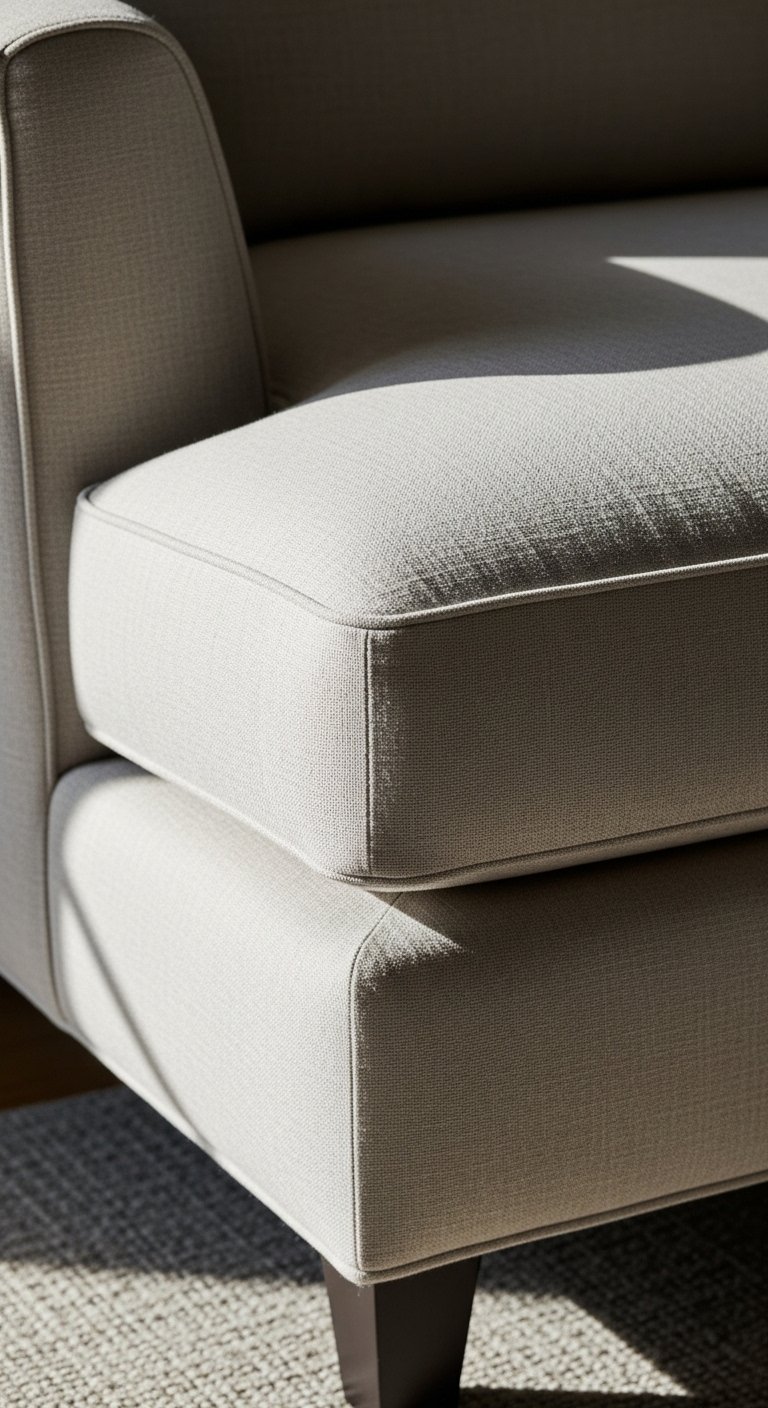
The moment I stitched box pleats on a set of 22-inch cushion covers, the sofa stopped looking slapped together. Box pleats give structure and read like custom upholstery, which makes inexpensive furniture feel considered. Use a 1-inch pleat and a 1-inch seam allowance for crispness, and topstitch 1/8 inch from the edge for a professional finish. Works best in linen or cotton-linen blends, budget around $15-30 per cover for fabric. Avoid cutting corners by using lightweight interfacing on the placket so the pleat keeps shape. Pair these with the piped cushions idea later to make a cohesive sofa trio.
Envelope Pillow Covers with Hidden Snap Closure for Bedrooms
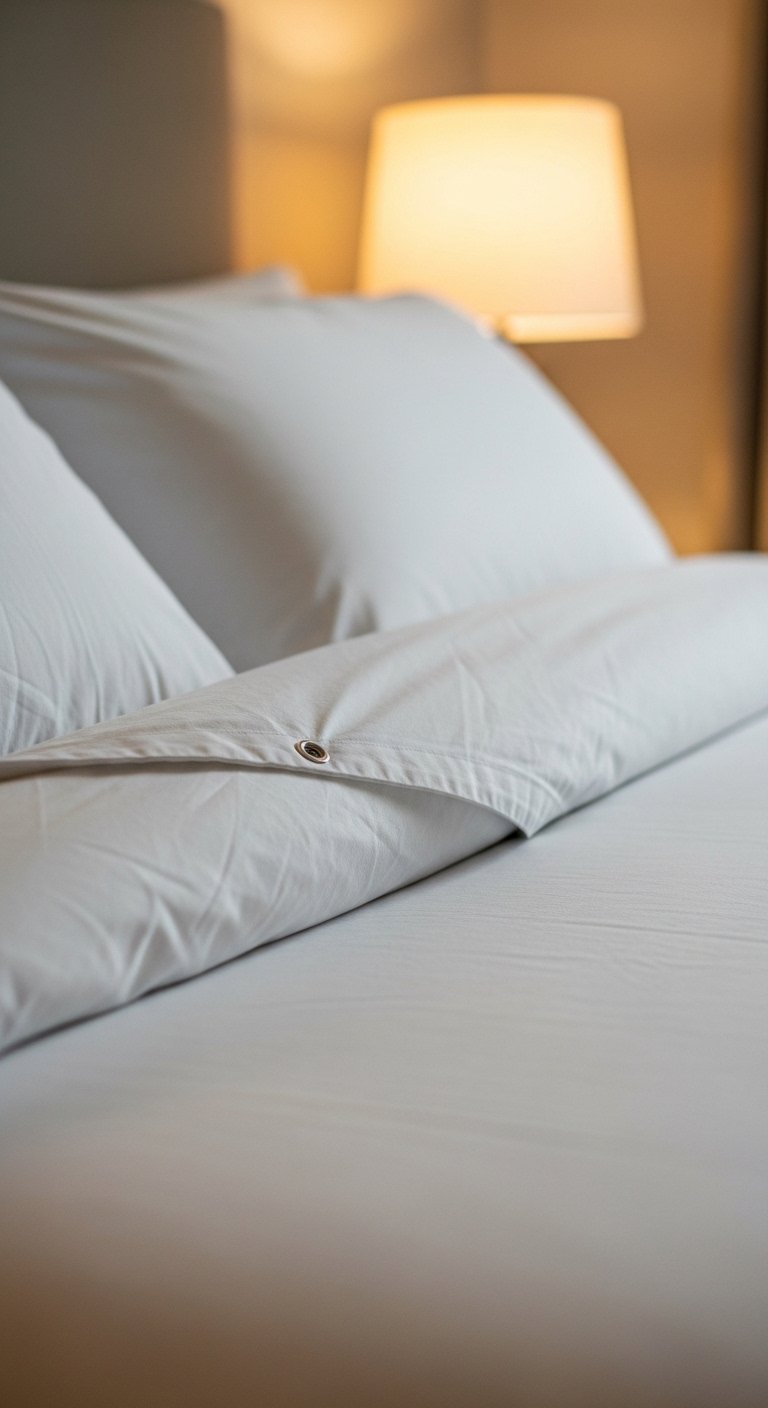
Most store shams have visible closures that look cheap up close. An envelope back with hidden snaps looks clean and lasts through washing. Cut the back overlap to be 2/3 the pillow width for a snug fit, and use a row of lightweight snaps instead of Velcro so nothing peels apart in the night. I used 22-inch down pillow inserts and sized the covers to allow the insert to fill the corners fully. Budget is tiny, about $8-15 per cover for fabric and snaps. Common mistake, leaving the overlap too short, makes the insert pop out.
Invisible Zipper Cushion Covers for a Sleek Minimal Sofa
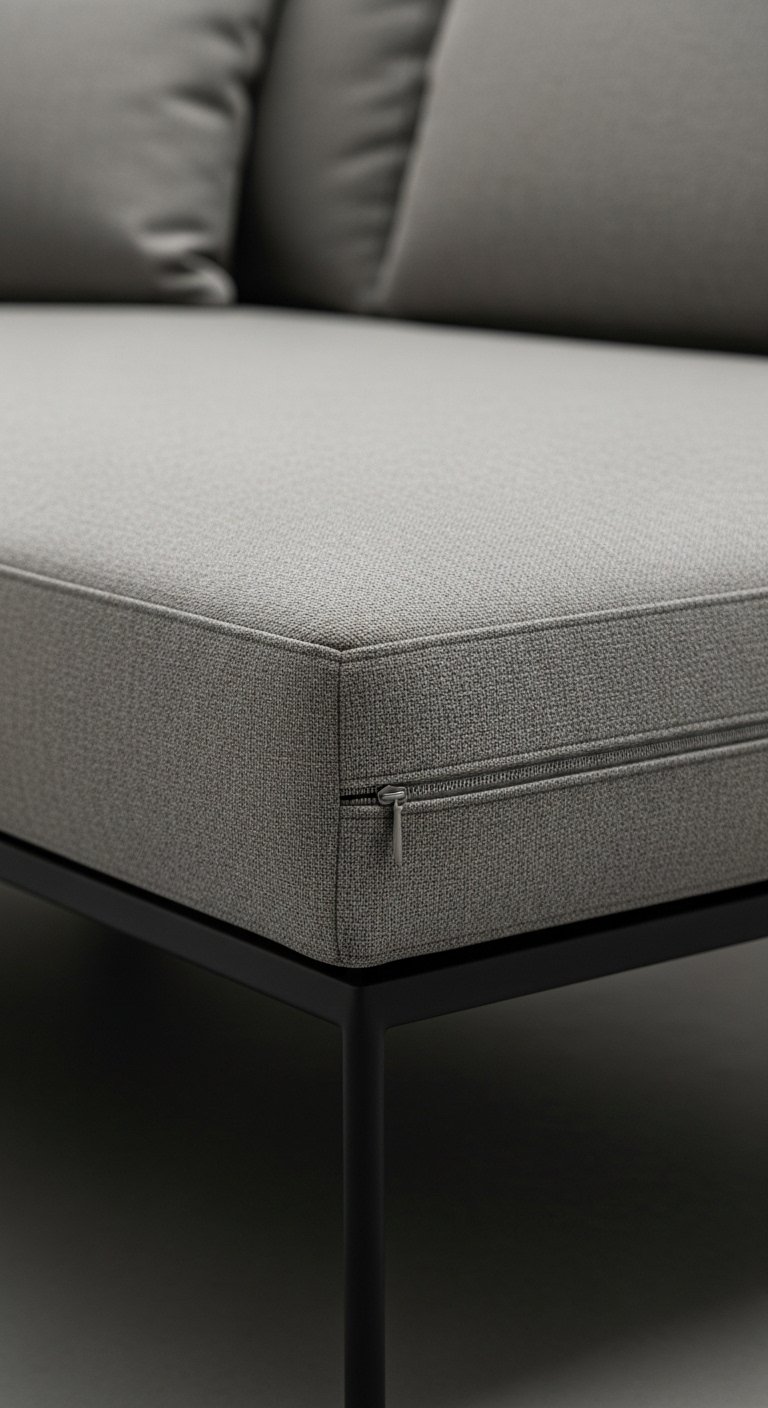
I found invisible zippers were the secret to couches that look showroom ready. An invisible zipper foot and a little practice give you a seam that disappears. Use a 9-11 inch zipper for a standard 18-22 inch square pillow, and baste the zipper tape to the seam before machine stitching. Try an invisible zipper kit to get the right foot and sliders. Budget under $10 per zipper. A common error is topstitching too close to the zipper, which makes it visible. If you want the tailored look without the zipper work, see the envelope snap trick from earlier.
Piped Cushions for a Polished, Hotel-Style Sofa
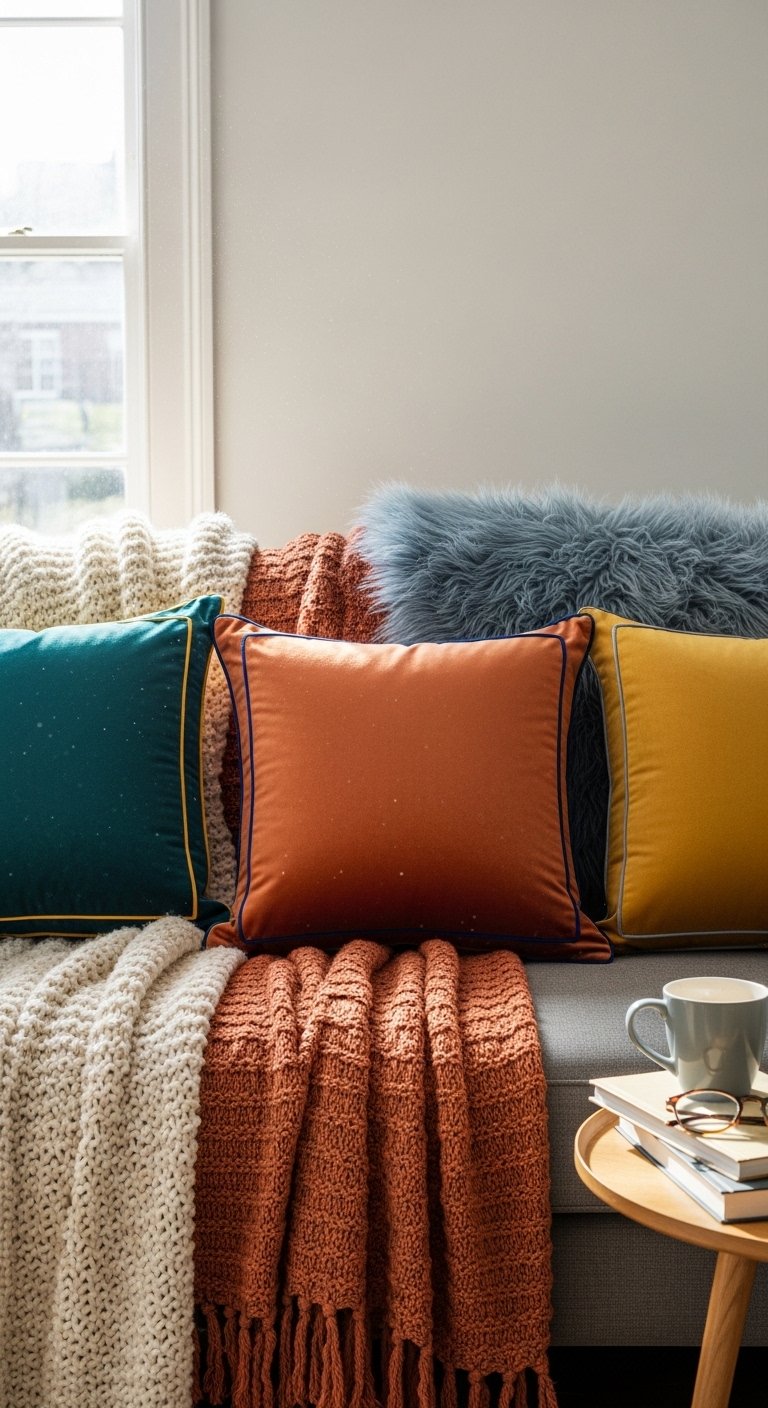
There is something about piping that makes a pillow look custom. I use 1/4-inch piping cord and bias tape to match or contrast. Cut your cover pieces with a 1/2-inch seam allowance, stitch the piping into the seam, and clip curves carefully. For a crisp edge, press the seam toward the cushion face and topstitch 1/8 inch from the piping. Budget is $5-12 extra per cushion for cord and bias tape. Try piping cord and bias tape if you do not want to make your own. Avoid using thick bulky batting inside a pillow because the piping will flatten.
Euro Sham with Knife Pleat for a Cozy Reading Nook
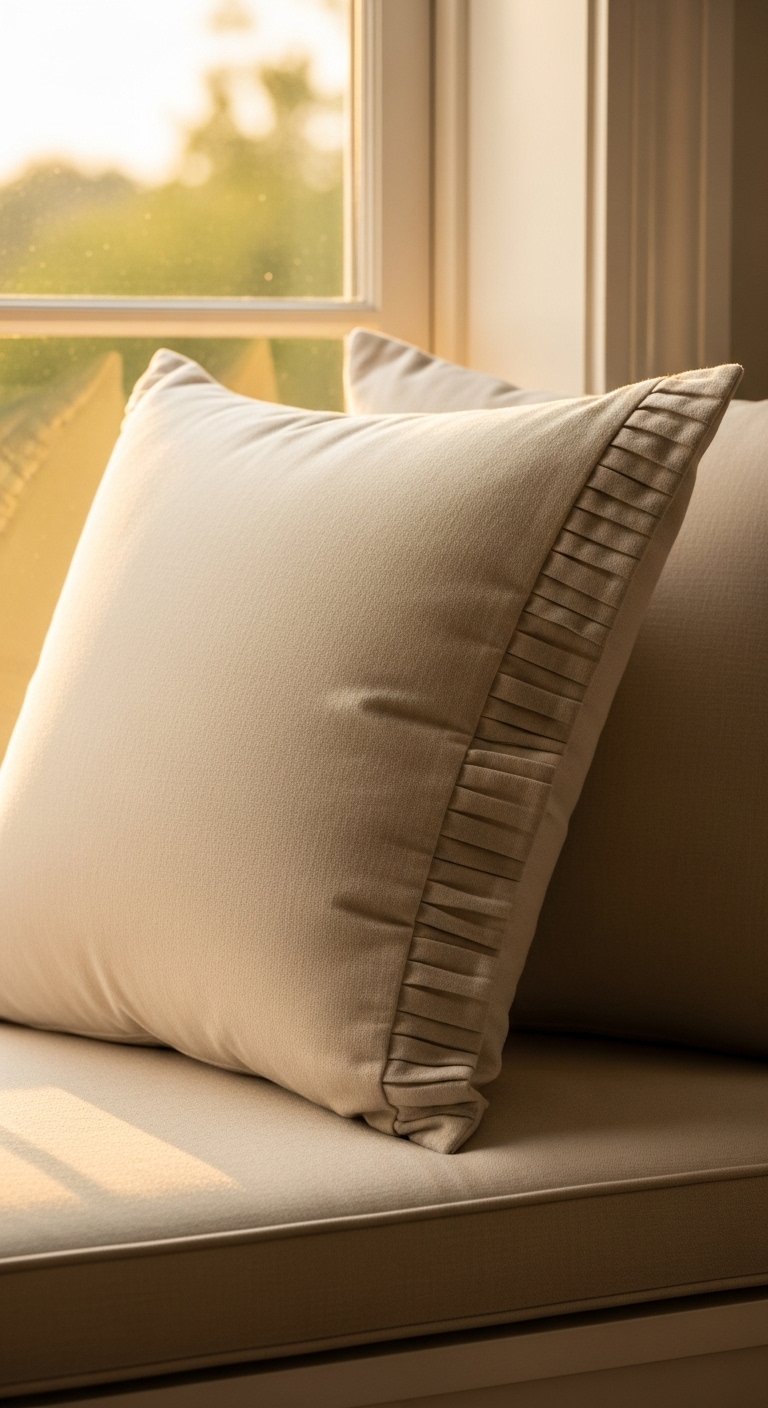
There is something about a reading nook with layered pillows that makes you want to cancel plans. A knife pleat across a Euro sham reads relaxed but tailored, great for daybeds or window seats. Cut a 26-inch square sham and make a 2-inch knife pleat centered vertically. Use medium-weight interfacing along the pleat so it keeps its fold, and insert a 26-inch down fill so the sham looks full. I bought 26-inch down inserts to get hotel-style loft. Mistake to avoid, underfilling the sham leaves the pleat saggy.
Mitered Corner Table Runner for a Styled Dining Table
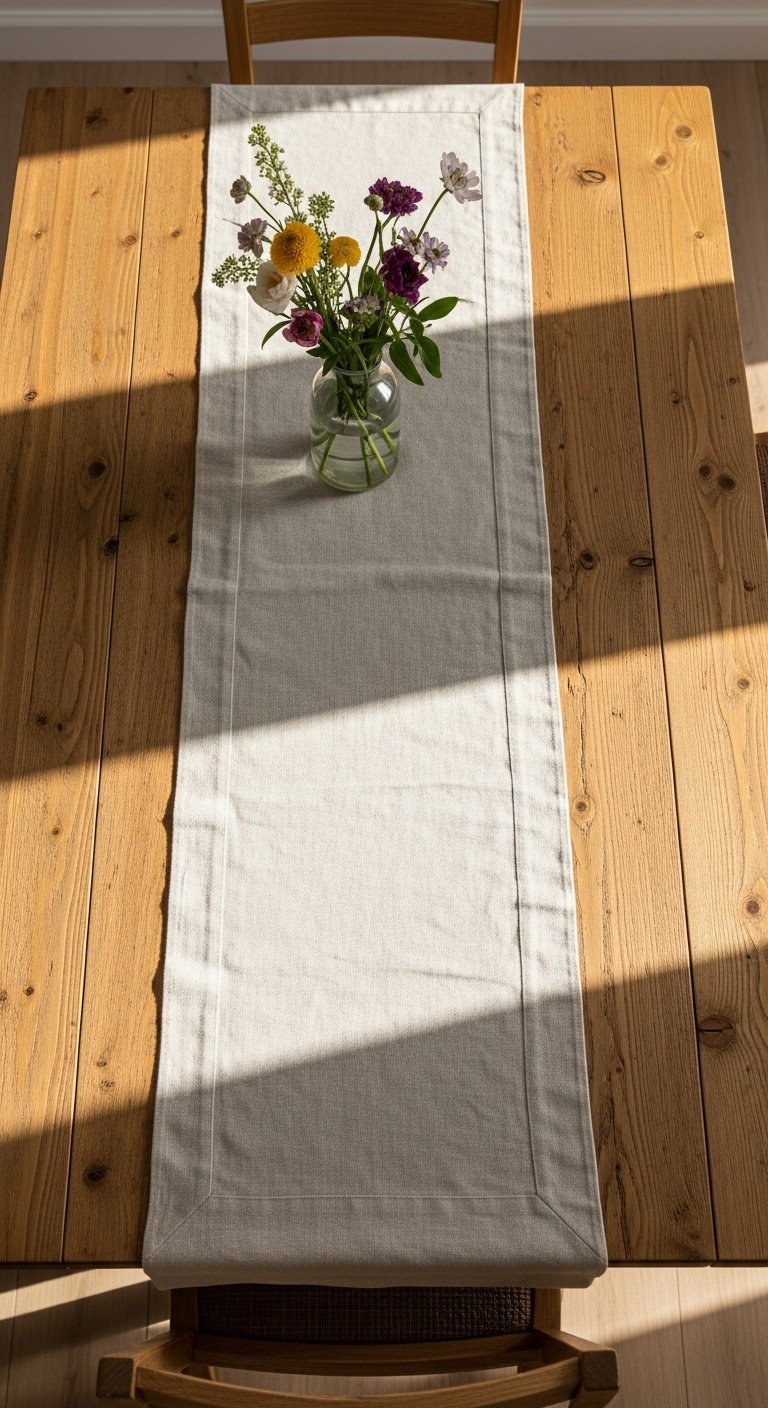
A table runner with mitered corners looks custom even with basic fabric. Cut the runner 12-14 inches wide, and use a 45-degree stitch at each corner leaving 1/4 inch seam allowances to mimic seamstress-made napkins. Press the miter flat and topstitch 1/8 inch from the edge for durability. Fabric budget is $20-40 depending on linen quality. Use linen fabric by the yard if you want the textured look. People often sew straight corners and it reads amateur. A small extra step at the corners makes a huge visual difference.
Linen Napkins with Hand-Stitched Hem for Everyday Dinner
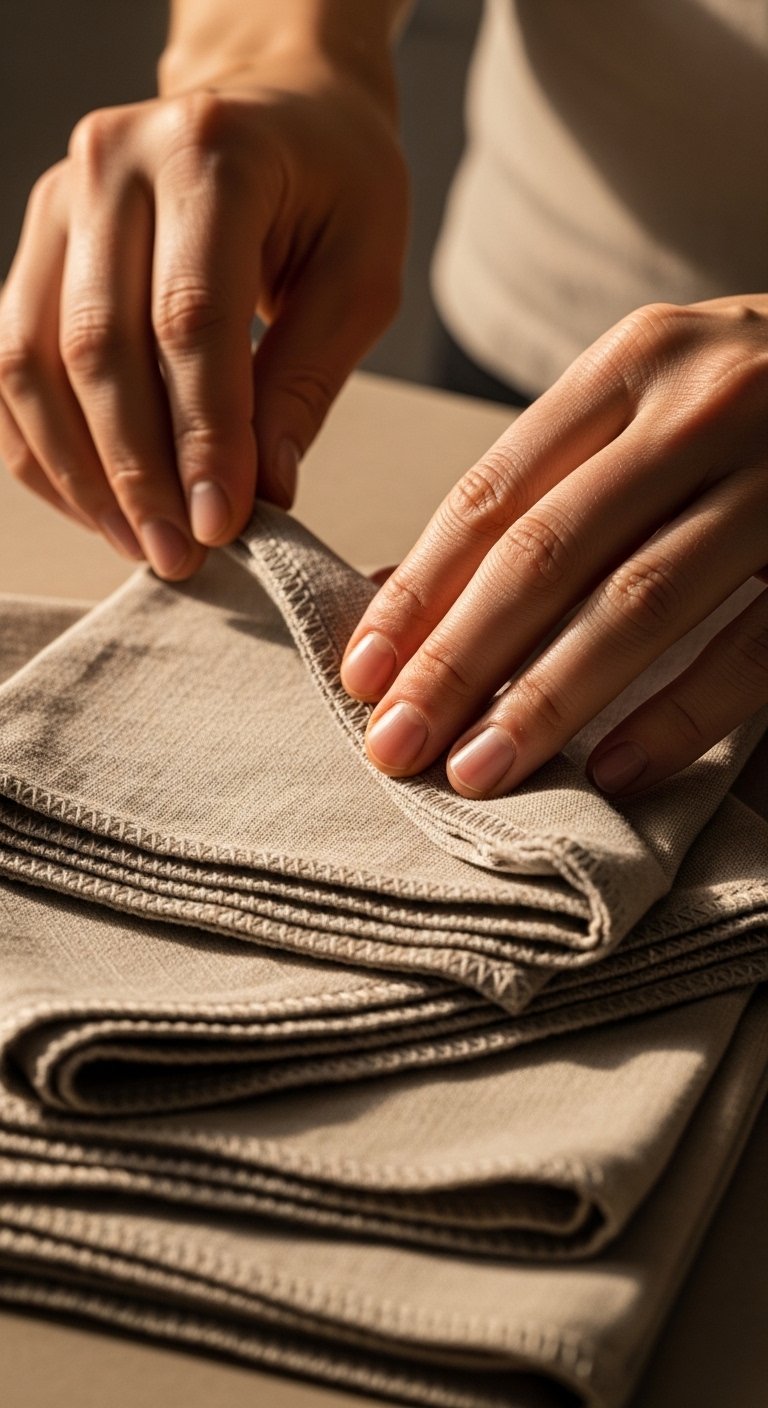
My friends notice these napkins even before the table is set. A 1/4-inch hand-stitched hem on linen looks handmade and refined. Cut 18×18 inches, press a double 1/4-inch hem, and use small slip stitches by hand for a nearly invisible finish. Fabric costs are low, about $6-10 per napkin if you buy linen yardage. I keep a pack of linen fabric swatches on hand to pick colors that match existing tableware. Common mistake, skipping the pressing steps, which makes hems look sloppy in photos and real life.
Door Draft Stopper with Hidden Velcro for Entryways
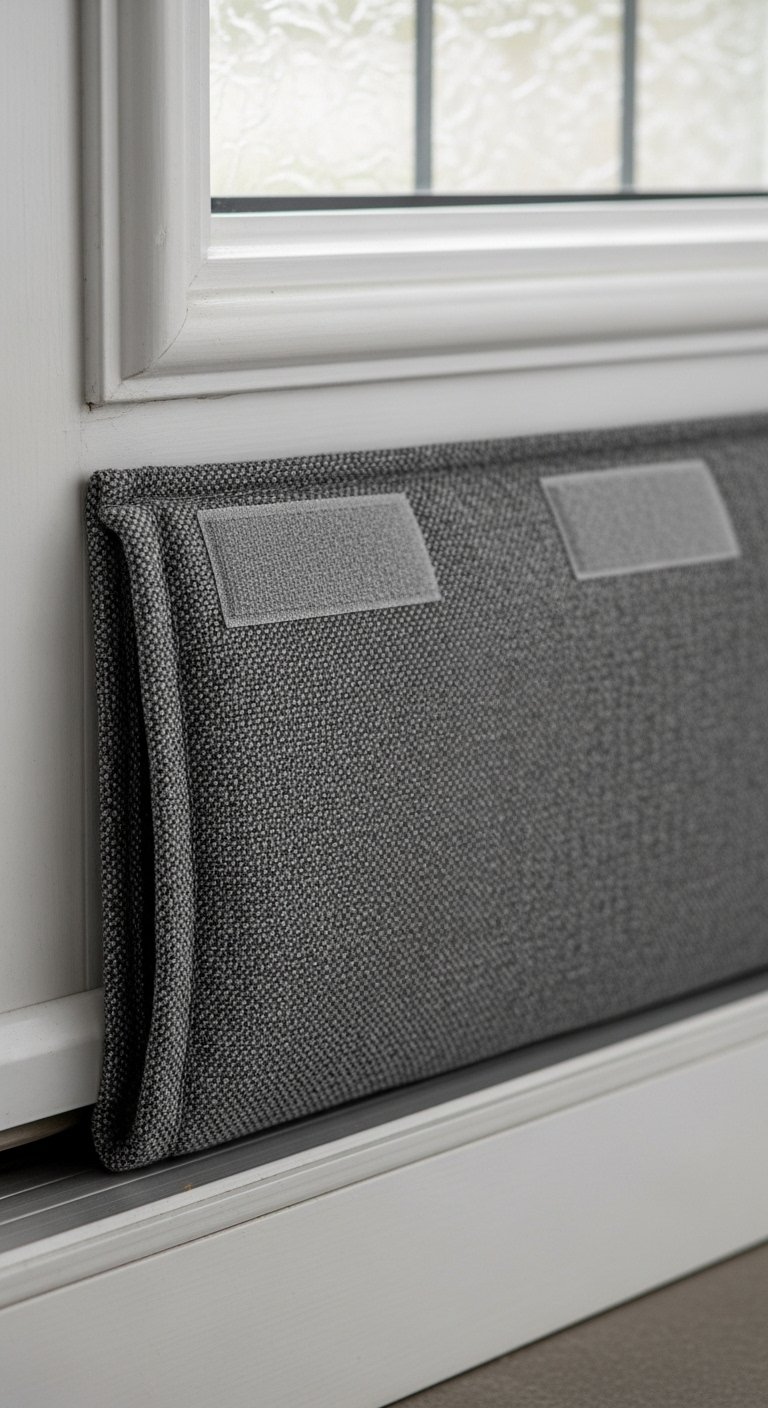
If your entryway feels cold and thin, a draft stopper makes a big difference. Sew a long tube filled with rice or poly pellets and enclose the filling in a small inner bag so you can wash the outer cover. Add a 1-inch Velcro strip so it detaches for laundering. I use a 36-inch length for standard doors and a 40-inch length for double doors. Budget $8-20 depending on fill. Find poly pellets for weight. People forget to make the inner bag removable and then never wash the whole thing.
Simple Roman Shade with Crisp Folds for Small Windows
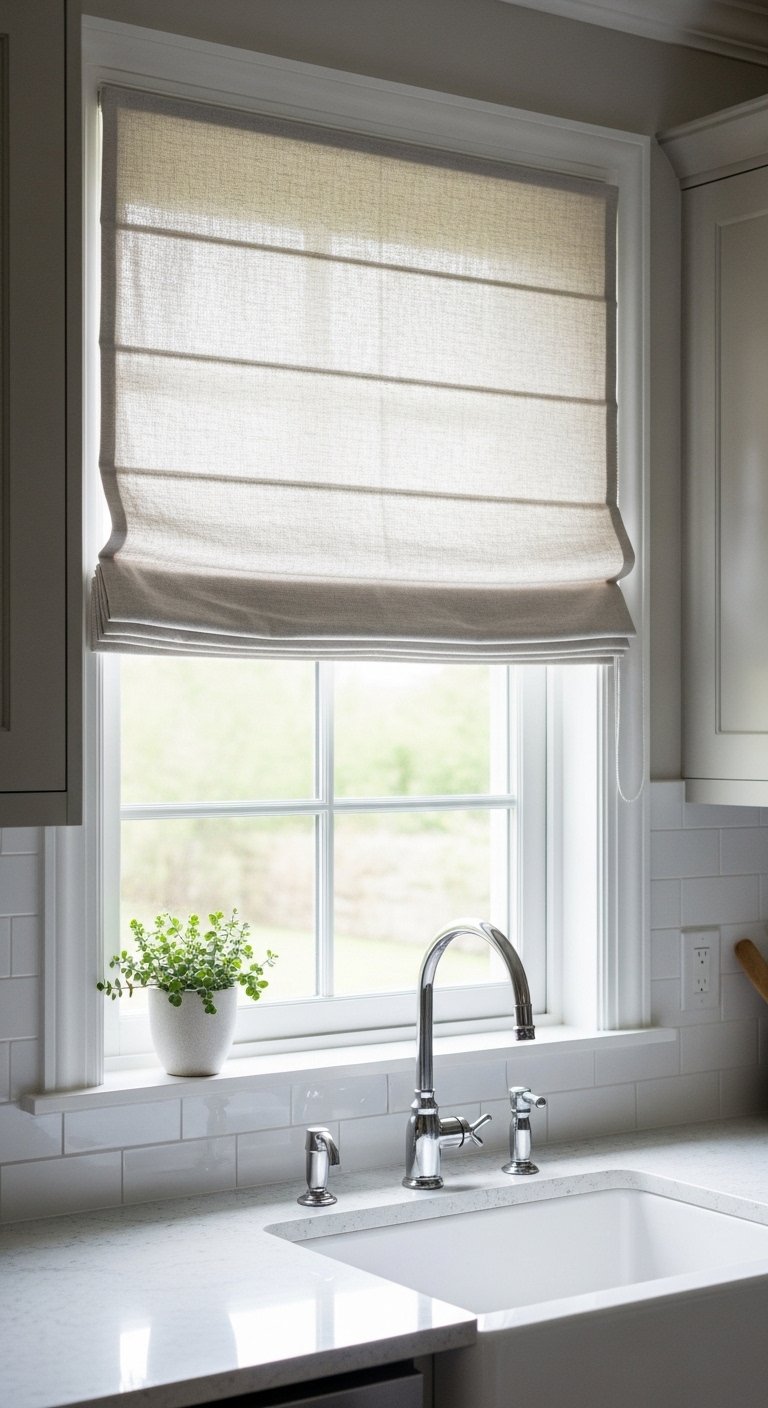
A well-made roman shade reads custom rather than DIY. Use light to medium-weight fabric and line it so the folds hold. I space the folds every 8-9 inches for a neat profile, and add flat battens in the bottom fold so it hangs straight. For hardware, try a basic roman shade kit and match the shade width to the inside mount minus 1/4 inch for clearance. Budget is $40-120 depending on fabric and kit. Roman shade hardware kits cut the fiddly parts. Mistake people make, skipping lining and ending up with a lumpy stack.
Large-Scale Quilted Throw Using 10-Inch Squares for Sofas
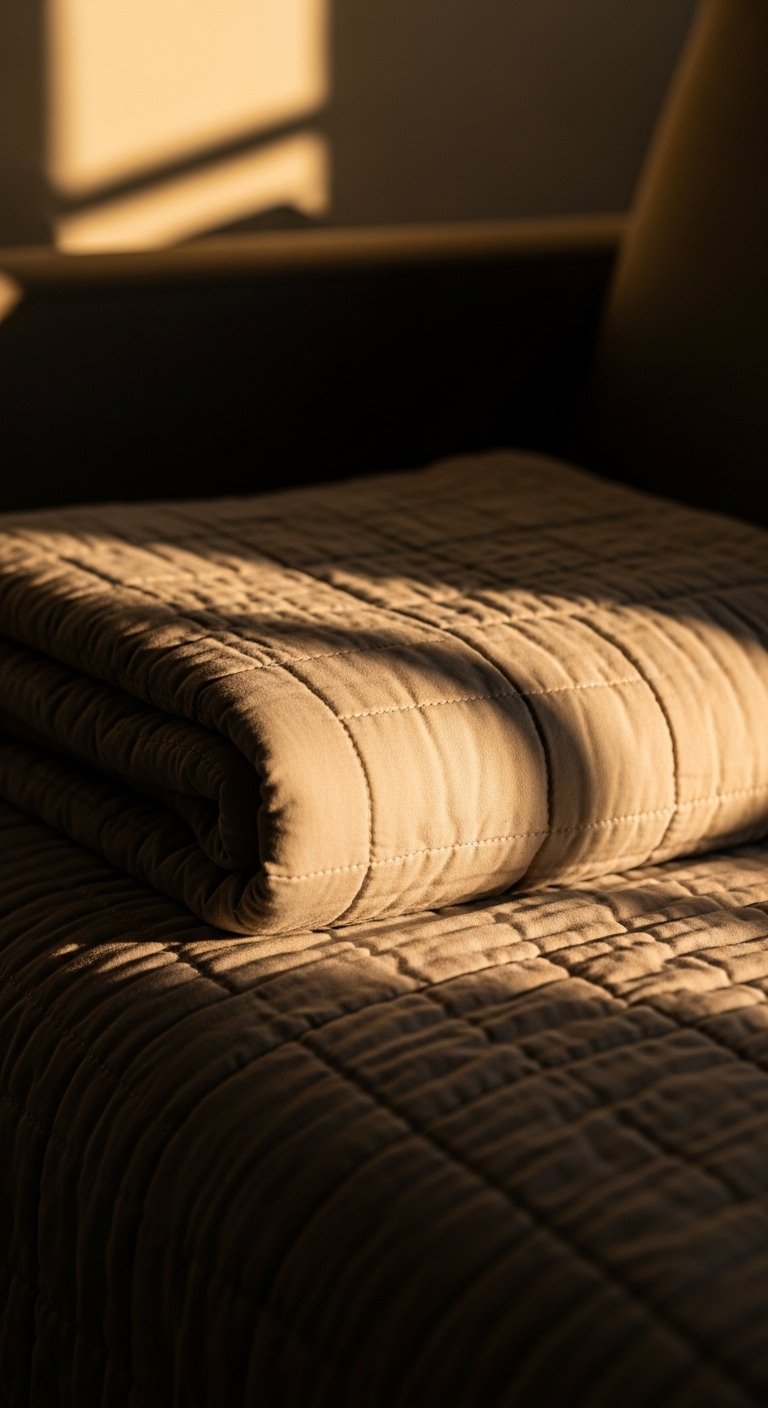
Quilting does not have to be tiny squares to look good. I used 10-inch squares and a simple straight-line quilting pattern to make a throw that reads handmade but not fussy. Cut a 50×60-inch layout, use batting and a backing fabric, and stitch lines 1.5 inches apart for texture. Fabric cost runs $40-80 depending on cotton quality. I keep cotton batting rolls on hand for throws. New stitchers often choose too-small squares, which makes the project take forever and look busy.
Slipcover for a Small Pouf That Actually Fits
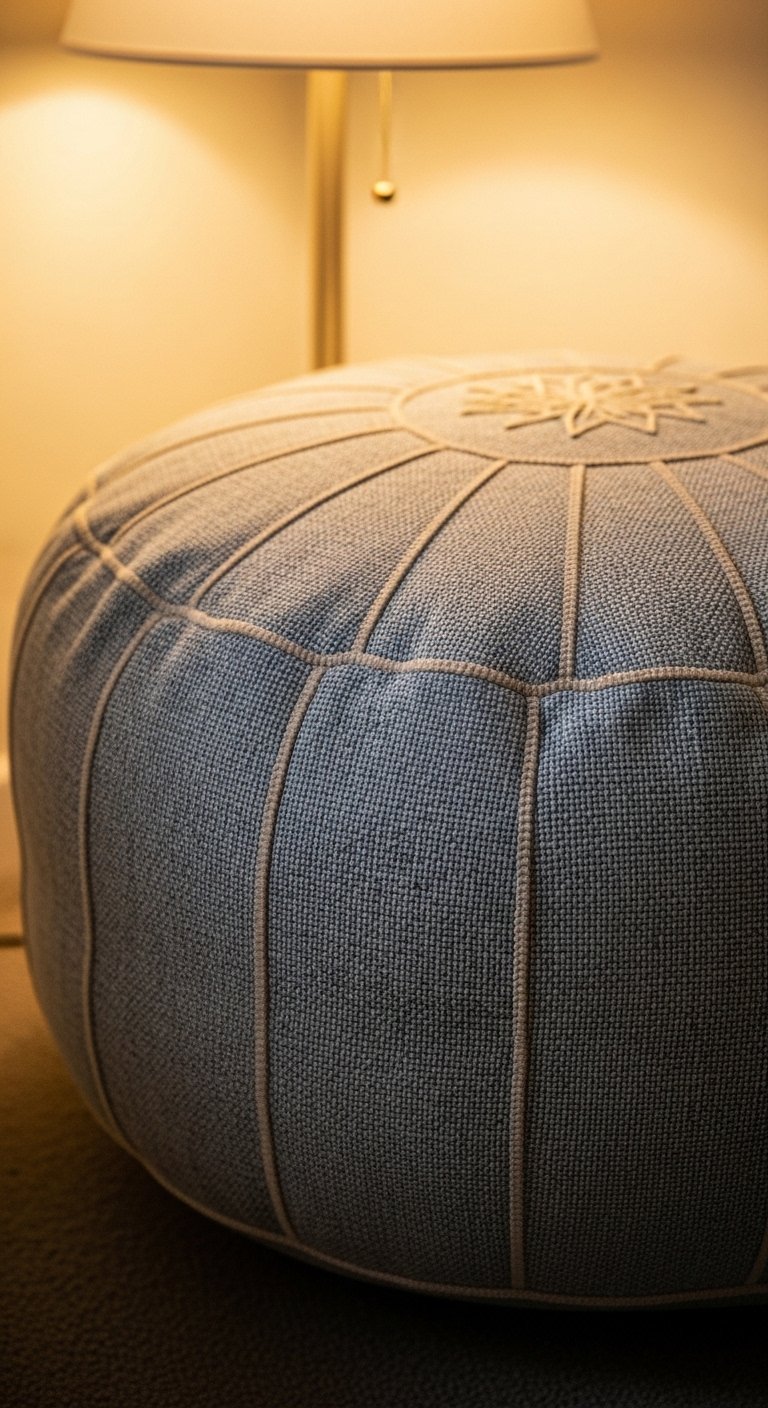
My entryway had a cheap pouf that always looked rumpled. A fitted slipcover with a drawstring bottom made it look tailored and stay clean. Measure top and side height carefully. I use 1-inch elastic in the hem or a small drawstring so the cover stays put when you move the pouf. Budget under $25 for fabric and elastic. Try heavy-duty cotton duck fabric for durability. Common mistake, not making the cover removable, which makes laundering impossible.
Fabric Storage Baskets with Fusible Interfacing for Closets
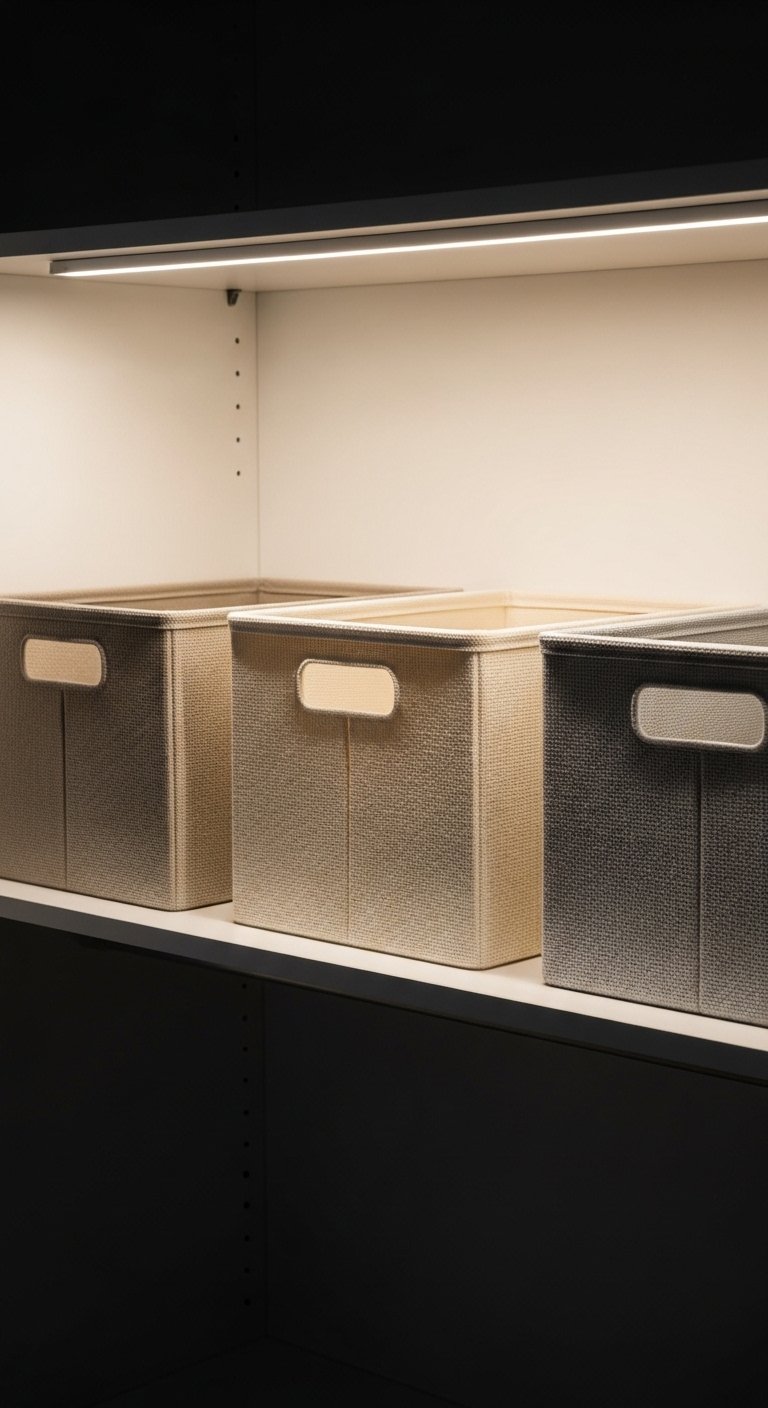
Open shelving looks messy when baskets flop. Fuse a heavyweight interfacing into each panel so the basket keeps its square shape. I make 12x12x8-inch baskets for small shelves and use box corners sewn with a 1/2-inch seam and reinforced topstitching. Fabric and interfacing budget about $10-20 per basket. Use heavyweight fusible interfacing. People underestimate how much structure interfacing adds, and thin baskets just collapse under real-life use.
Shower Curtain with Weighted Hem for a Crisp Bathroom Finish
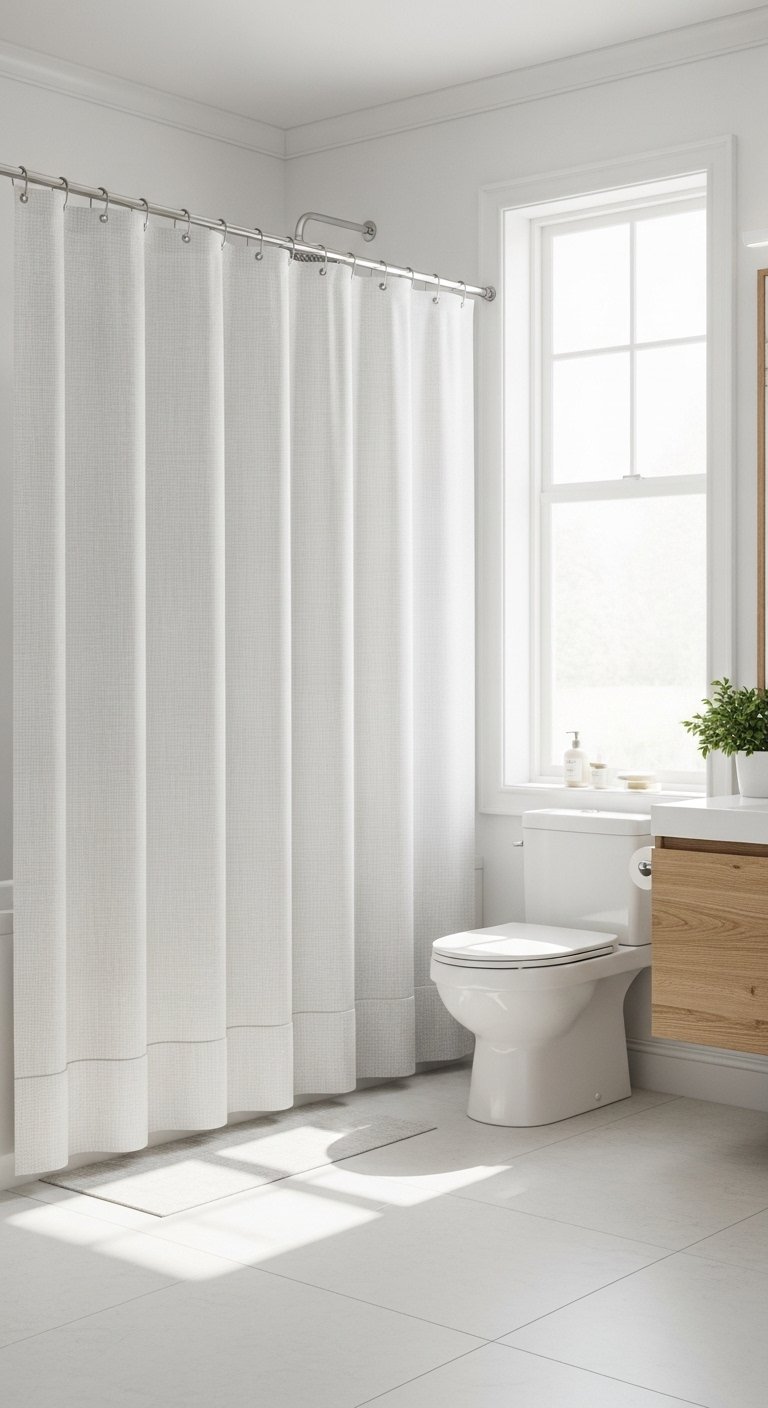
Bathrooms feel cleaner when curtains hang correctly. For a shower curtain, stitch a narrow double hem and insert small stainless steel shower curtain weights or chain for a neat fall. Make the curtain 1-2 inches longer than the tub to puddle slightly if that is your style, or have it kiss the lip of the tub. Budget under $30 for materials plus weights. I used stainless shower curtain weights. Mistake to avoid, using light slippery fabric that balloons when the fan runs.
Lampshade Cover for a Warm Layered Lighting Scheme
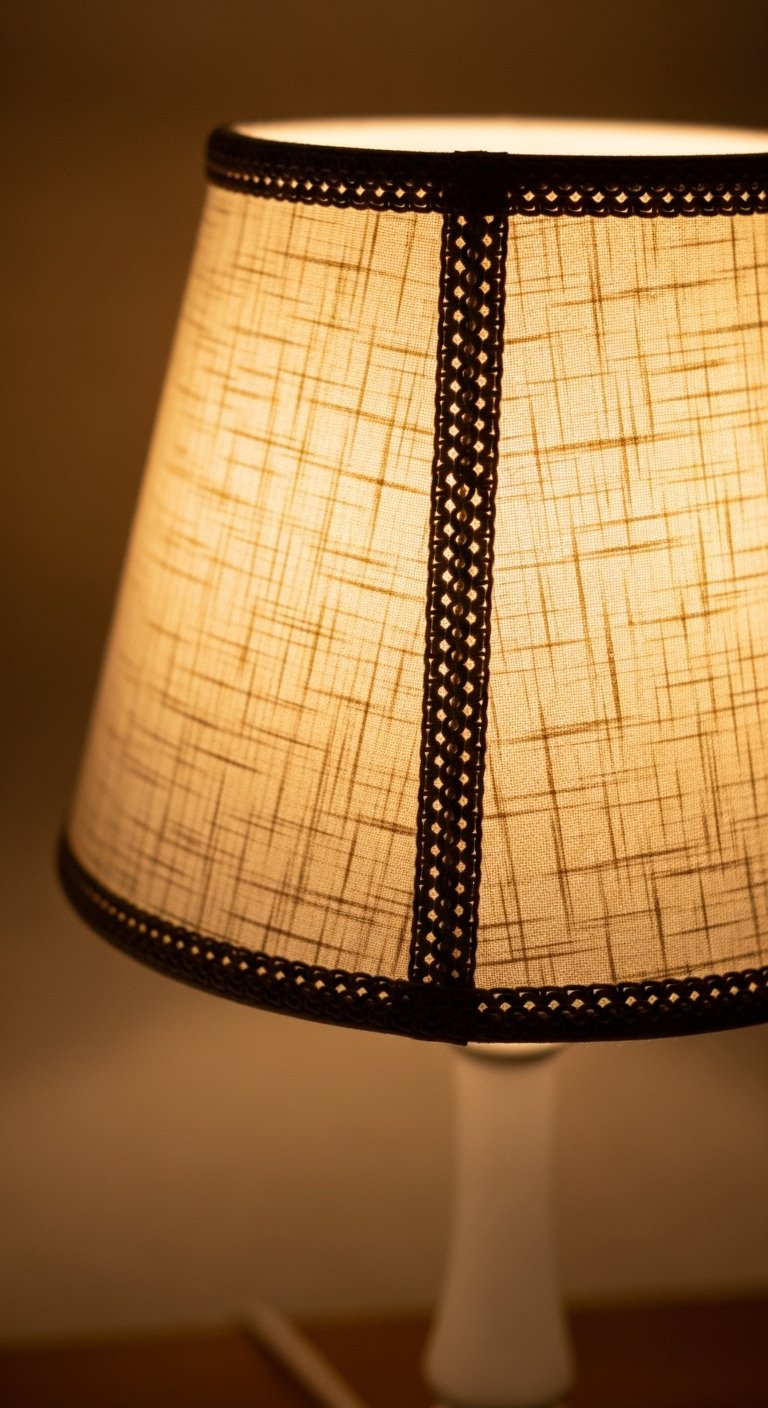
A lampshade cover updates lighting for almost nothing. Measure the shade circumference and height, then add a 1/8-inch seam allowance for a snug fit. Use lightweight fabric and fusible web to avoid glue marks. Add a 1/4-inch ribbon trim at the top and bottom for a finished look. Budget is $8-20 per shade depending on fabric. I keep fusible web tape for quick covers. People pick patterns that are too large for the shade scale, which reads off in the room.
Upholstered Headboard Cover with Welt Cord for a Bedroom Focal Point
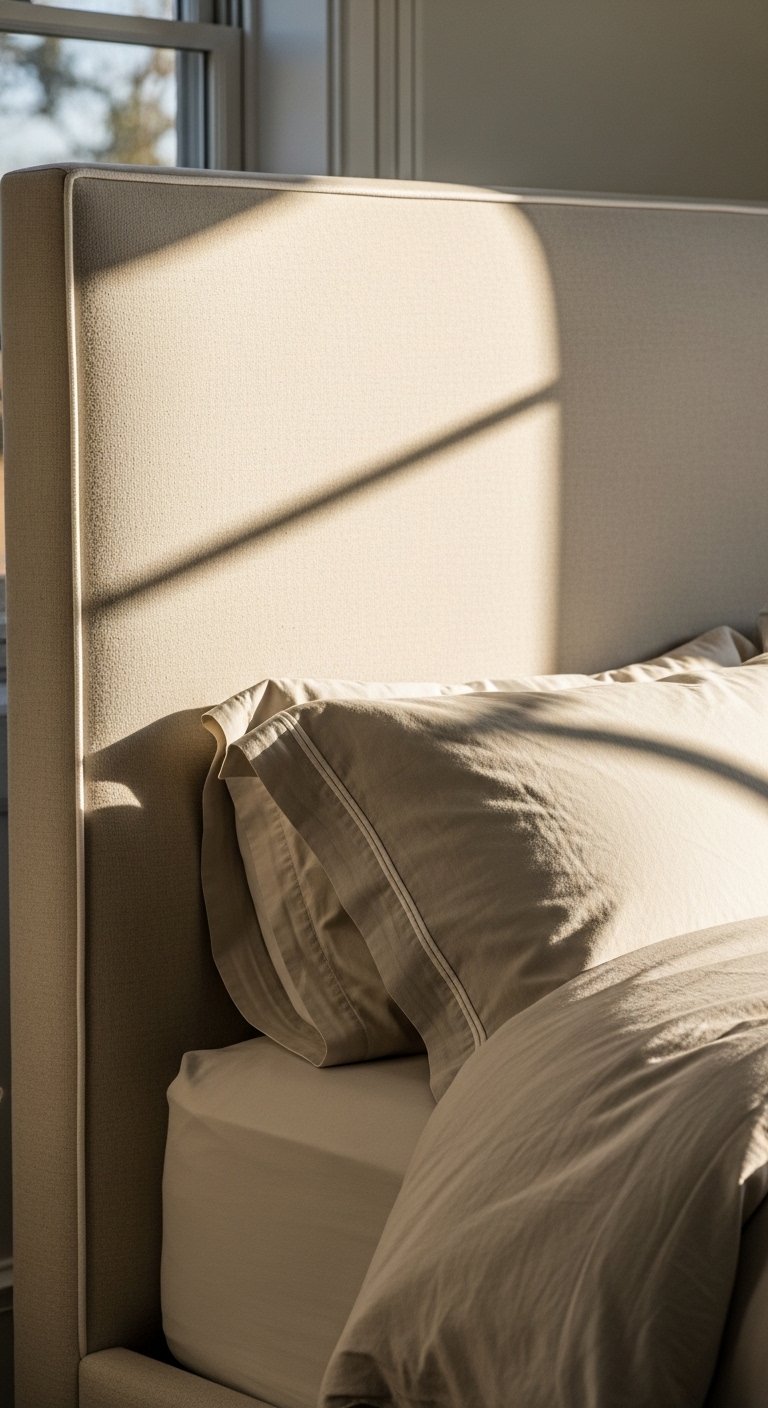
I rebuilt a cheap headboard with a removable upholstered cover and welt cord and it made the whole bedroom look custom without professional upholstery. Cut the cover to overlap the headboard by 3 inches on each side, stuff with foam if you want extra depth, and sew welt cord into all seams for a clean edge. Use upholstery foam sheets for padding and welt cord for trim. Budget runs $50-150 depending on fabric and foam. A common error, skipping the removable zipper or Velcro, makes future cleaning a nightmare.
Your Decor Shopping List
Textiles
- Honestly the best $40 I have spent. 22-inch down pillow inserts in pairs fill cushions for a full look
- Linen fabric by the yard (~$20-40 per yard) for runners, napkins, and shade covers
- 26-inch down pillow inserts for Euro shams
Hardware and Tools
- For invisible zippers and neat seams, invisible zipper kit (~$8)
- Piping cord and bias tape (~$10) for piped cushions
- Roman shade hardware kit if you are making custom shades
Structure and Fill
- Heavyweight fusible interfacing for baskets and shams
- Upholstery foam sheets for headboards and poufs
- Stainless shower curtain weights for straight hangs
- Poly pellets for weight for draft stoppers
Many of these items have similar alternatives at Target or HomeGoods if you want to compare in person.
Shopping Tips
White oak beats dark wood in 2026. Design feeds have shifted completely. These white oak floating shelves look current, not dated.
Grab piping cord and bias tape for $8. Contrast piping against a neutral cushion for more impact.
Curtains should puddle or kiss the floor, never hang halfway up. 96-inch linen panels are right for standard 9-foot ceilings.
Lead with fabric weight when choosing materials. Cotton duck fabric holds structure for baskets and poufs better than quilting cotton.
One tall plant beats five tiny succulents for presence. If you need no-maintenance height, try a faux fiddle leaf fig 6-foot.
Frequently Asked Questions
Q: What seam allowance should I use for cushions to get crisp corners?
A: Use a 1/2-inch seam allowance for boxier cushions and 3/8 inch for lighter fabrics. Press seams toward the front and topstitch 1/8 inch from the edge. That small topstitch is what makes corners read sharp in photos and in real life.
Q: Can I mix piping colors with patterned cushions without it looking messy?
A: Yes, but follow the rule of three. Pick up one color from the pattern for the piping and use it across three cushions. That repetition ties the look together and prevents a chaotic mix.
Q: What size zipper for a standard throw pillow?
A: For an 18-22 inch pillow, a 9-11 inch invisible zipper is ideal. If you are making a large lumbar, go with a 14-16 inch zipper so insertion is easy. Invisible zipper kits are cheap and save time.
Q: Is fusible interfacing really necessary for storage baskets?
A: Yes for structure. Heavyweight fusible interfacing keeps sides square under weight. Without it the baskets collapse when you load them, which is what happens in real life.
Q: How do I get my curtains to hang straight if my floor is uneven?
A: Measure curtain length from the highest point of the floor. Add a small 1-2 inch puddle if you want a lived-in look. Adding chain or small weights in the hem also helps the curtain fall straight. Stainless shower curtain weights can be repurposed for this on lighter panels.
Q: Can I machine wash piped cushions?
A: You can if you design the covers to be removable. Use a zipper or Velcro under the seam and prewash the fabric to avoid shrinkage. Skip washing the piping too often to avoid fraying.
Q: What rug size works with the layered cushion-and-throw look?
A: Bigger than you think. For a standard living room use at least an 8×10 so all front furniture legs sit on the rug. That anchors the seating and makes your sewn cushions read like part of a composed vignette.

