

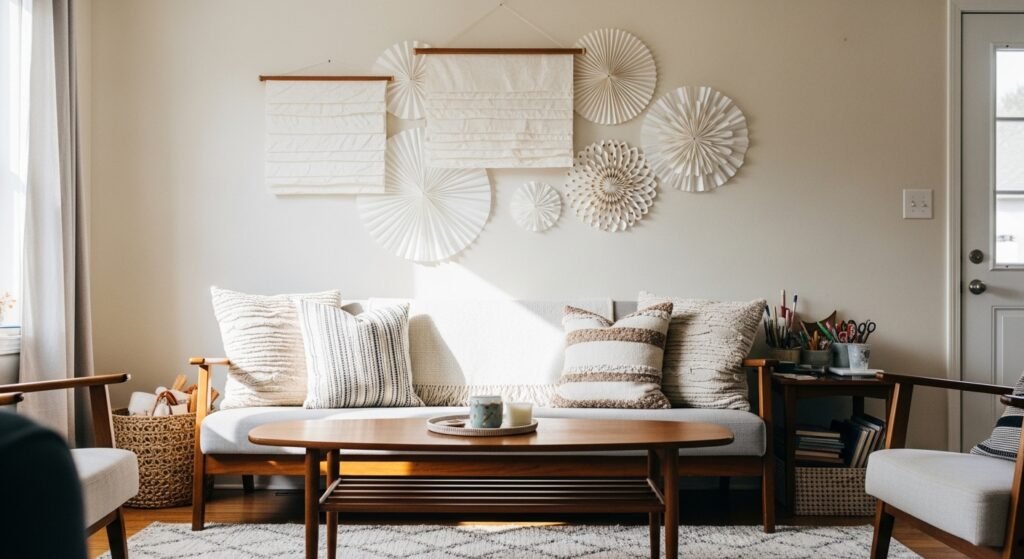
My living room had nice furniture and decent lighting but it still felt like a waiting room. Took me embarrassingly long to realize everything was the same height and texture. I started making paper hangings to add softness and scale without spending a fortune. Little things like a paper sunburst or a row of folded fans made people actually stop and look instead of just sitting.
These ideas lean eclectic modern with some boho and minimalist options mixed in. Most projects run $5 to $60 each, with a couple of splurges near $100 if you add frames or heavy cardstock. They work for living rooms, bedrooms, entryways, nurseries, and apartment walls that need personality without permanent changes.
Paper Fringe Tassel For A Cozy Living Room
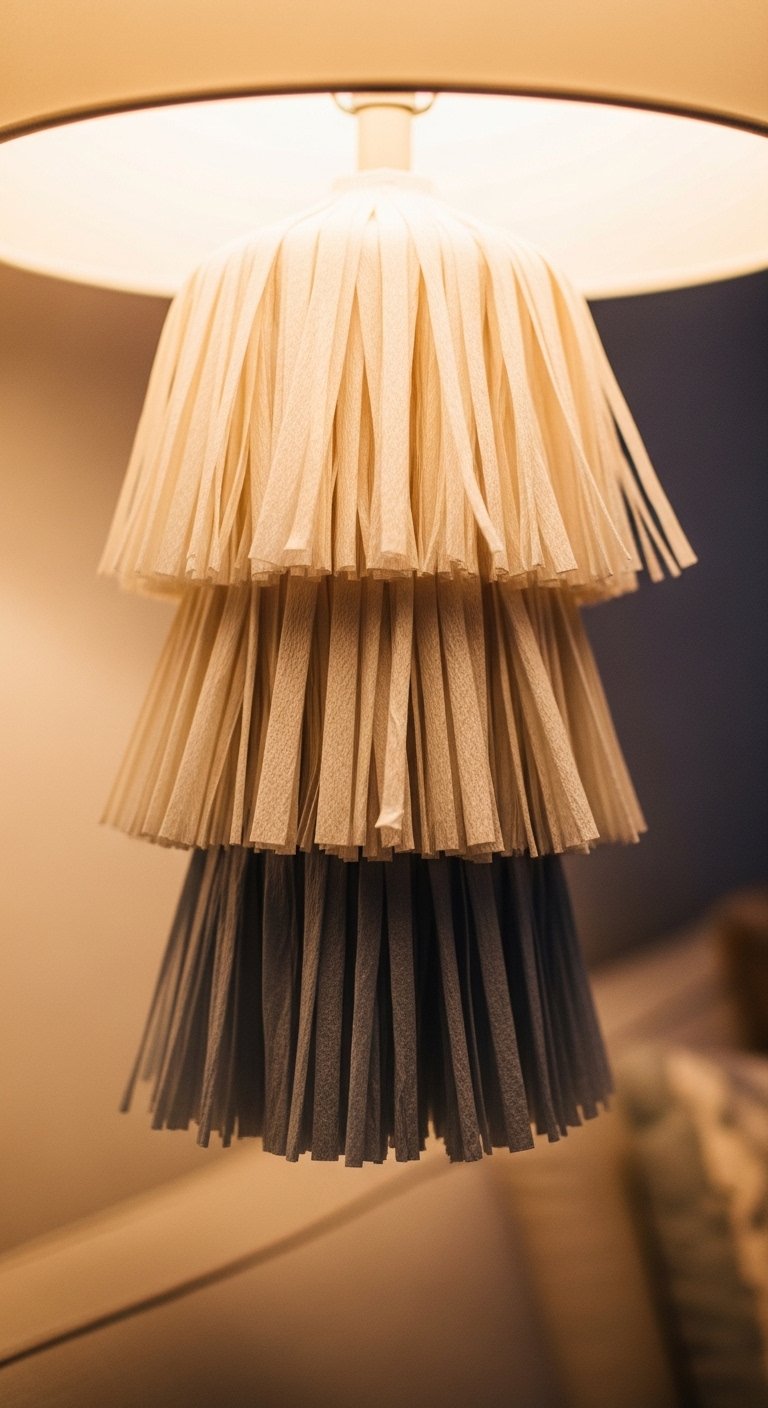
I made a row of paper fringe tassels after noticing my sofa looked too angular. The fringe softens hard lines and gives the eye movement, which makes the room feel approachable. Use crepe paper in a 80/20 color ratio, so one bold color and three neutrals. I cut 2-inch strips and rolled them around a dowel, spacing tassels every 6 inches for a balanced look. Budget is under $20 for materials if you buy crepe paper and a wooden dowel. I used crepe paper streamers and a simple wooden dowel rod. Common mistake is making tassels too small. Aim for 10 to 12 inches long to read from across the room. This pairs nicely with the paper fringe mirror frame idea below.
Geometric Origami Wall Panel For Modern Spaces
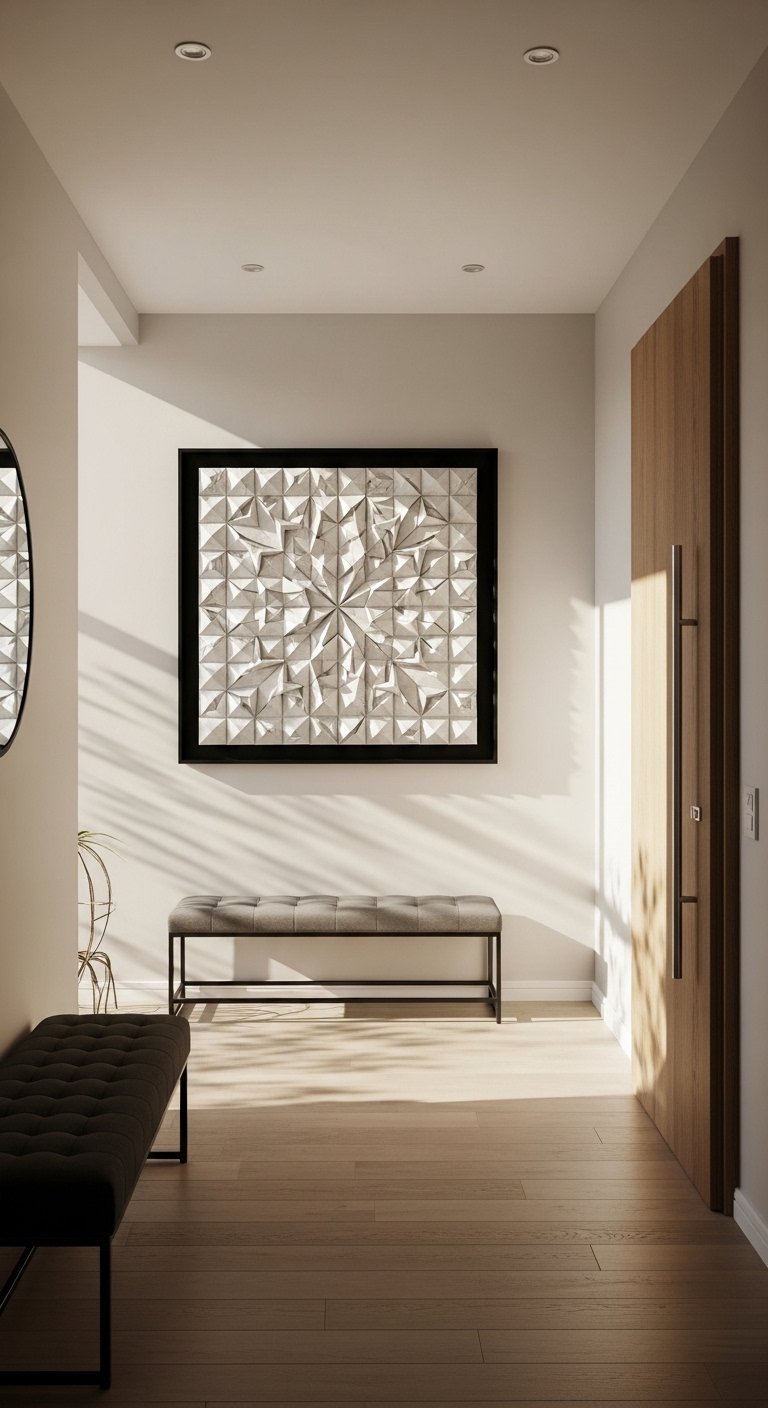
I folded dozens of identical origami shapes and mounted them on black foam board to create a geometric panel that reads like art from across the room. The repetition and shadow are what make it work. For scale, use panels that total about two thirds the width of your console table. I used 140 lb cardstock so the creases hold, and hot glued pieces in a grid of three by four for a clean rhythm. Materials ran about $35 including cardstock, glue, and a backing board. Grab a pack of heavyweight cardstock and an all-purpose glue gun. Mistake people make is random placement. Keep an even grid and use the rule of three for colors so it does not look cluttered.
Layered Paper Fans For A Boho Bedroom
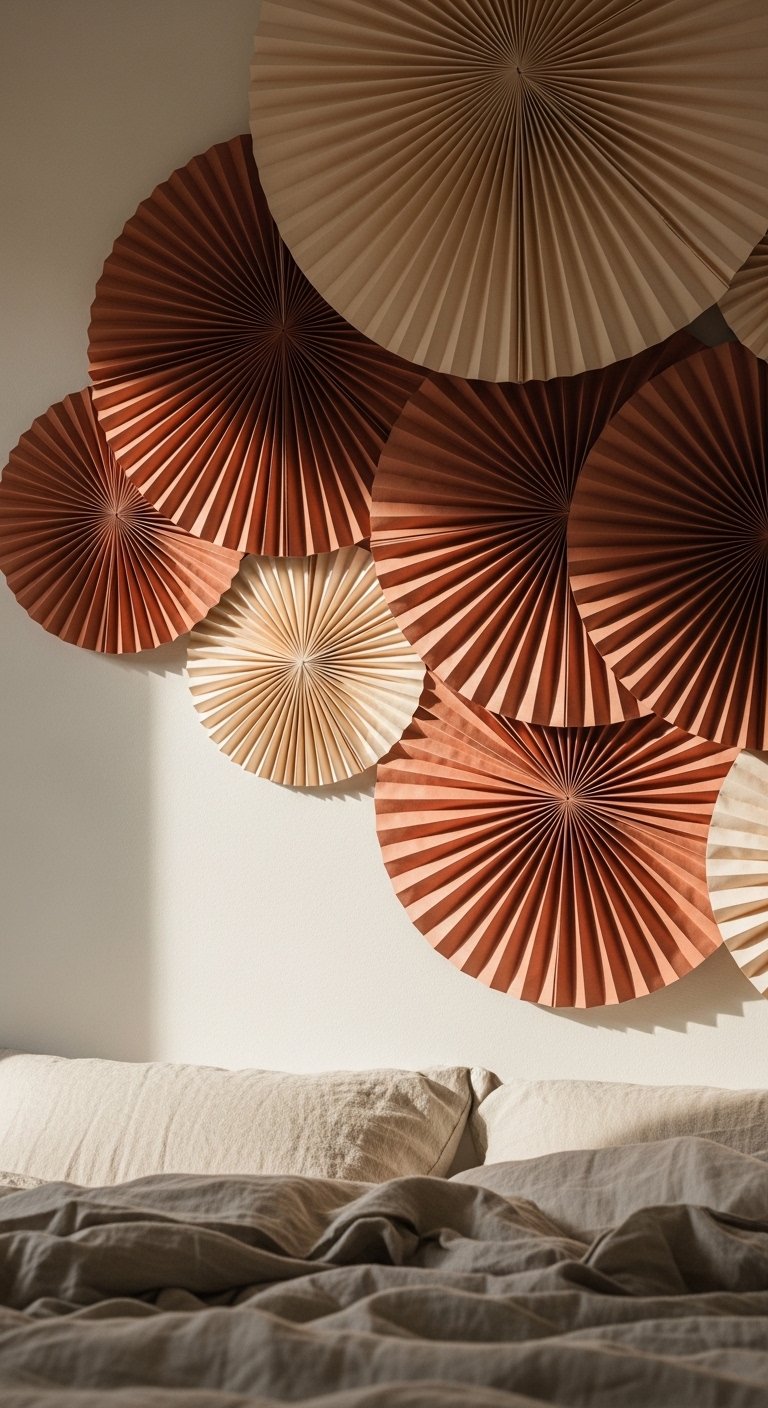
There is something about paper fans that makes a bedroom feel like a small boutique hotel. I cut circular fans in three sizes and layered them, using a 2:1 size ratio so the largest fan is twice the diameter of the smallest. Hang them with small Command strips so renters can remove them. Budget is $15 to $40 depending on paper quality. I used decorative paper party fans and kept spacing at about 6 to 10 inches between centers for a relaxed cluster. Don’t make the cluster too symmetrical. Slight offsets make it look deliberate, not manufactured. Works great above a bed or headboard and pairs well with the paper flower installation later.
Minimalist Folded Paper Sculpture For Entryway
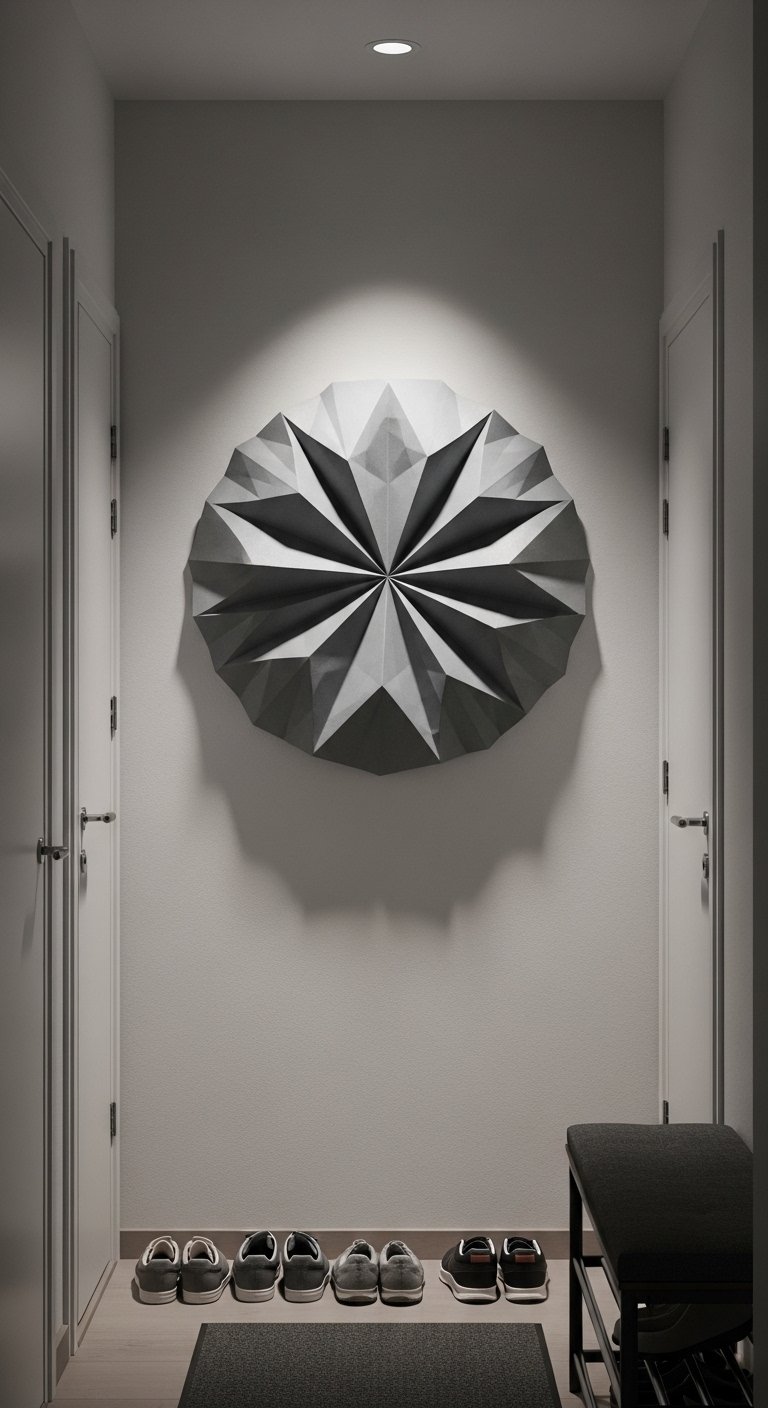
I used a single oversized folded sculpture in my entryway to give the space a focal point that does not scream for attention. This is the one to pick if you want subtle impact. Fold a single sheet of 20-by-30-inch paper into accordion pleats, then secure in the center and fan out. Hang at 57 to 60 inches from the floor to center the piece at eye level. Materials cost under $20 if you buy heavyweight craft paper. Use 20-by-30-inch poster paper. The common mistake is going too small. Bigger means the folds create desirable shadows and texture. This works well next to a mirror or the typographic print idea in the kitchen.
Paper Flower Installation For Dining Area
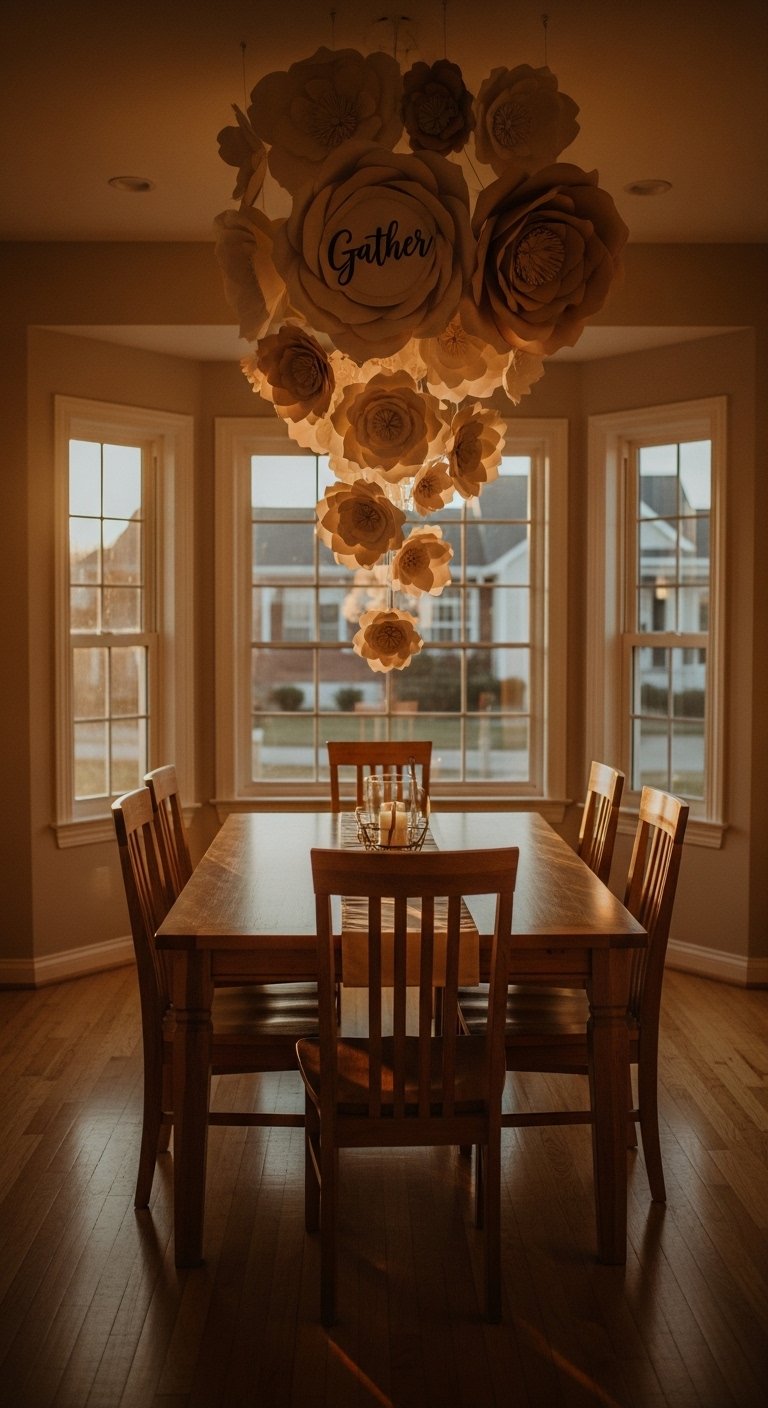
I made oversized paper flowers and arranged them like a blooming vine over my dining console. They make dinner feel more intentional and take photos beautifully. Make three sizes and stagger them, using the rule of three for color accents. Use florist wire to secure stems and anchor points at the ceiling, or use small hooks if you have renters who can patch holes. Budget ranges $25 to $80 depending on how many you make and whether you add wired leaves. I used crepe paper flower kits for petals and florist wire. A frequent mistake is making centers too flat. Add rolled paper cores so they read three dimensional instead of like cutouts.
Vintage Map Collage For Home Office
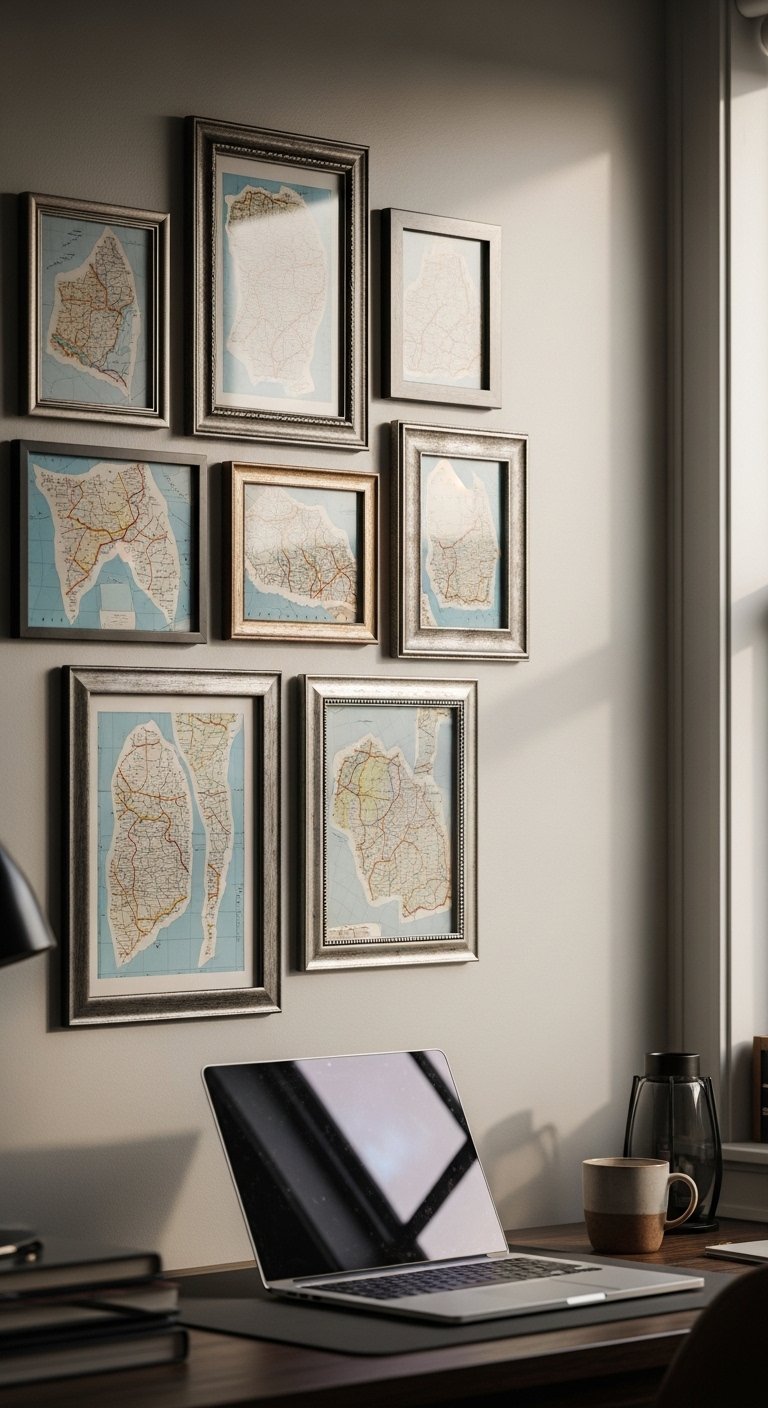
I tore old maps into irregular shapes and overlapped them on kraft paper to make a travel-minded collage behind my desk. It reads personal and curated. Use a 60/40 mix of neutral paper and color accents. I framed the whole piece in a thrifted frame to ground it. Cost can be almost zero if you use found maps or $30 if you buy reproduction sheets. I used vintage map prints and paste glue. A mistake I see is tiny frames grouped too closely. Choose at least one larger anchor frame so the wall has scale.
Giant Paper Sunburst For Above Sofa
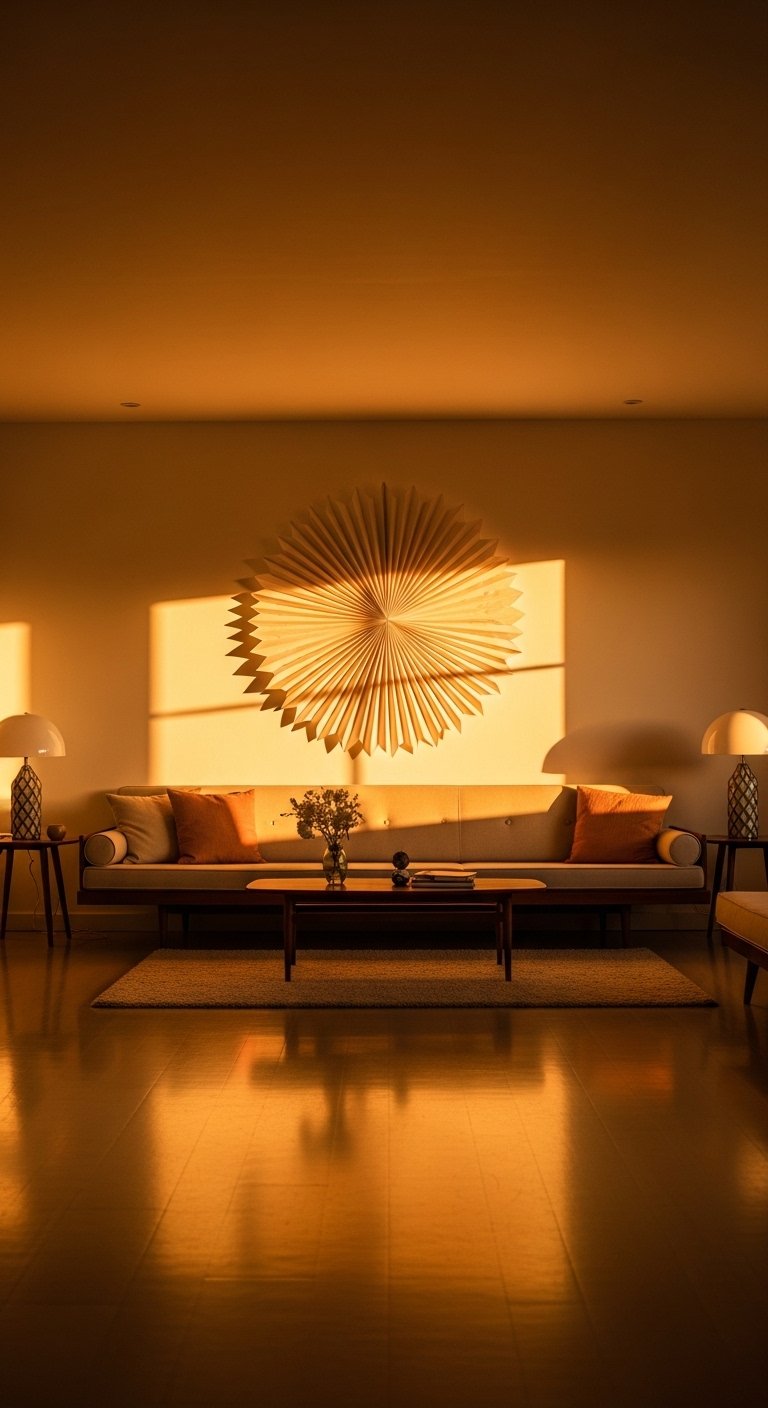
When I made a sunburst it finally solved my "everything is the same height" problem. Cut radiating strips from poster board and layer them on a circular base. For a sofa, aim for the sunburst to be about two thirds the width of the sofa. I did a 48-inch diameter piece for a 72-inch sofa and it looked right. Materials were about $40 for poster board and a wooden base. Use poster board sheets and a compass cutter if you want crisp circles. Mistake to avoid is making the center too small. A 6-8 inch central disk balances long rays.
Ombre Paper Garland For Nursery
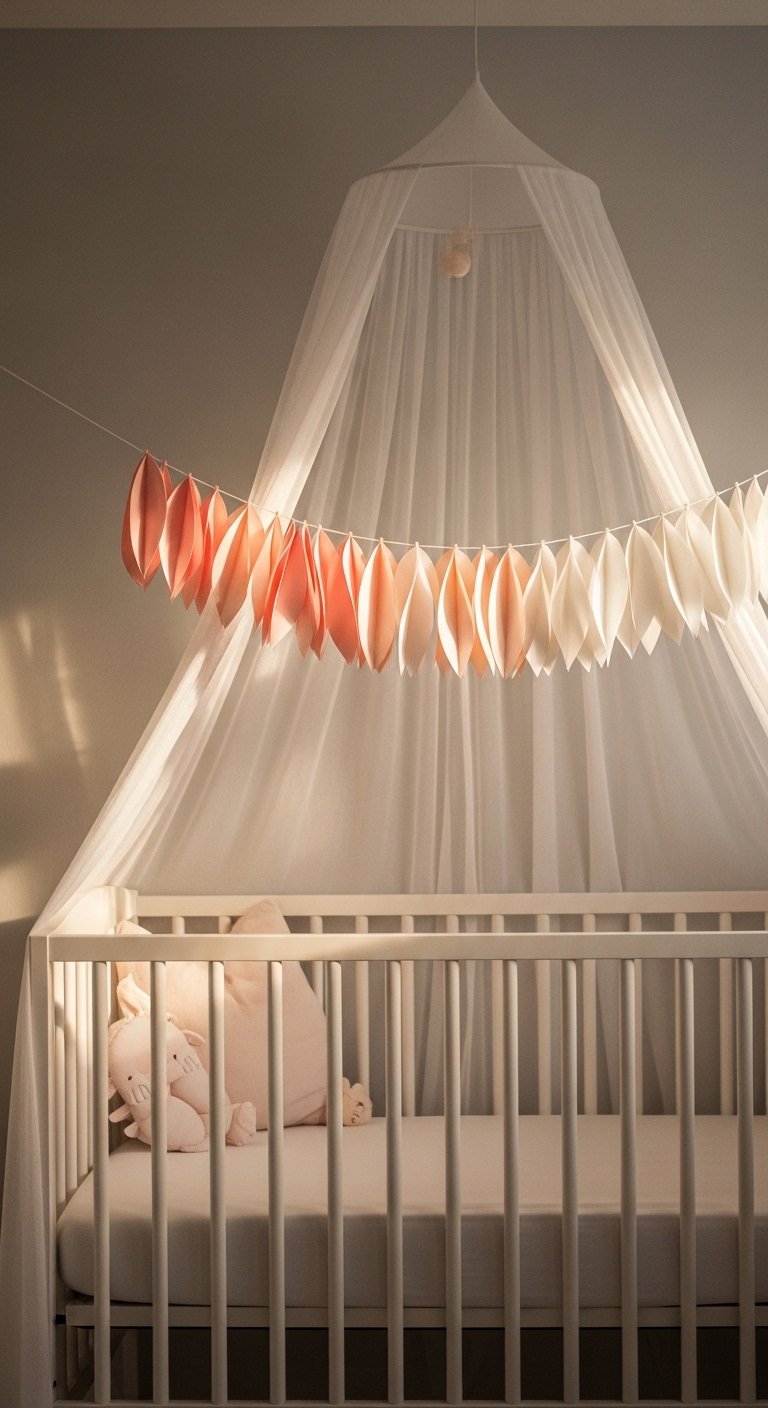
Made an ombre garland for my niece’s nursery and it tied the whole palette together. Cut strips in five gradient shades, knot them on twine, and hang loosely for movement. Use a 5-step gradient where each shade sits about 20 percent darker than the last. Budget under $20 if you stick to tissue or light cardstock. I used tissue paper sheets and cotton twine. A common mistake is hanging it too taut. Let it droop slightly so you get soft shadowing. This works well with paper mobiles over a changing table.
Textured Paper Weave For Hallway
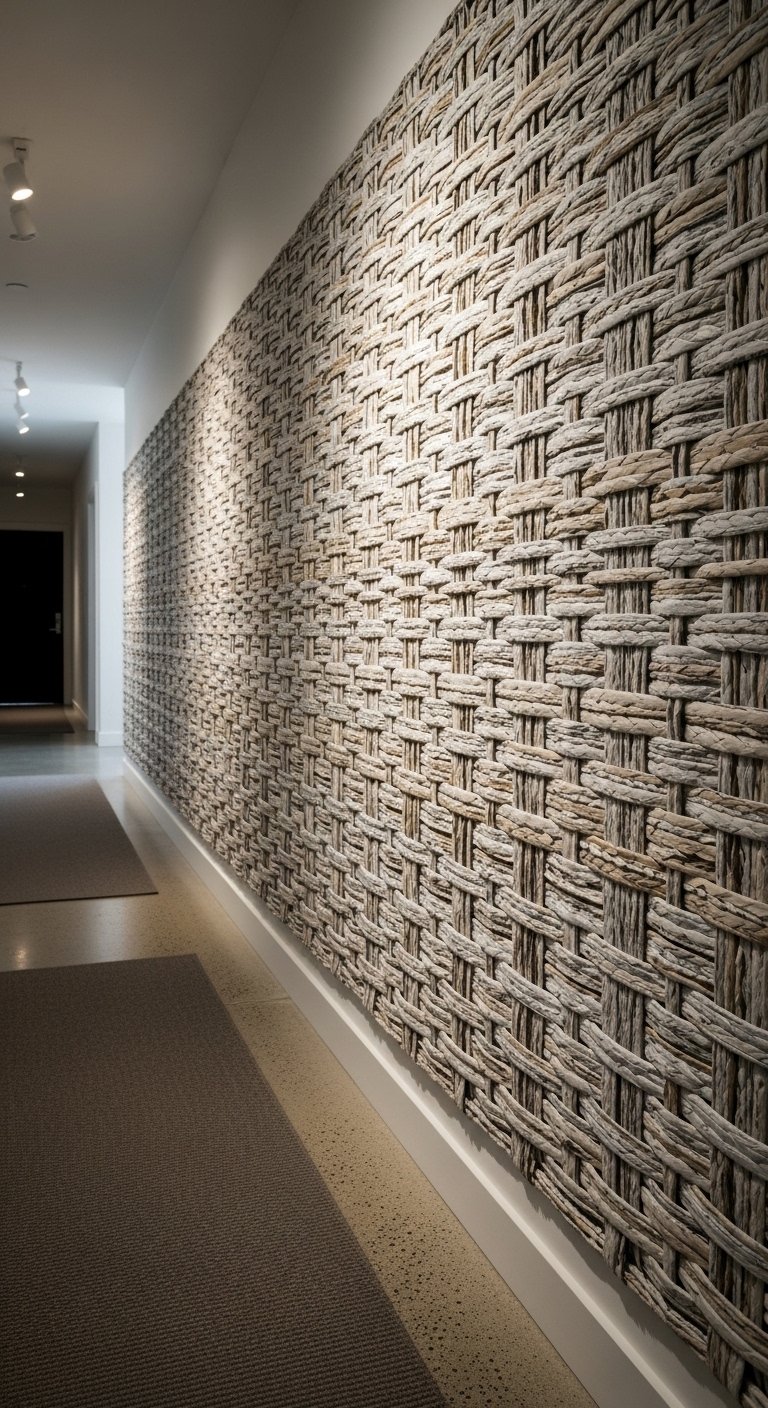
I wove strips of kraft and patterned paper into a large horizontal panel to break up a long hallway. The horizontal orientation makes the hallway feel wider. Use strips 1.5 to 2 inches wide and alternate paper types for contrast. I left 1/4-inch gaps to let the wall color show through for depth. Cost was $18 for paper and backing board. I used kraft paper rolls and a foam-core backing. People often make the weave too tight. Small gaps add texture and keep it from looking like one flat mass.
Paper Mobiles Over Reading Nook
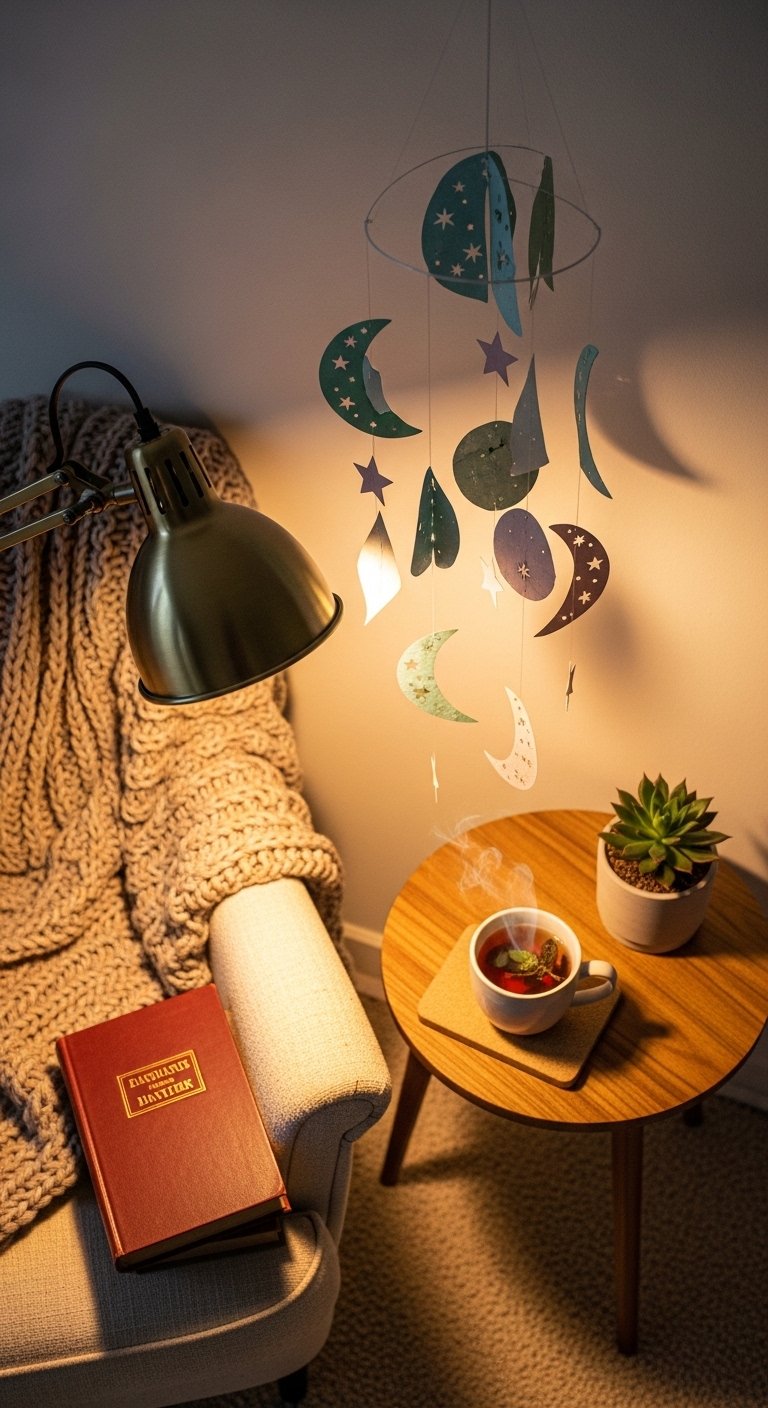
There is something about a slowly turning mobile that makes a chair feel like an invitation. I hung a paper mobile over my reading nook that uses different paper weights so pieces rotate at different speeds. Use three tiers and balance them visually, with the longest piece starting at 24 inches. Materials are under $30. I used origami paper packs and a swivel hook for clean movement. A mistake is using all the same paper weight. Mix cardstock and tissue so you get varied motion and depth.
Typographic Paper Print For Kitchen
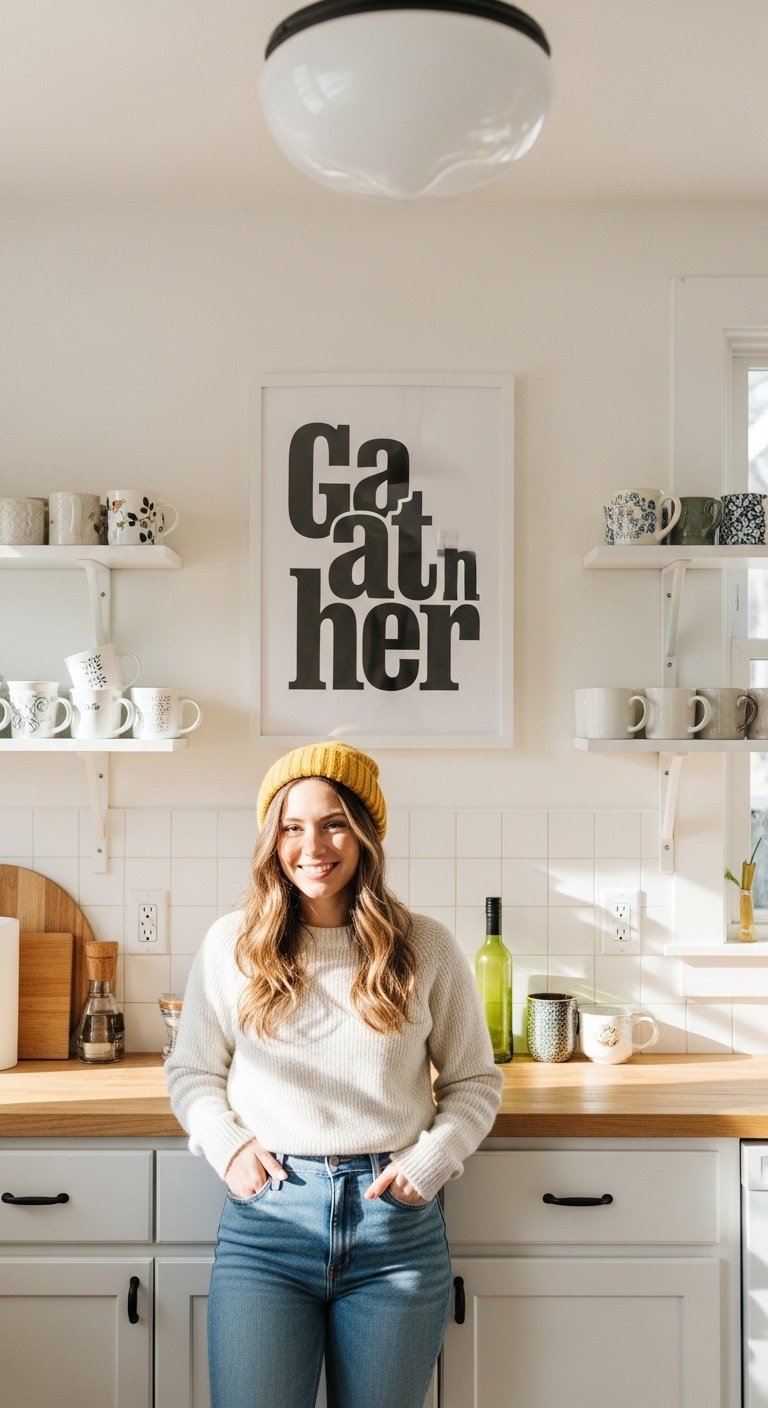
I cut bold letters from black cardstock and mounted them on white paper to make a large typographic print that says nothing dramatic, just "Gather." Big letters add presence without fuss. Aim for letters that take up about 60 to 70 percent of the paper height so the negative space breathes. Framing keeps it looking finished. Materials ran about $25 including frame. I used black cardstock sheets and a 16×20 frame. People often skip matting. A thin mat gives the piece needed breathing room.
Paper Lantern Cluster For Ambient Lighting
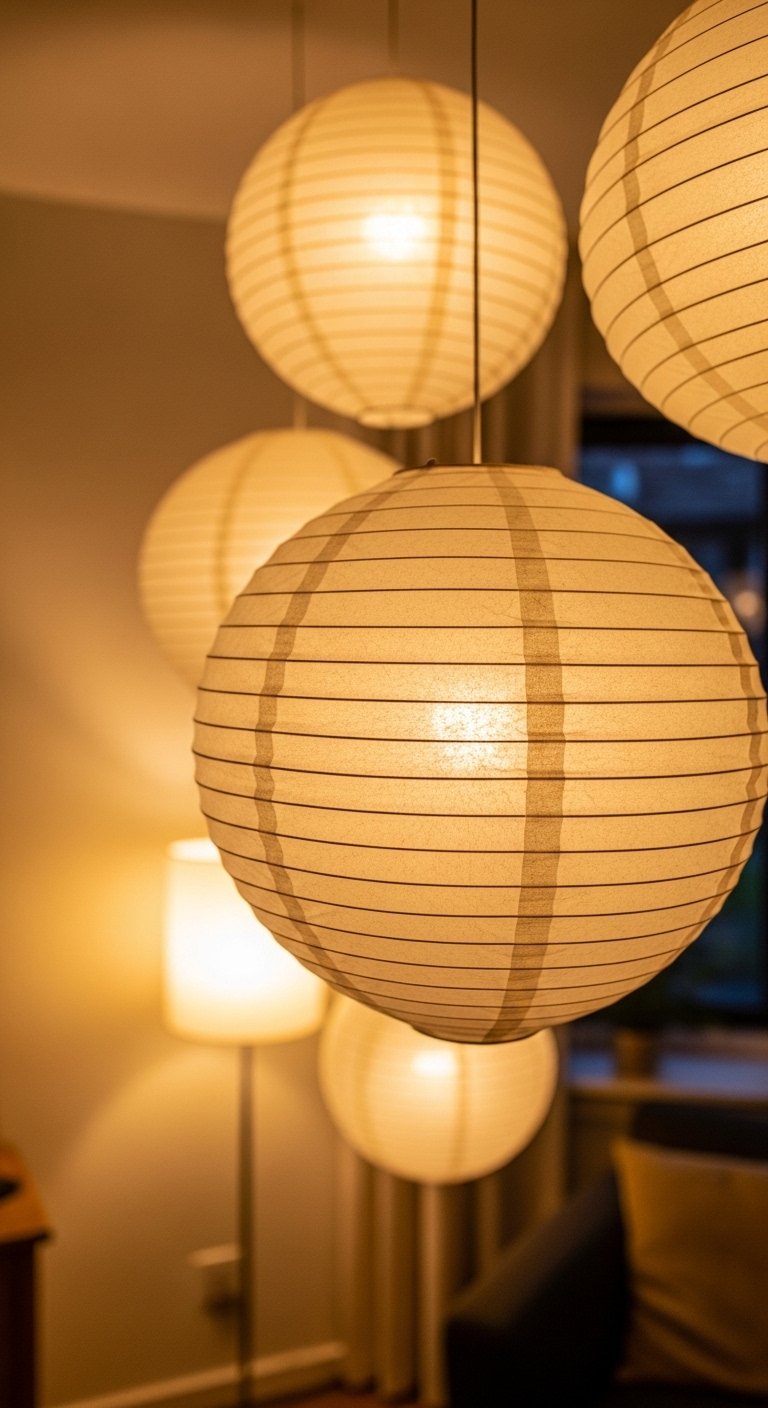
I swapped a single overhead light for a cluster of small paper lanterns to make the corner feel like a lounging spot. Hang at three heights with 8, 12, and 18-inch drops from each other. Use LED bulbs inside for safety and low heat. Expect $30 to $80 depending on size and how many you buy. I used round paper lanterns set and LED bulb warm white. The typical mistake is using opaque bulbs. Warm LED bulbs give soft diffusion and prevent hot spots. Pair this with the reading nook mobile for a restful corner.
Pressed Leaf Paper Frames For Balcony Wall
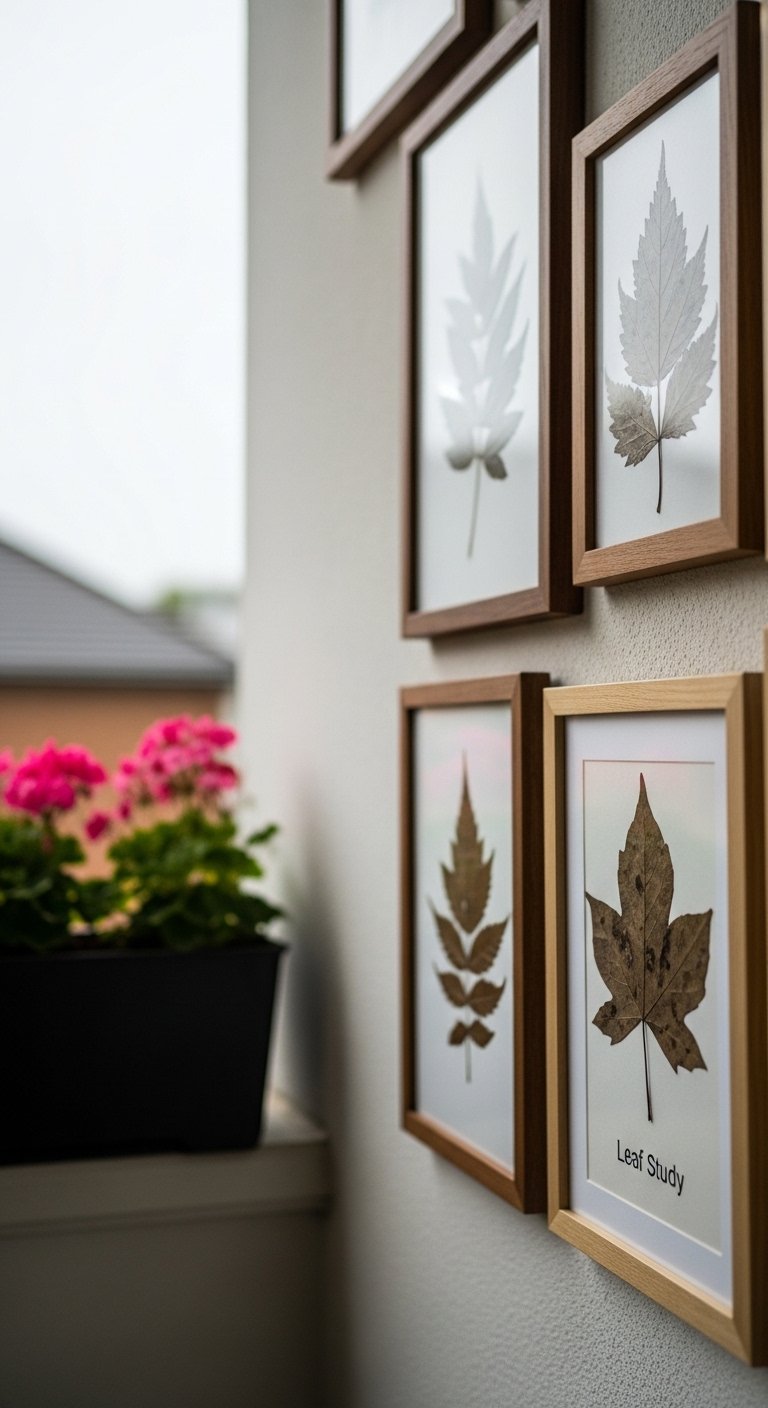
I pressed leaves between paper and created framed compositions that read like mini studies. They survive a covered balcony and add a natural element without watering. Use acid-free paper and keep frames under a covered area. Cost is low, about $15 to $40 depending on frames. I used archival paper pads and 8×10 frames. A common error is using non-archival paper that fades. Also, rotate the frames occasionally to avoid uneven sun exposure.
Paper Fringe Mirror Frame For Bathroom
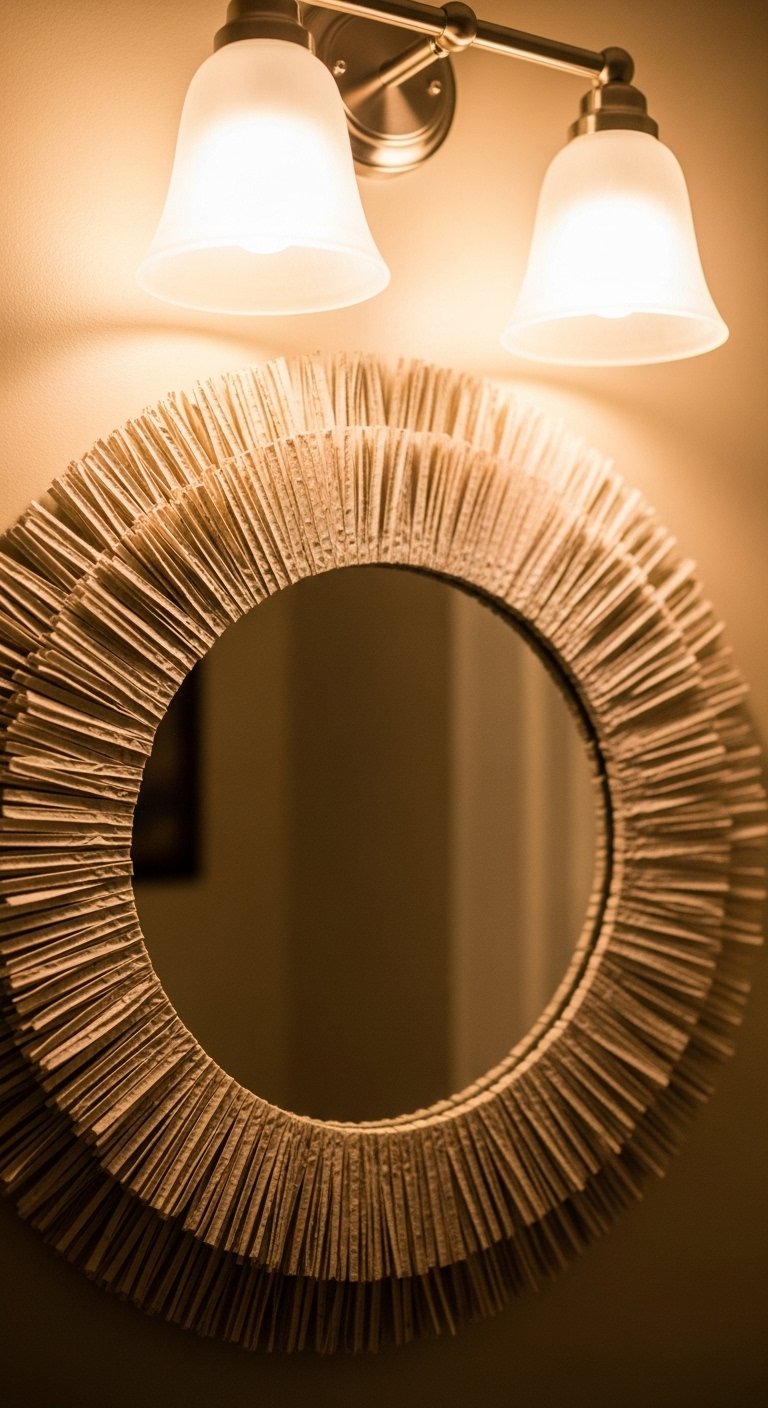
I wrapped a plain mirror with layered paper fringe to give my small bathroom personality without taking up space. Use water-resistant or laminated paper if the bathroom steams a lot. For a 24-inch mirror, make the fringe 4 to 6 inches wide so the mirror still reads as a circle. Materials can be $20 to $45. I bought laminated craft paper and permanent double-sided tape like heavy-duty tape. The mistake people make is attaching fringe too close to the glass. Leave a small reveal so the mirror still feels reflective and useful.
DIY Paper Tape Mural For Rental-Friendly Accent Wall
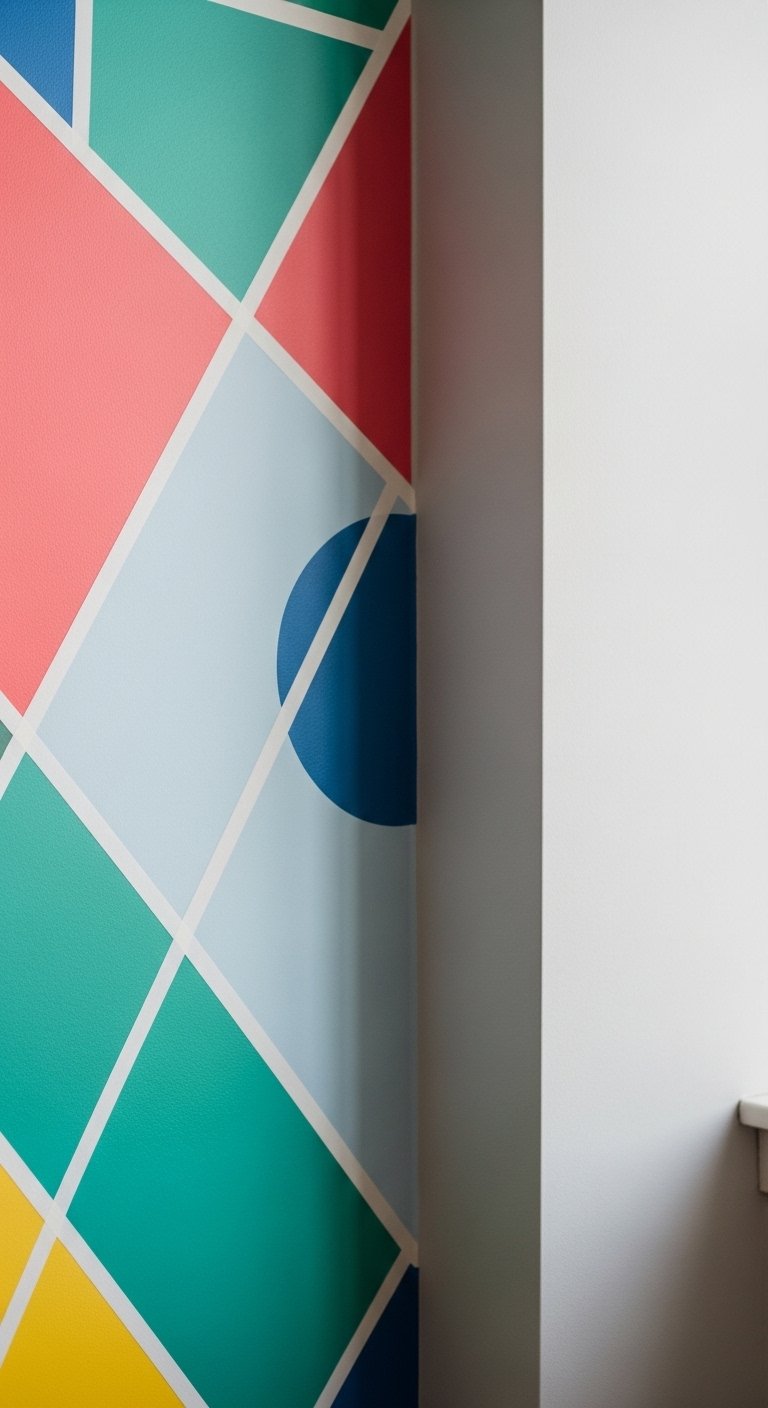
If you rent, paper tape murals are my favorite trick because they peel off clean. I used removable washi-style paper tape to build a geometric mural in a two-hour afternoon. Plan a grid and stick to a scale where each band is 3 to 4 inches wide. Materials run $15 to $35. I used removable paper tape rolls and a small level to keep lines straight. Common mistake is starting lines without measuring. Mark a light pencil grid first so the final mural looks intentional. This idea pairs well with the typographic print for a layered statement wall.
Your Decor Shopping List
Textiles
- Honestly the best $40 I have spent. Velvet pillow covers, set of 4 in 22-inch size, mix of rust and cream for layering
- Chunky knit throw in cream (~$35-55). Drape over the sofa arm for instant warmth
Wall Decor
- 16×20 picture frame with mat for typographic prints and map collages
- Poster board sheets pack 20-by-30 inches for large folded sculptures
Tools & Adhesives
- For cutting precision get a circle cutting tool (~$15-25)
- Mini glue gun for fast assembly and permanent double-sided tape for clean mounting
Lighting & Hardware
- Round paper lanterns set for clusters
- Ceiling swivel hook pack for mobiles and lightweight hanging
Budget Finds
- Crepe paper streamers multi-color pack (~$8-15)
- Removable paper tape rolls (~$10-20). Similar at Target or HomeGoods if you prefer in-person shopping
Shopping Tips
White oak beats dark wood in 2026. Design feeds have shifted completely. White oak floating shelves look current, not dated.
Grab velvet pillow covers for $12 each. Swap them every season and the whole room feels different.
Curtains should puddle or kiss the floor, never hang halfway up. 96-inch linen panels are right for standard 9-foot ceilings.
One large plant has more impact than five tiny ones. Get a 6-foot artificial fiddle leaf fig where you need height without maintenance.
If you are doing paper projects, buy a small pack of heavyweight cardstock. 140 lb cardstock pack will cover most folding and structural needs.
Frequently Asked Questions
Q: Can paper wall hangings survive humidity in bathrooms or kitchens?
A: Some can if you pick laminated or water-resistant paper and keep pieces away from direct steam. For bathrooms choose laminated craft paper or frame pieces behind glass. Laminated craft paper holds up better.
Q: How do I hang without making holes in the wall?
A: Use Command strips sized to the weight of your piece. For lightweight paper art the small strips work fine. Command picture hanging strips remove cleanly and hold well.
Q: What size should a paper sunburst be over a sofa?
A: Aim for about two thirds the width of your sofa. On a standard 72-inch sofa a 48-inch diameter sunburst looks balanced.
Q: Can I mix paper textures with framed art without it looking messy?
A: Yes. Keep an 80/20 color ratio where 80 percent of visual weight is neutral and 20 percent is accent color. Use the rule of three for grouping similar items so the wall reads cohesive.
Q: How do I prevent paper hangings from sagging over time?
A: Use a stiff backing like foam-core for larger pieces and secure folds with hot glue at stress points. Foam-core board 24×36 is inexpensive and stabilizes panels.
Q: What sizes work best for paper fans above a bed?
A: Use three sizes with diameters roughly 12, 24, and 36 inches. Space the centers 6 to 10 inches apart for a relaxed layered look.
Q: Are faux plants acceptable with paper art?
A: Absolutely. A single tall faux plant balances delicate paper pieces and adds height without maintenance. Try a realistic faux fiddle leaf fig for scale.

