

I stared at my counter one night and realized it looked like a storage zone, not a kitchen. I had a bookshelf energy on the counters, random jars and a stray cookbook, nothing anchored. I tried piling things together, then spread them out until the whole space felt thin. Neither worked.
What finally clicked was thinking in zones instead of items. Make one area useful and pretty, keep another strictly functional. I learned to leave breathing room, and to keep one lived-in item that actually gets used. It made the kitchen feel like ours, not a showroom.
Step 1: Clear a Zone and Decide Its Job
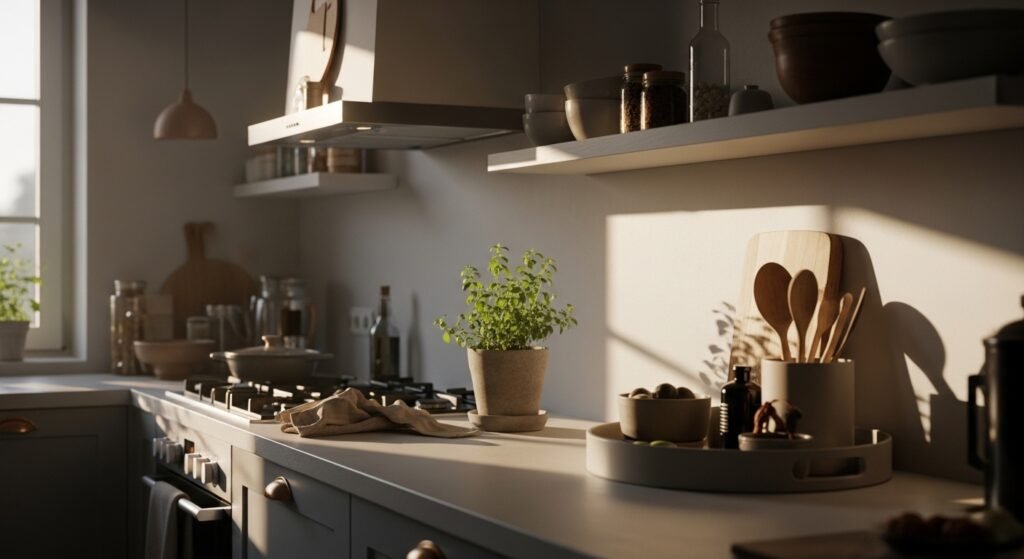
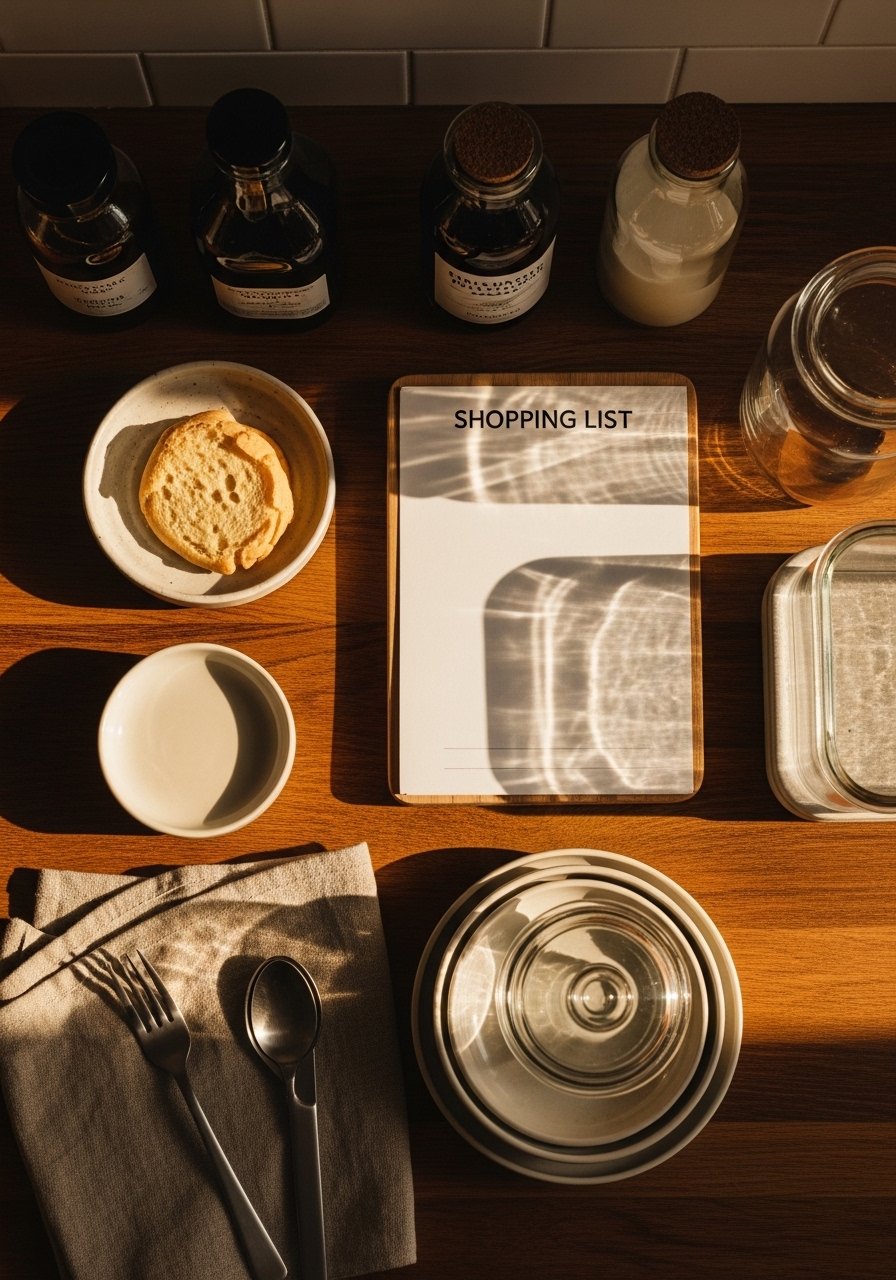
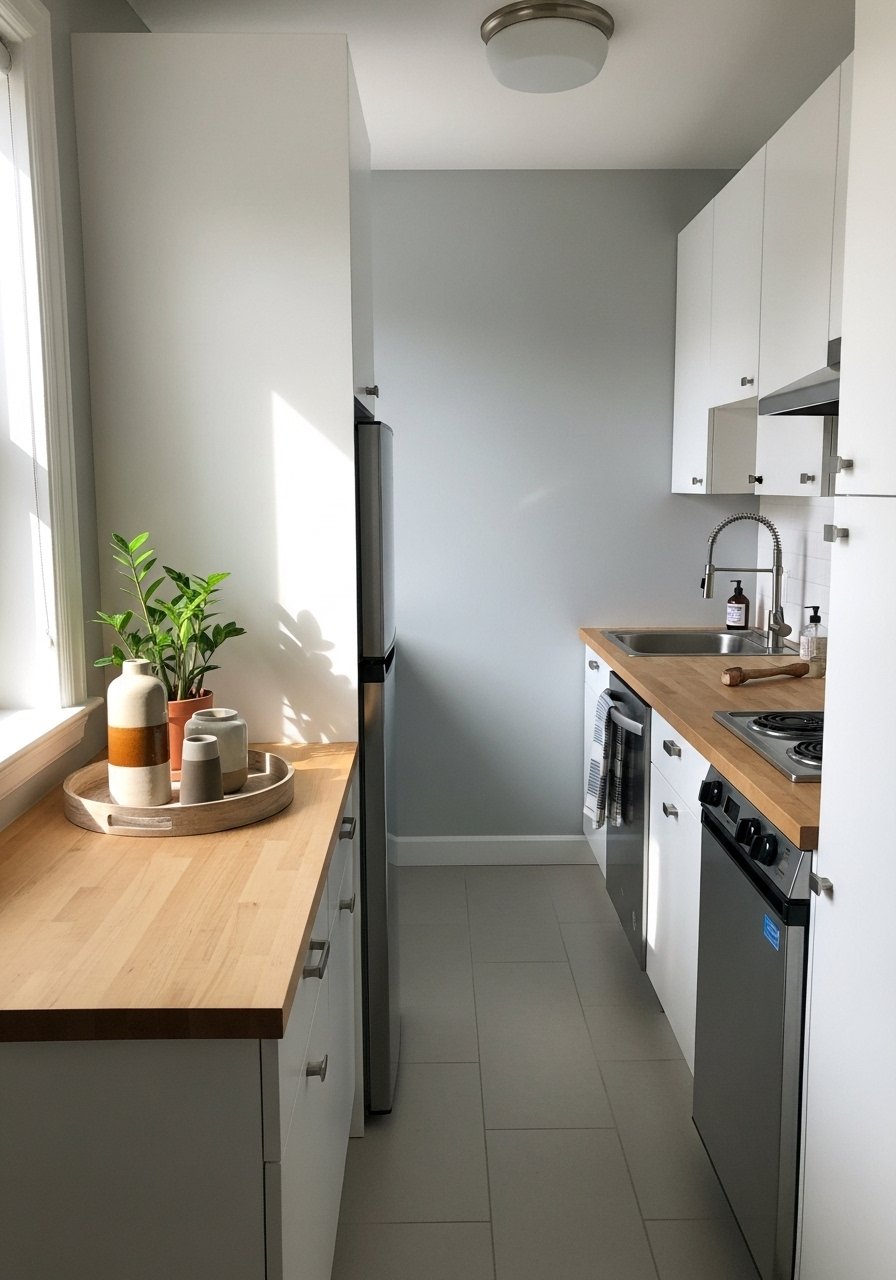
Pull everything off the counter in the area you want to style. I know this feels extreme. I once shoved everything to the other side and called that styling. It looked worse. Decide if the zone will be prep, coffee, or display. A prep zone needs open space. A coffee corner can hold a tray, mugs, and a small container for spoons.
Visually, leave 2 to 3 inches between grouped objects so nothing looks like it is fighting for space. Place one tall item that is about two thirds the height of the backsplash or shelf to create a visual anchor. The surface should feel usable, not too precious, so pick objects you will touch and clean.
Step 2: Anchor with One Solid Base
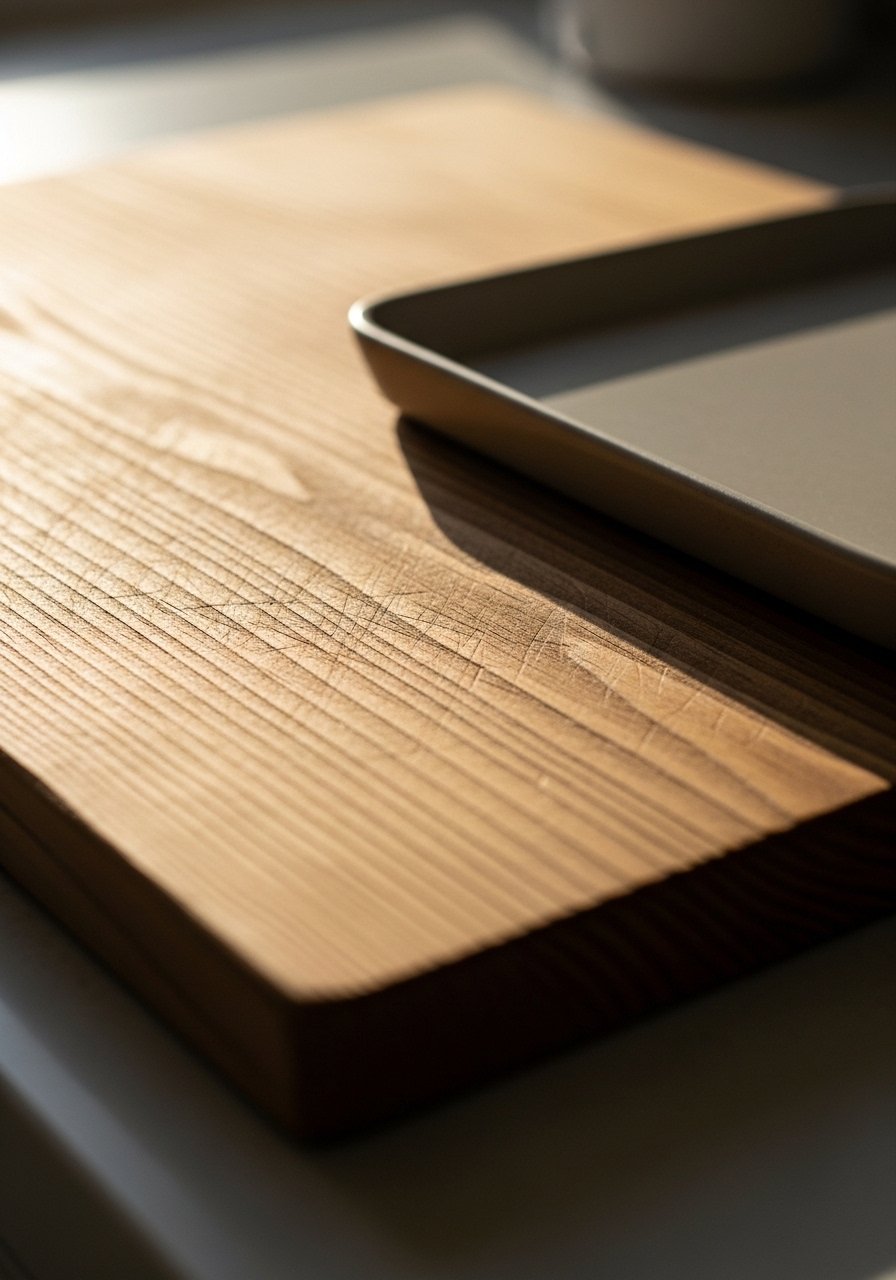
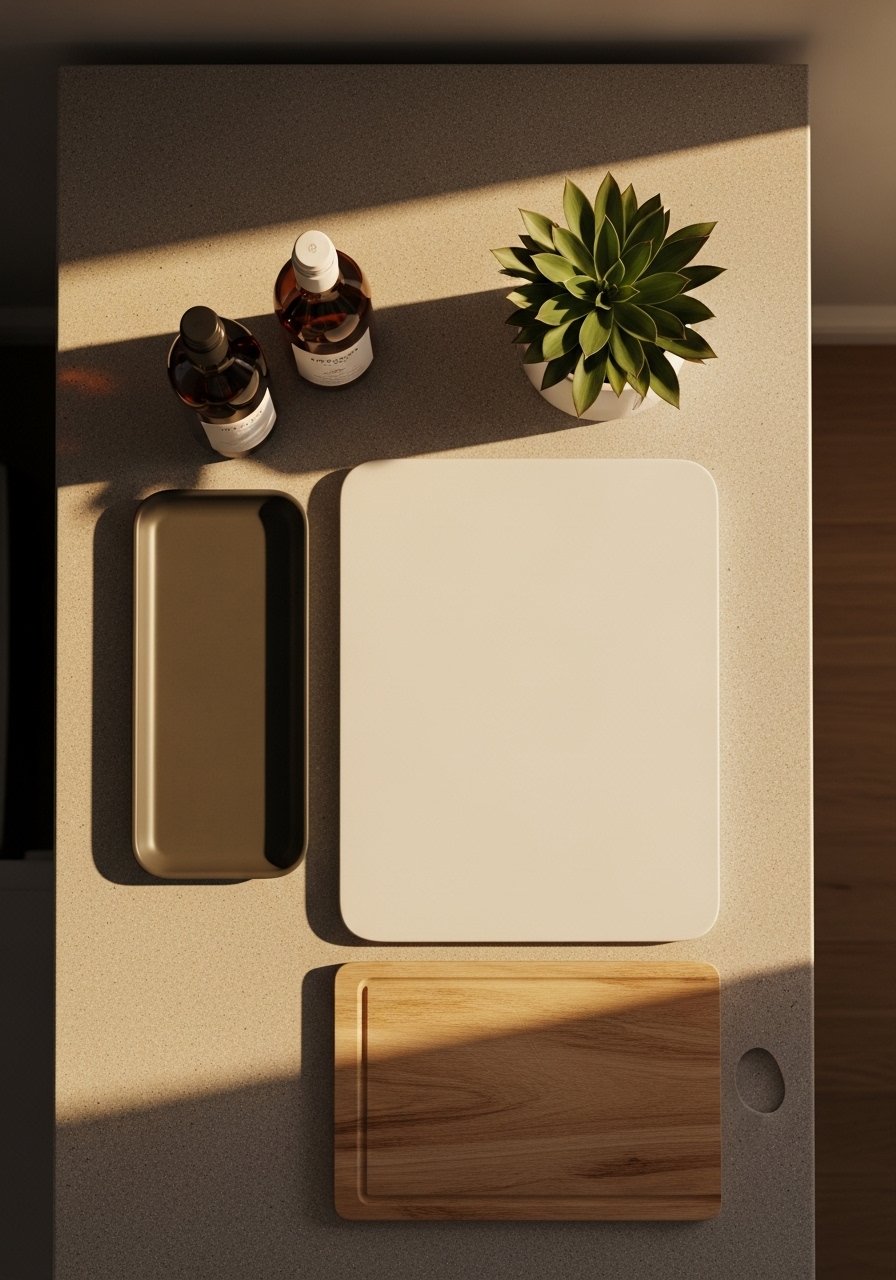
Put down one grounding piece first, a heavy cutting board or a 14-inch tray. I used to start with the prettiest jar and then tried to build around it. That failed every time. The base gives the eye a place to rest. A wooden board feels warm and slightly rough in your hands. A rattan tray brings a touch of texture that does not show fingerprints.
Aim for a base about 60 to 70 percent of the depth of the counter to keep things balanced. If you want a cleaner look, choose a pale wood or matte tray so your items read clearly on top of it. This is where the space starts to look styled instead of cluttered.
Step 3: Add Function with Personality
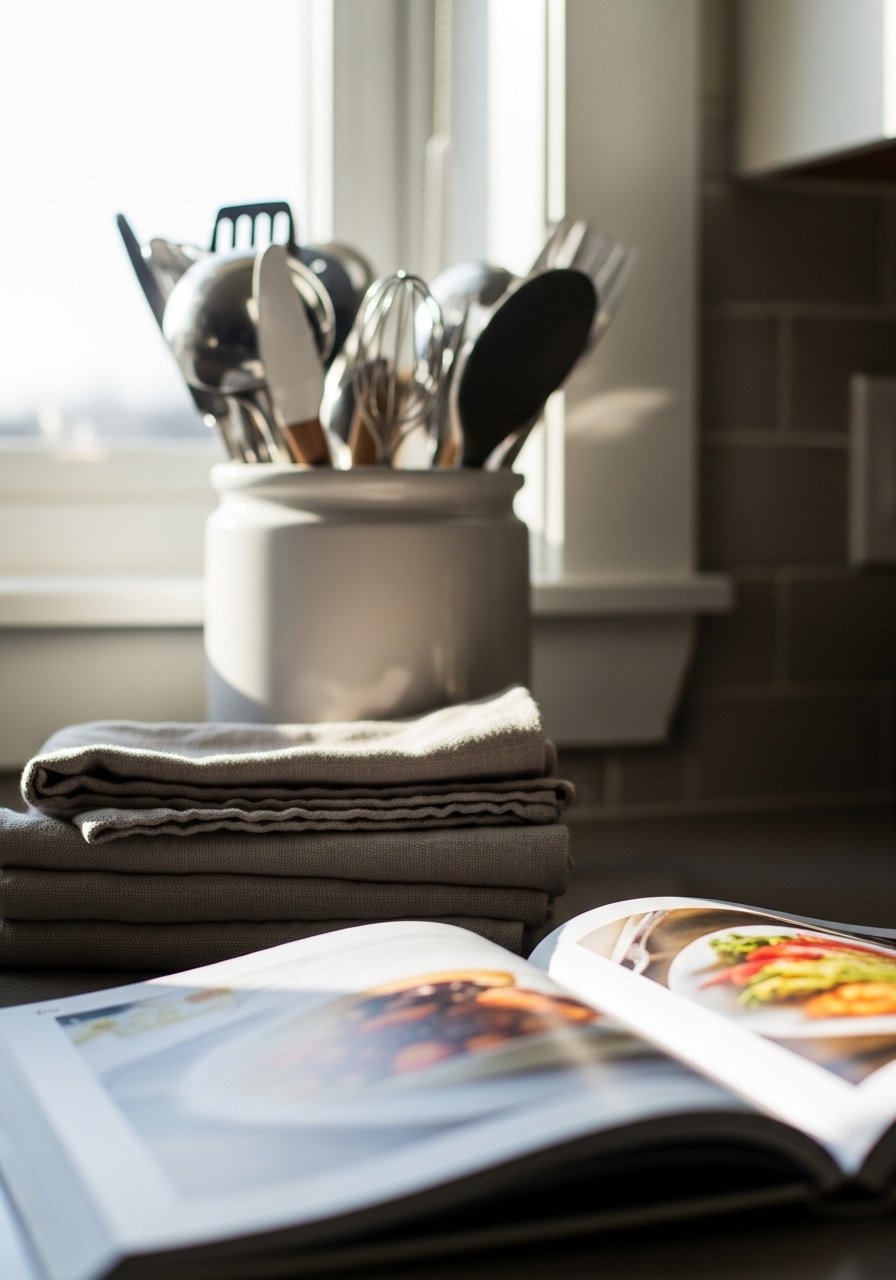
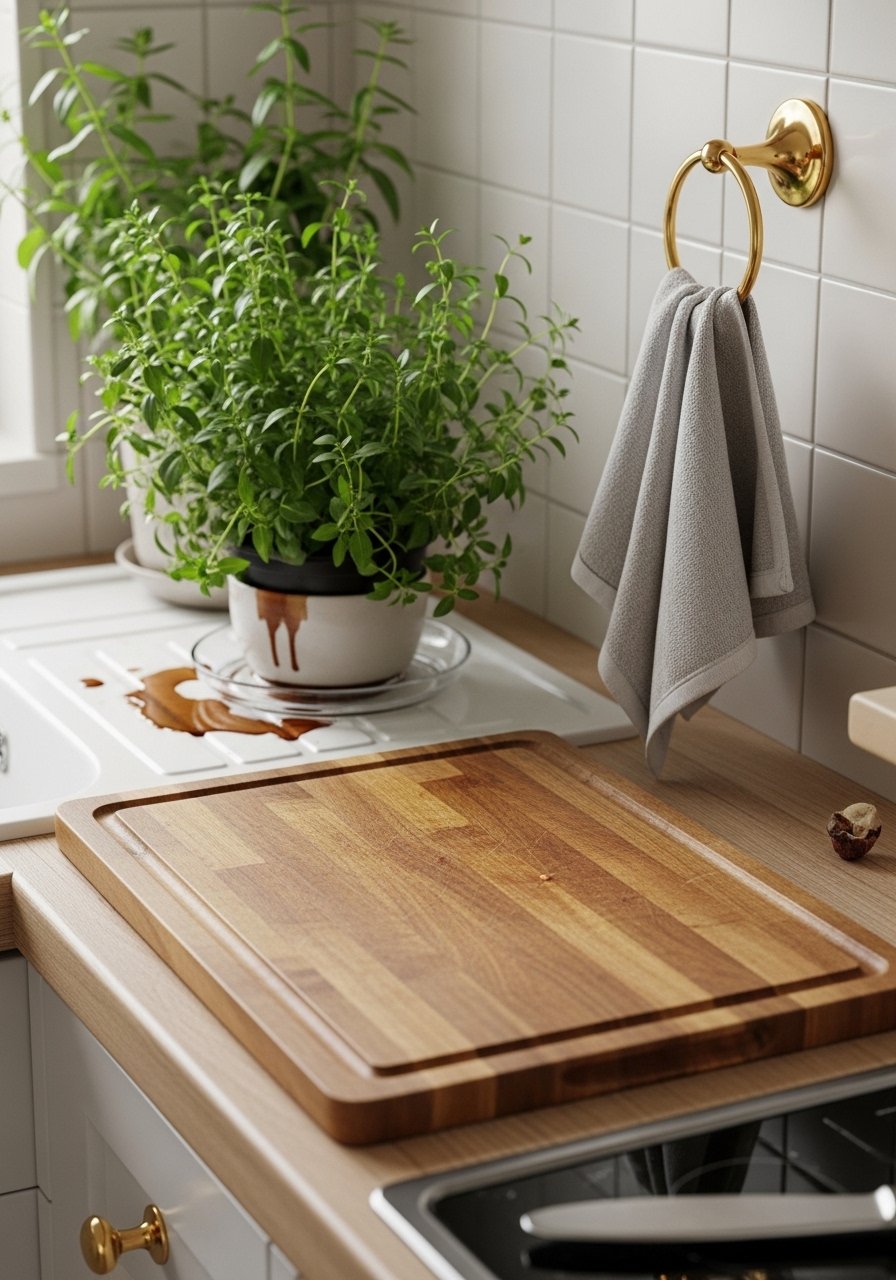
Bring in one functional object that has character, like a ceramic utensil crock, a beloved cookbook, or a glass canister for flour. These items earn their place because you use them. I once styled my counter with only decorative things and the first time I cooked it all ended up on the table instead.
Group items in odd numbers, usually three, and vary heights and textures. A cool ceramic crock feels smooth and heavy next to a linen towel that is soft and slightly textured. Leave a clear spot to prepare food. The goal is that someone could actually make coffee or chop an onion without moving everything.
Step 4: Layer Textiles and Greenery for Warmth
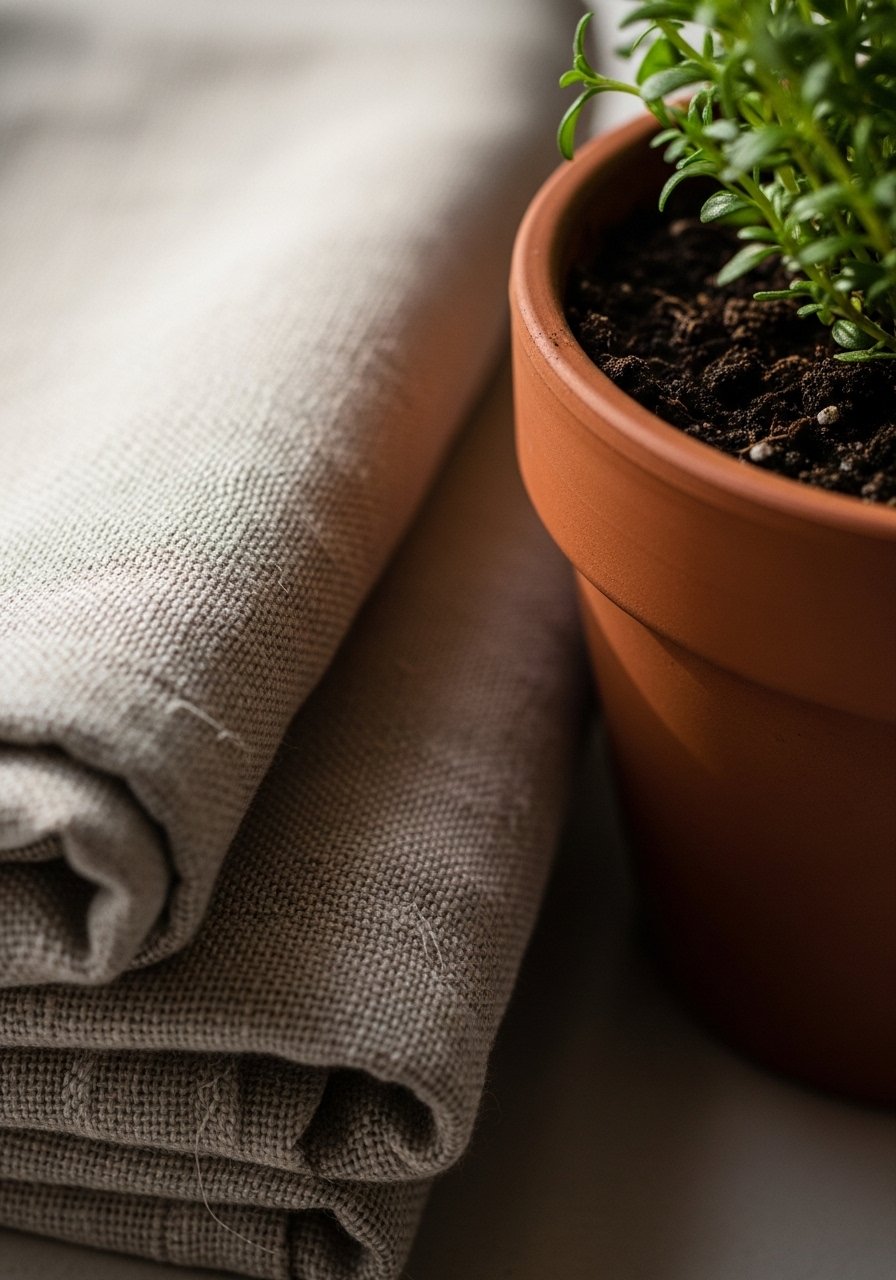
Add a linen towel, a small herb pot, and maybe a woven runner if you have the space. Textiles introduce touchable softness. Linen will feel cool and slightly crinkled when you grab it. A small rosemary or basil in a 6-inch planter brings a green note and a scent that changes the room more than another decorative object.
Keep the color mix simple. Try a 60, 30, 10 balance with neutrals making up most of the scene and one accent color tying pieces together. I almost skipped the plant once and it made the whole setup feel flat. The plant makes it feel alive in a way no arrangement alone can.
Step 5: Hang One Piece of Art or Hook for Everyday Use
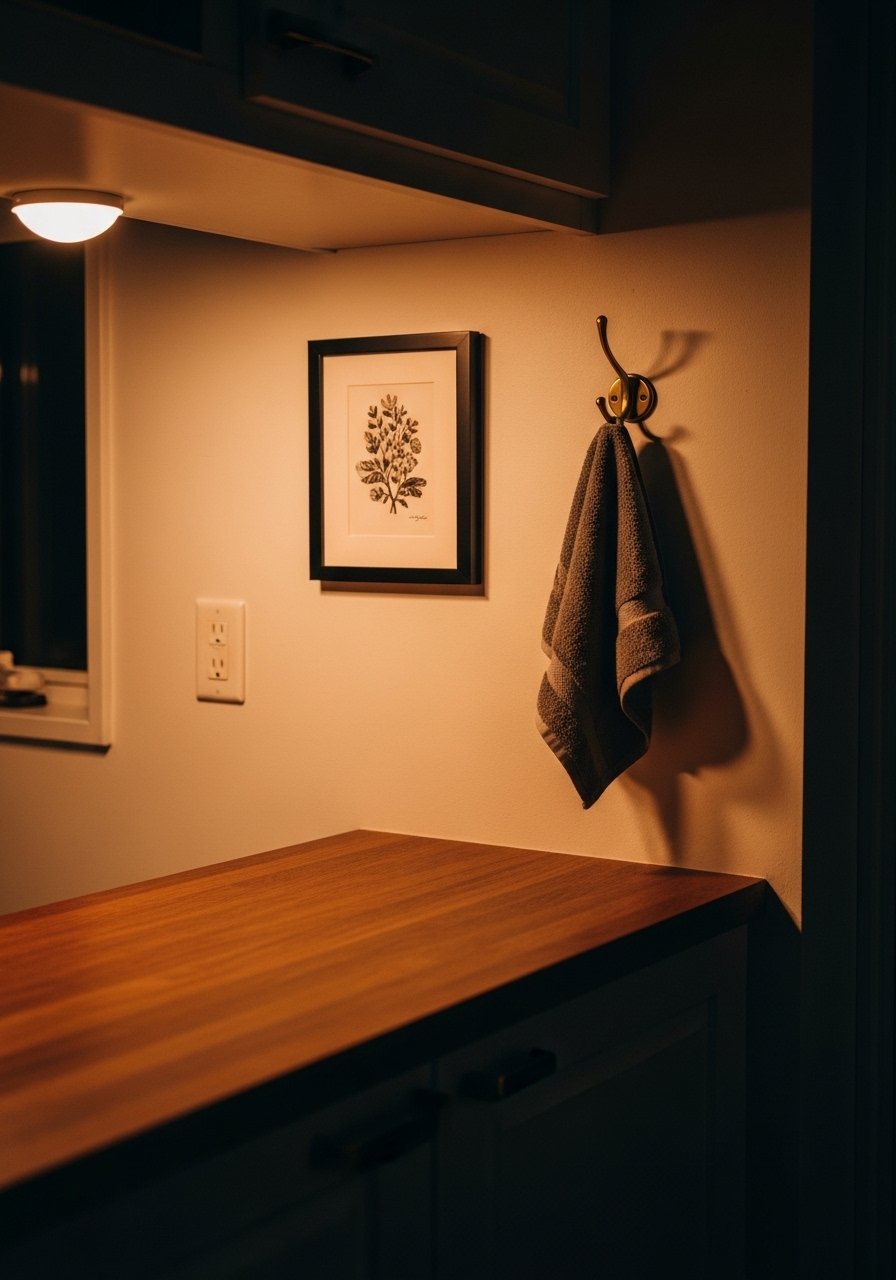
Install a single small piece of art or a brass hook for a towel near your styled zone. My partner hated the asymmetrical placement at first. He came around after a week when he started using the towel habitually. A useful hanging element makes the styling practical and keeps counters clear.
Choose a frame that matches the room's finish and hang it at eye level above the zone. If your wall is tile, use an adhesive hook that matches the hardware color. This step turns the vignette into part of the kitchen's daily flow, so pick something you will touch and use.
What to Grab for Your Kitchen Refresh
- Solid oak paddle cutting board, 18×12 ($30-60). This is the anchor I mention in Step 2. Heavier boards feel better in use.
- 14-inch woven rattan tray, natural ($20-45). Use for corralling mugs or oils in Step 2.
- Ceramic utensil crock, matte white ($15-35). Smooth and substantial, used in Step 3.
- Linen dish towels, set of 4, undyed 20×28 ($25-50). Soft texture for Step 4.
- Glass canister set, 16 oz x3 ($25-45). For everyday staples in Step 3.
- Small ceramic herb planter, 6-inch ($12-25). Adds scent and color in Step 4.
- Brass adhesive hook pack, 5-count ($10-20). Handy for Step 5, no drilling.
- Neutral runner rug, 2×6 jute ($60-120). Use if you have a long counter or island, adds grounding texture.
- Small framed print, 8×10, natural frame ($15-40). For the wall above a styled zone in Step 5.
Why Your Kitchen Still Feels Messy After Styling
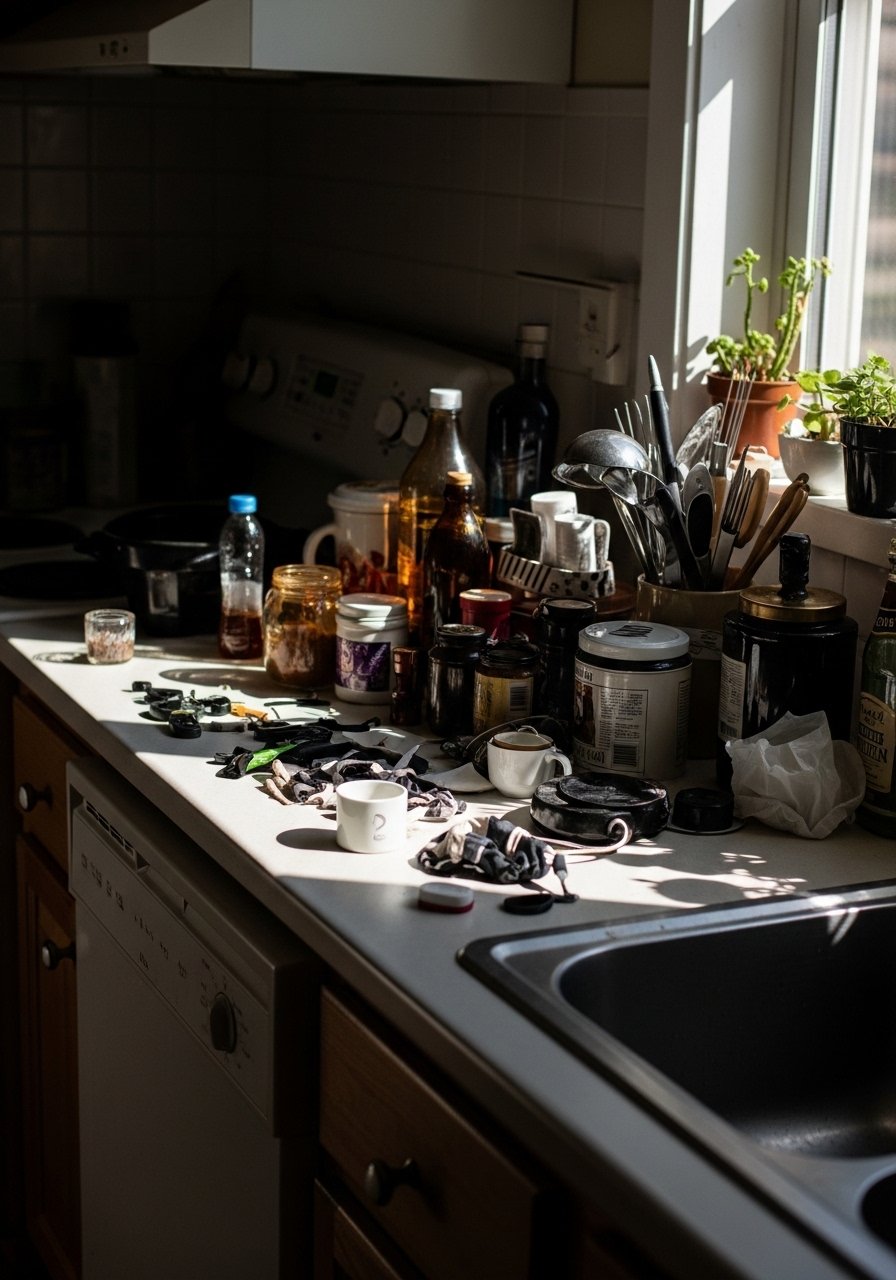
A common mistake is treating every small jar as essential. That creates visual noise and makes the space feel cluttered. If you keep only the things you use daily in the styled zone, the rest should have a home in a cabinet. Another misstep is matching finishes too rigidly. A mix of warm wood, matte ceramic, and a little brass reads layered and collected.
I once styled my counter and left three tiny jars that looked like a collection. After a week they collected crumbs and I was annoyed. Removing one jar and keeping a canister for daily use fixed it. Real life will tell you what to keep.
Making This Work in a Small Kitchen
Small spaces need fewer pieces and stronger anchors. Keep the base item to about half the counter depth rather than two thirds. Use wall hooks or a magnetic strip to free up surface area. Pick one textile that is easy to wash, like a linen towel, instead of a runner that will be in the way.
Quick checklist
- Choose one zone no wider than 18 inches.
- Use vertical space with a small shelf or hook.
- Limit colors to three to avoid visual crowding.
What This Looks Like After a Week of Real Life
Expect small adjustments. The towel will end up on the island, the herb might need watering more often than you thought. My first attempt had everything pristine for a day and then a mug moved things out of balance. After a week I knew which items were truly useful and which were only pretty.
If something gets knocked over twice, remove or relocate it. If a piece looks better elsewhere, move it there. Styling is an ongoing small edit, not a one-time event.
Start with One Counter
Pick one small counter or shelf and style just that. Use the oak board or the 14-inch tray from the shopping list as your starting base, then add one functional object and one plant. Walk away for ten minutes before deciding if it feels finished. You will likely tweak it after a day of use, and that is okay.
When it works it will feel lived-in and useful, not precious. You will notice you reach for things instead of looking at them, and that is the point.

