

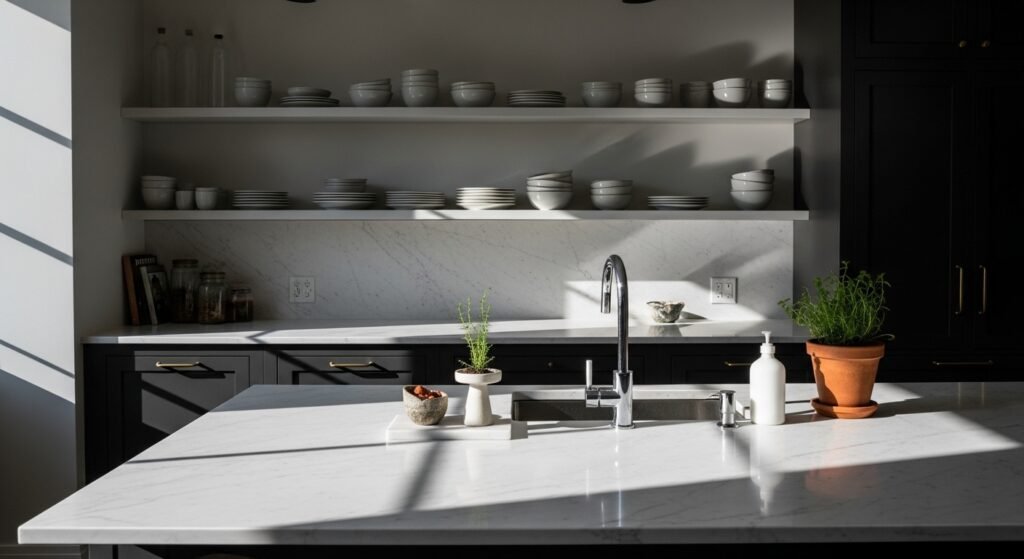
I kept pushing things to the counter because I was afraid of empty space. Salt jars, a mortar and pestle, a cutting board, a coffee tin, all shoved together like they belonged to different kitchens. Nothing read as calm. It took three attempts, and one very cluttered weekend, to see the common mistake. I was arranging by objects, not by spacing.
What helped was treating the counter like a sofa arm, not a bulletin board. Pull most things back, pick one anchor, and build around it with breathing room. I still mess this up sometimes, but the second version almost always looks better than the first.
Step 1: Pick one anchor and give it room
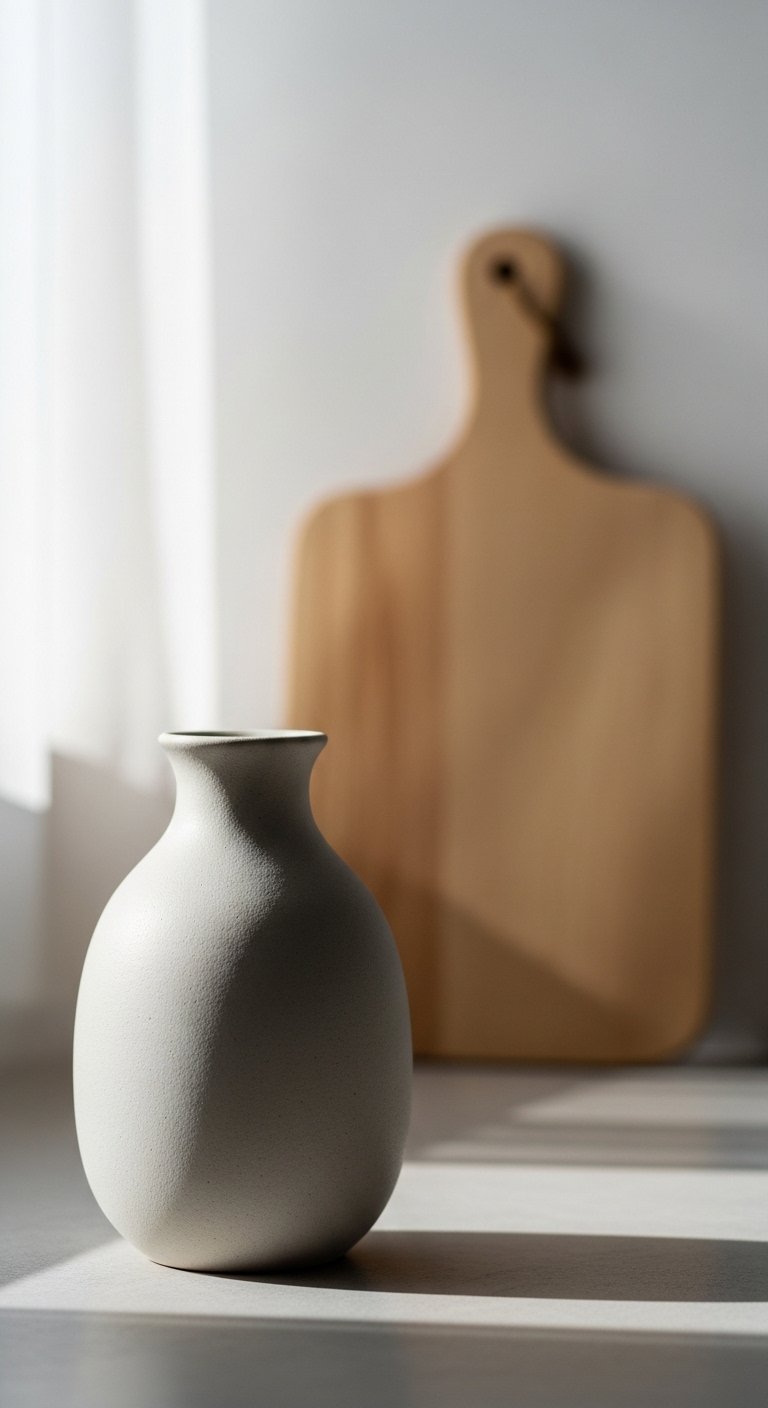
Start by choosing a single anchor for the counter or shelf, something with real presence. I use a 10-12 inch ceramic vase in matte white or a wooden cutting board about 16 inches tall. The anchor should take up roughly two-thirds of the vignette height or length. That proportion keeps the eye grounded. Put the anchor slightly off-center, not dead middle.
Leave 2 to 3 inches of empty counter on either side of that anchor. I learned this after my first try looked crowded. The empty space feels like a deliberate choice, not something you forgot to fill. The vase feels cool and heavy in your hands, and that weight makes the whole grouping feel intentional.
Step 2: Group in odds and vary height
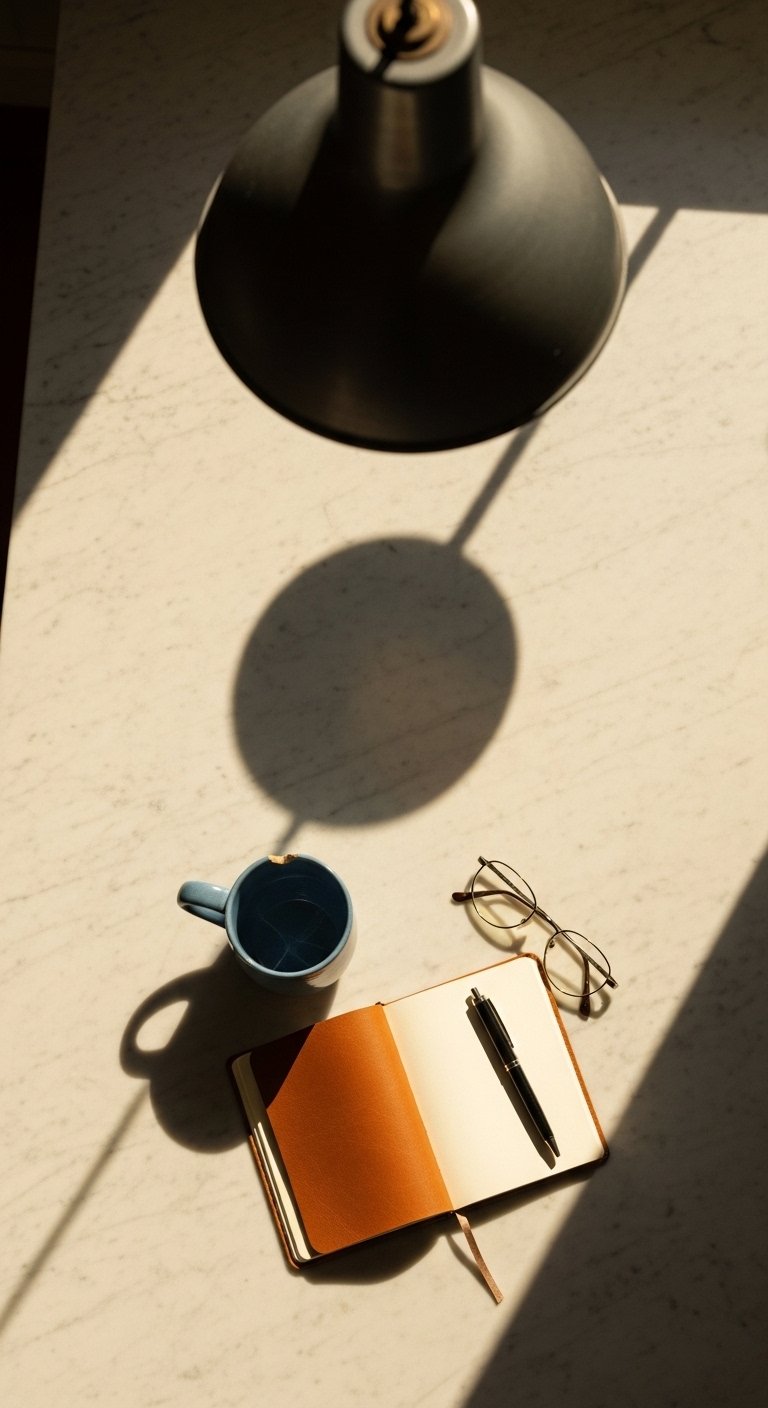
Most people go symmetrical. I stopped doing that after the third iteration. Group smaller items in threes. Use heights that climb by roughly one and a half to two times each step. For example, a 4-inch salt cellar, a 7-inch ceramic jar, and the 12-inch vase. Odds create motion for the eye.
Place the tallest item behind, mid-height in the middle, and the smallest in front or to the side. Textures should contrast: a smooth ceramic against a nubby linen tea towel or a warm wood board. That roughness next to smooth feels grounded. If you have kids or cats, move the smallest fragile piece up onto a shelf, not on the low counter where it can be knocked.
Step 3: Edit flat surfaces down to 60 percent clear
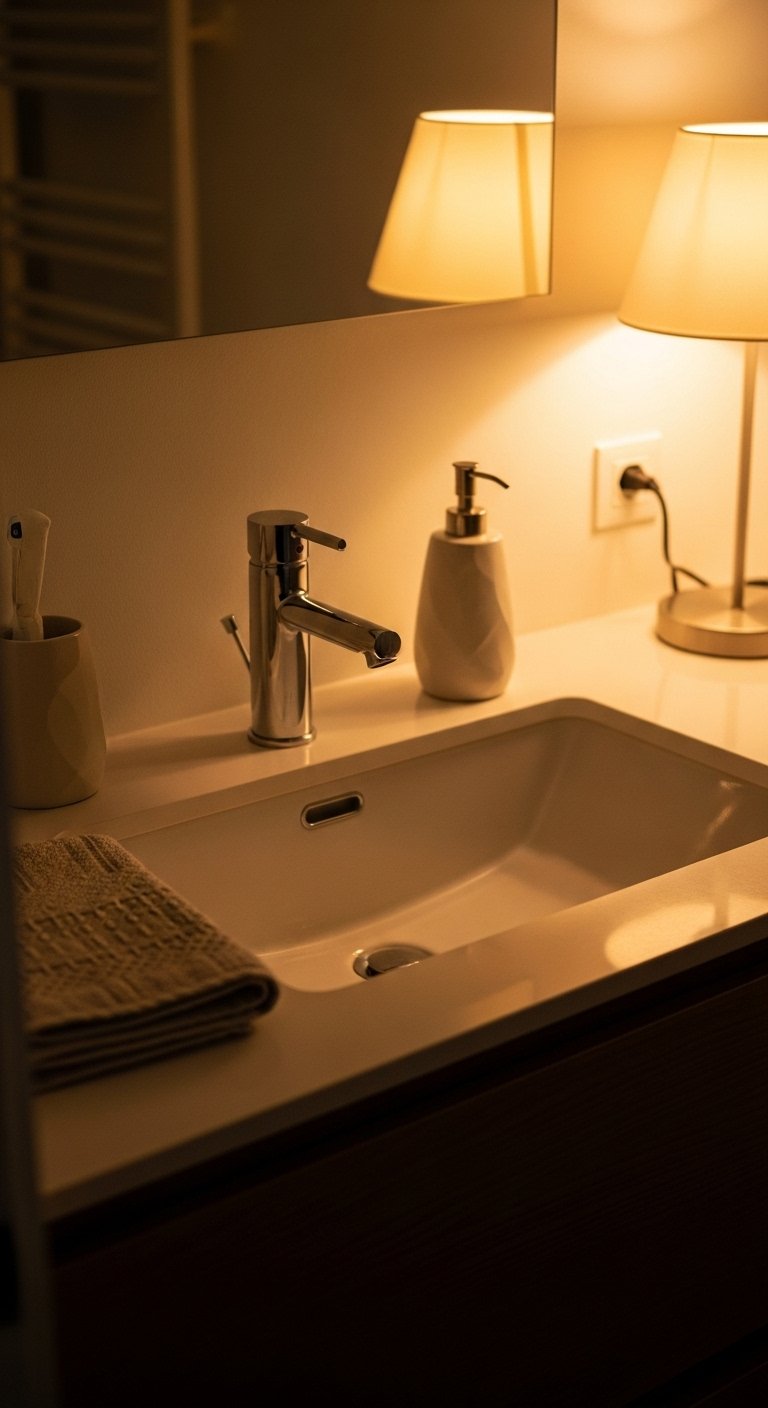
This step frustrated me at first because my instinct was to fill every surface. Aim to keep at least 60 percent of any long counter or shelf surface clear. That means one well-styled vignette per 3 to 4 linear feet. When I followed that rule, the whole kitchen read as calm instead of cluttered.
Swap plastic dispensers for one ceramic soap pump and a small tray to corral scrub brushes. A tray keeps things tidy without hiding them. The tray should be slightly larger than the cluster, about 1 to 2 inches of breathing room on all sides. The result is an airy, functional surface that still feels lived-in.
Step 4: Layer in texture and a soft, neutral pop
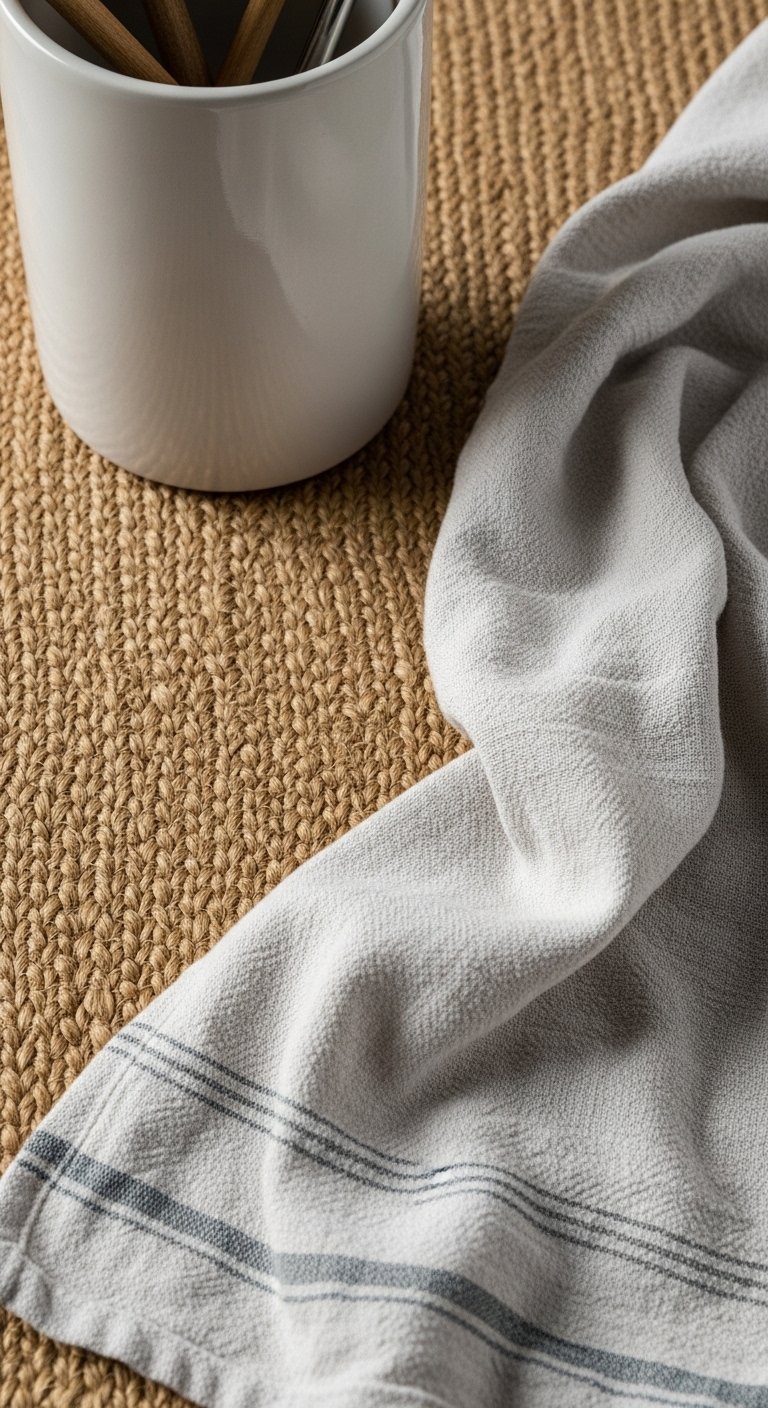
Add one soft textile and one natural fiber element. I always keep a folded linen towel near the stove and a jute runner under the sink area. Linen is cool and slightly scratchy against the palm, which reads casual. Jute adds an earthy bite and anchors the zone visually.
Color-wise, follow an approximately 60/30/10 rule: 60 percent base neutrals, 30 percent mid-tone (like warm wood), and 10 percent accent. That small accent can be a faded green herb pot or a muted blue mug. I almost skipped the towel once. Glad I did not. That tiny texture shift made the whole vignette feel complete.
Step 5: Live with it for a week, then refine
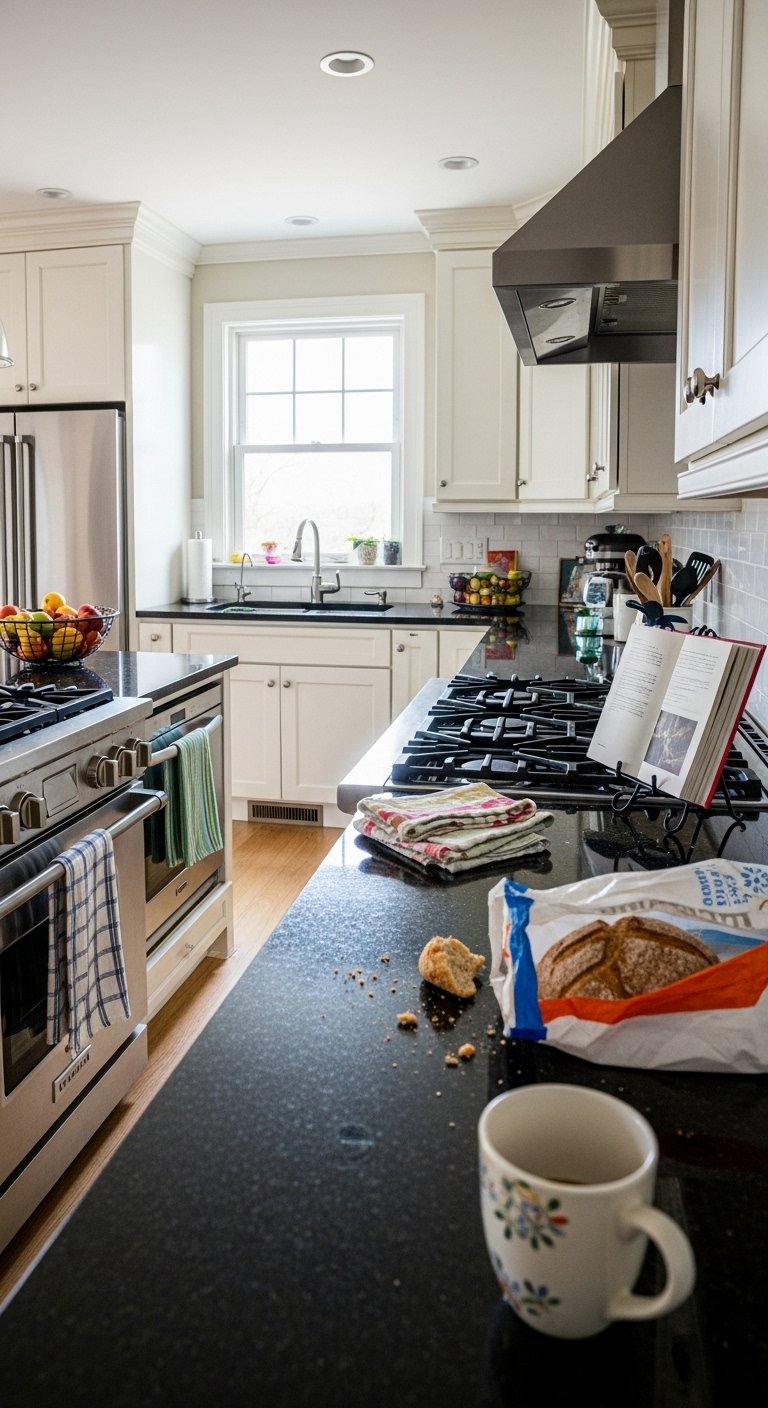
This is where most tutorials fail. Put everything back that you need, then use the kitchen for seven days without rearranging. You will notice where you bumped things, what collects crumbs, and what feels inconvenient. I moved my ceramic utensil crock two inches after a week because reaching for spatulas felt awkward.
Adjust spacing by small increments. If something gets knocked over twice, it goes higher or into a drawer. If a plant keeps getting brown on one side, rotate it or move it to a sunnier spot. The finished look should be lived-in, not staged, with a few small marks that tell the story of real use.
Your Clean Kitchen Styling Checklist
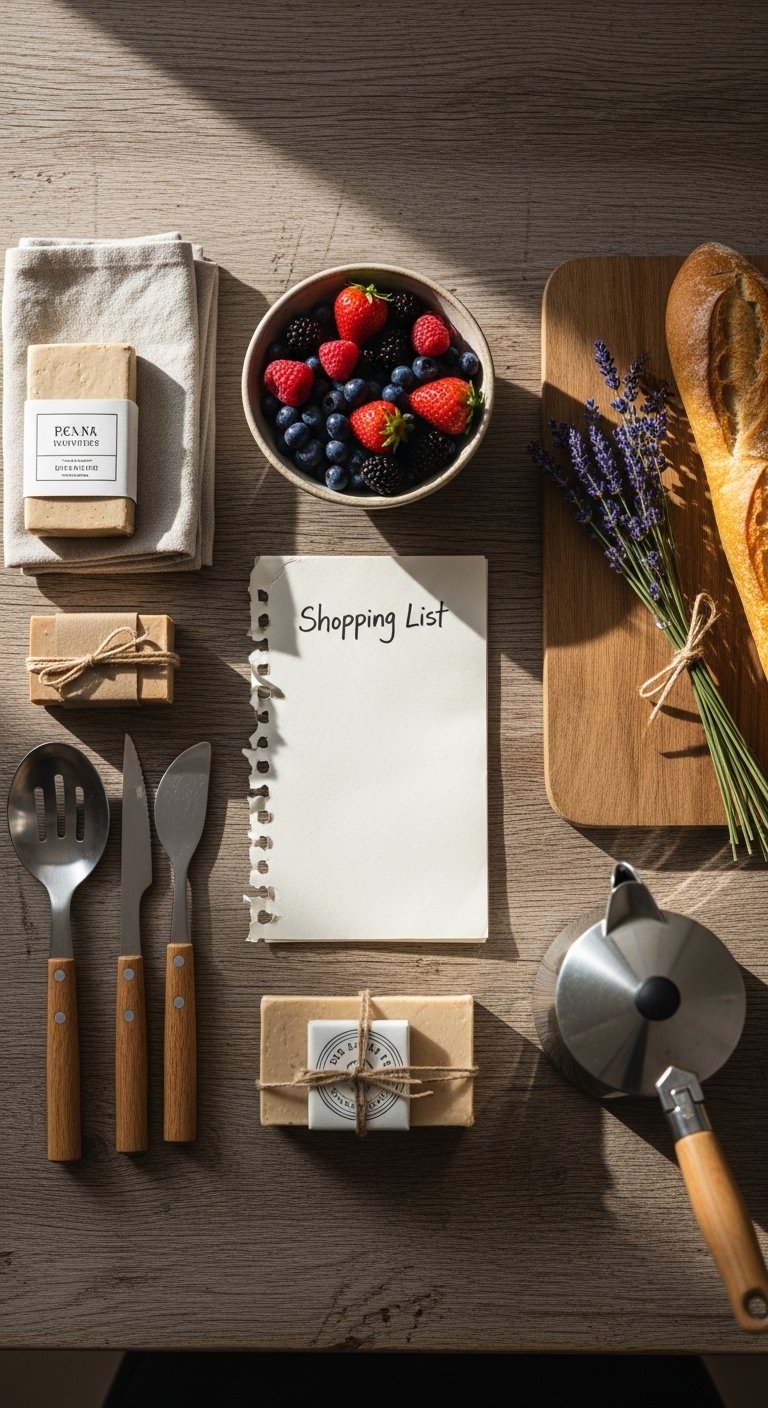
- Matte white ceramic vase, 10-12 inch ($20-35). Use as the anchor in Step 1.
- Wood cutting board, 16×10-inch, walnut-look ($25-45). Lean behind anchors in Steps 1 and 2.
- Linen kitchen towel, natural, 20×28-inch ($12-22). Texture in Step 4.
- Jute runner, 2×6-foot ($30-60). Anchors under prep zones in Step 4.
- Ceramic soap pump, matte glaze, 8oz ($15-28). Swap for plastic in Step 3.
- Small wood tray, 12×8-inch ($18-35). Corral items as in Step 3.
- Ceramic utensil crock, 6×6-inch, speckled glaze ($20-30). Use in Step 5 for function.
- Small herb pot, 4-inch, muted green ($8-15). Accent in Steps 2 and 5.
Why Your Counters Still Look Cluttered After Styling
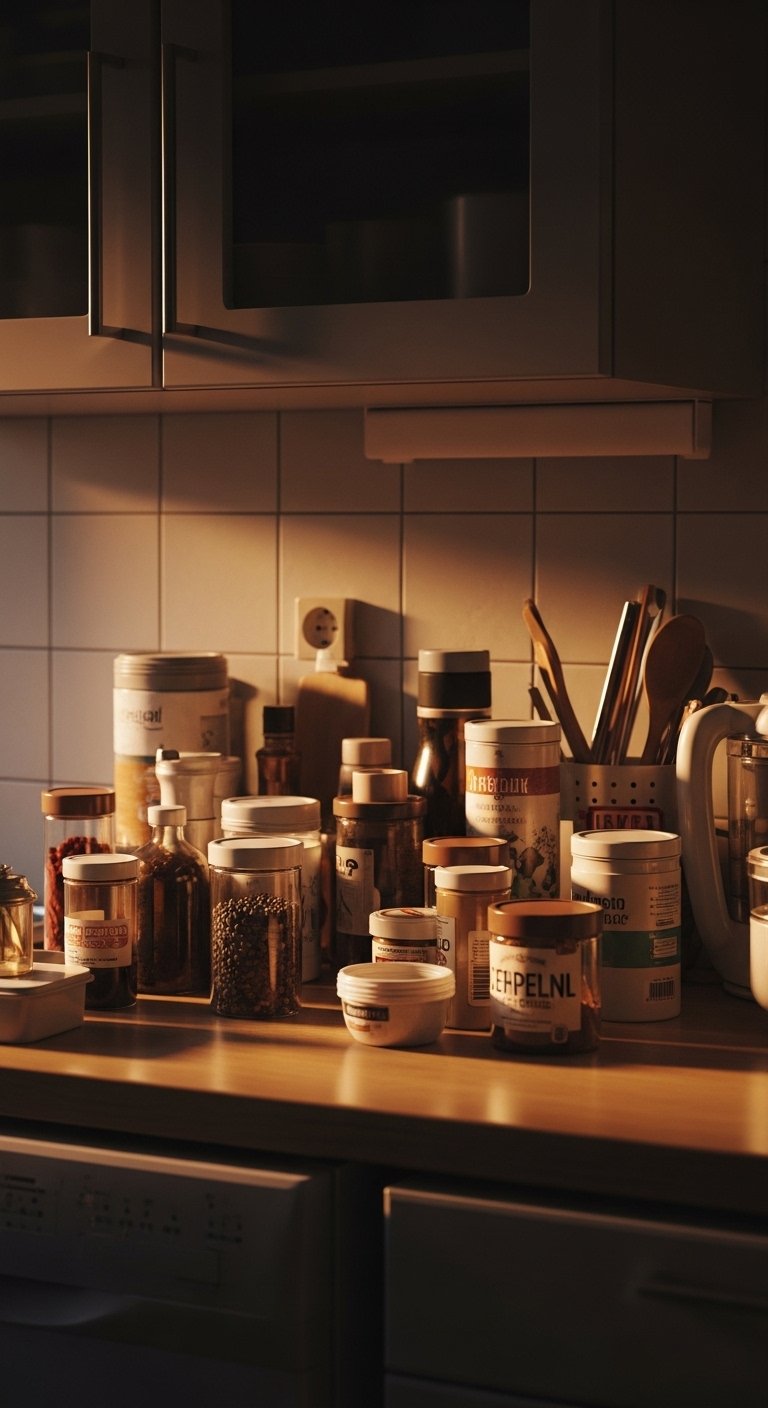
If your counters look cluttered, you probably have too many visual focal points. One anchor, one textural soft item, and one functional item is enough for a small zone. Common mistake is treating every useful object as decor. Instead, keep useful but unattractive things in a drawer or on a low shelf. Another miss is mismatched heights. Group by height so the eye moves. I learned to remove a third of my countertop items and the space instantly calmed.
Making This Work in a Small Kitchen
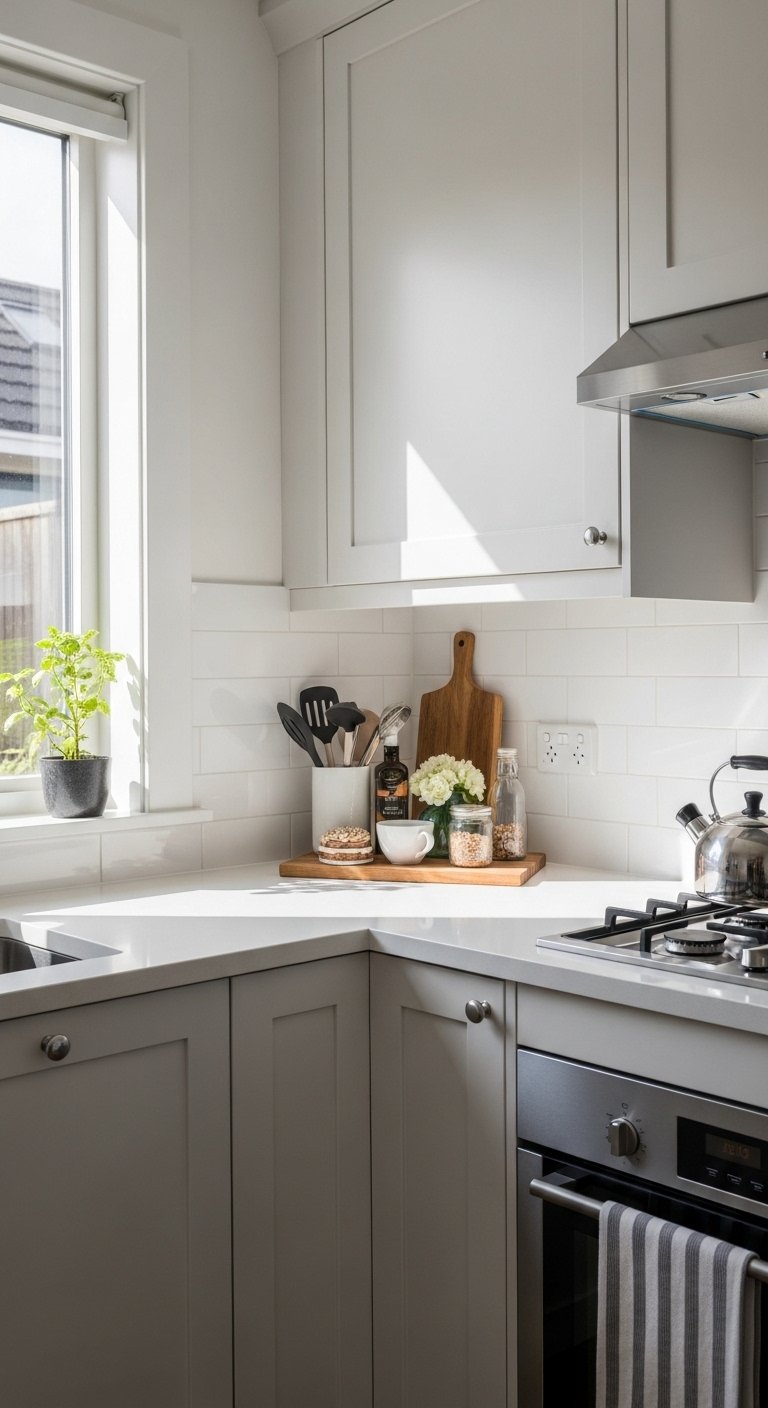
Small kitchens need fewer vignettes. Pick one 3 to 4 foot stretch to style well. Use vertical storage to keep counters clear. Hang a slim rail for frequently used utensils and keep the rest in drawers. If you lack natural light, pick warm wood and soft whites to prevent the space from reading flat. When I first tried this in a studio, I kept everything in motion for two weeks before settling on the final layout. That trial mattered.
What This Looks Like After a Week with Real Life
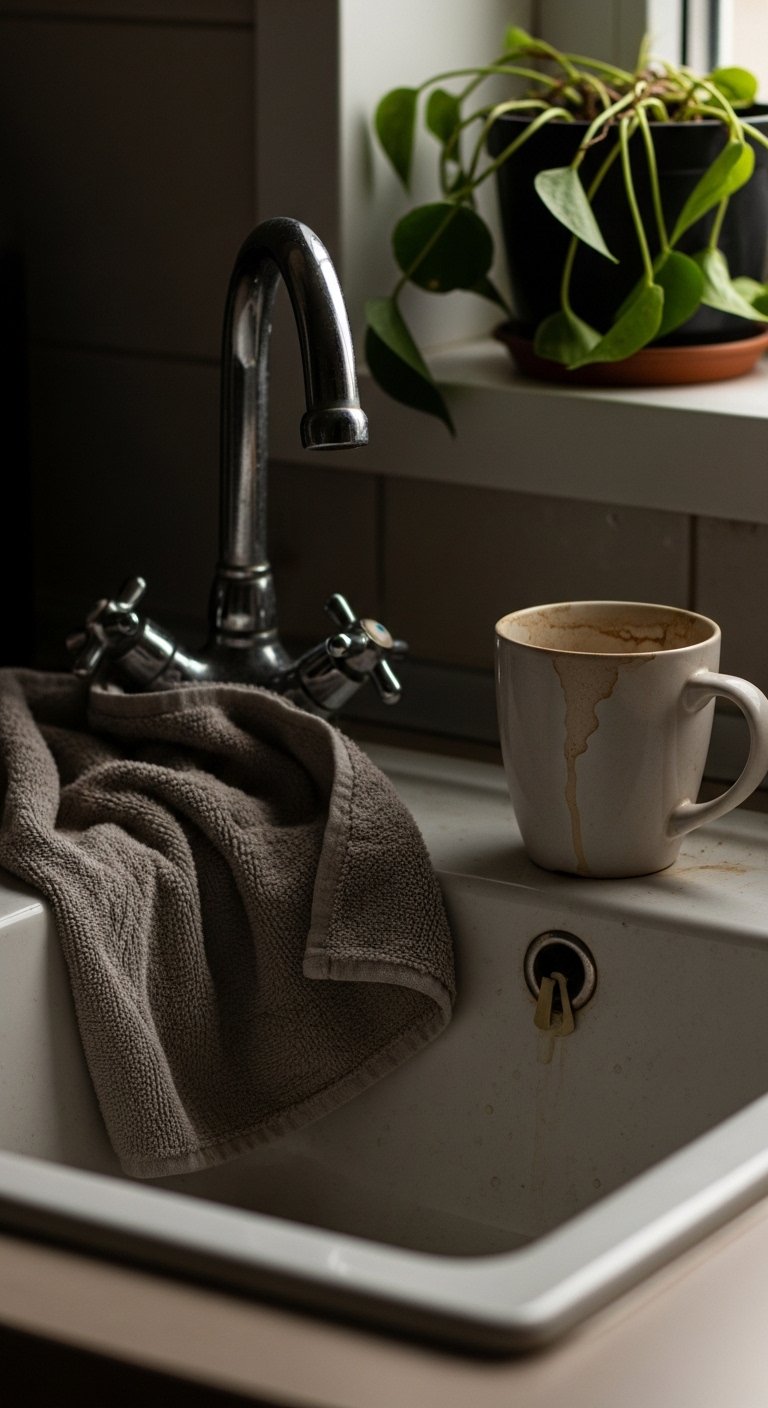
Expect crumbs, water rings, and a tilted herb pot. The point is to see how the styling stands up. After seven days, tidy the vignette and decide what moved or got in the way. If you find you reached for something every day, keep it accessible. If something was never used, move it away. My kitchen kept a faint water mark near the sink for months, and that little imperfection now feels like part of the room rather than a failure.
Start with One Counter
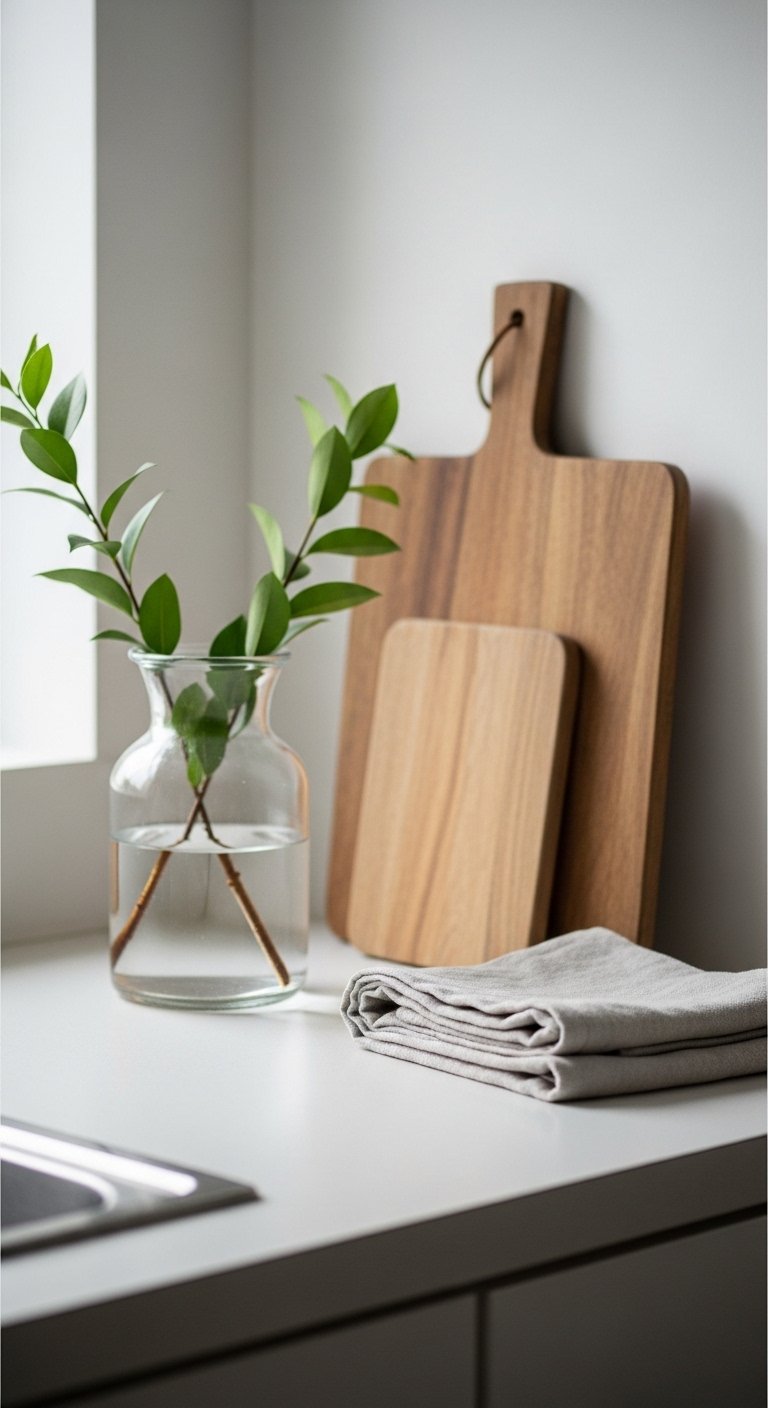
Choose one counter and do the full process: anchor, odds grouping, edit to 60 percent clear, add texture, then live with it. Begin with the matte white ceramic vase or the small wood tray from the checklist if you want a low-commitment start. Give yourself permission to tweak after a week. You will be surprised how much calmer the whole kitchen will feel once one area breathes.

