

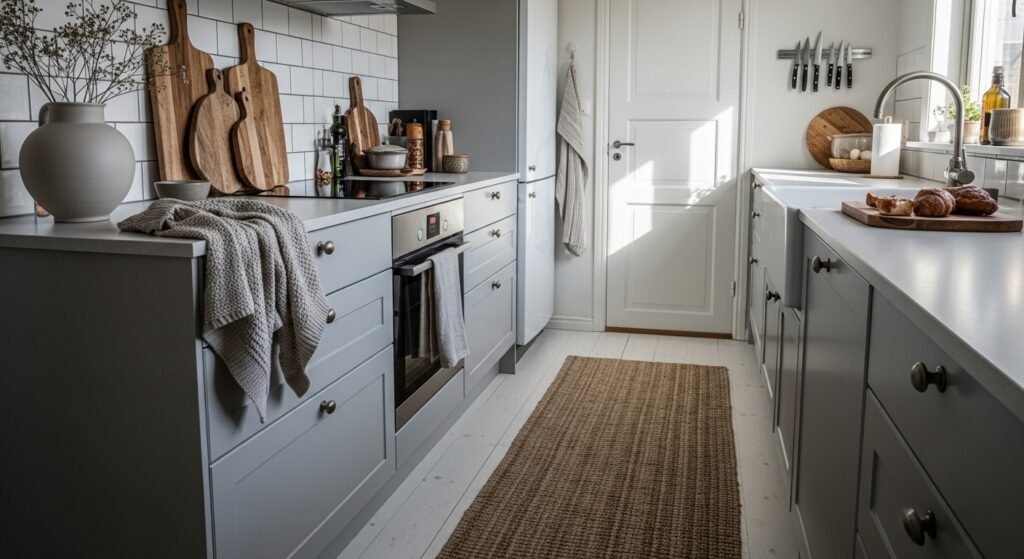
I had a crowded counter and a row of floating shelves that looked like a thrift-store display. I tried matching colors, buying coordinating bowls, and arranging everything perfectly even. It still felt cold and awkward. The turning point came when I stopped buying more stuff and started editing how things related to each other.
My early attempts were messy. The first version had too many small objects. The second version was so symmetrical it felt staged. The third one finally clicked when I thought about weight, texture, and breathing room instead of color matches.
Step 1: Pick an anchor and clear the rest
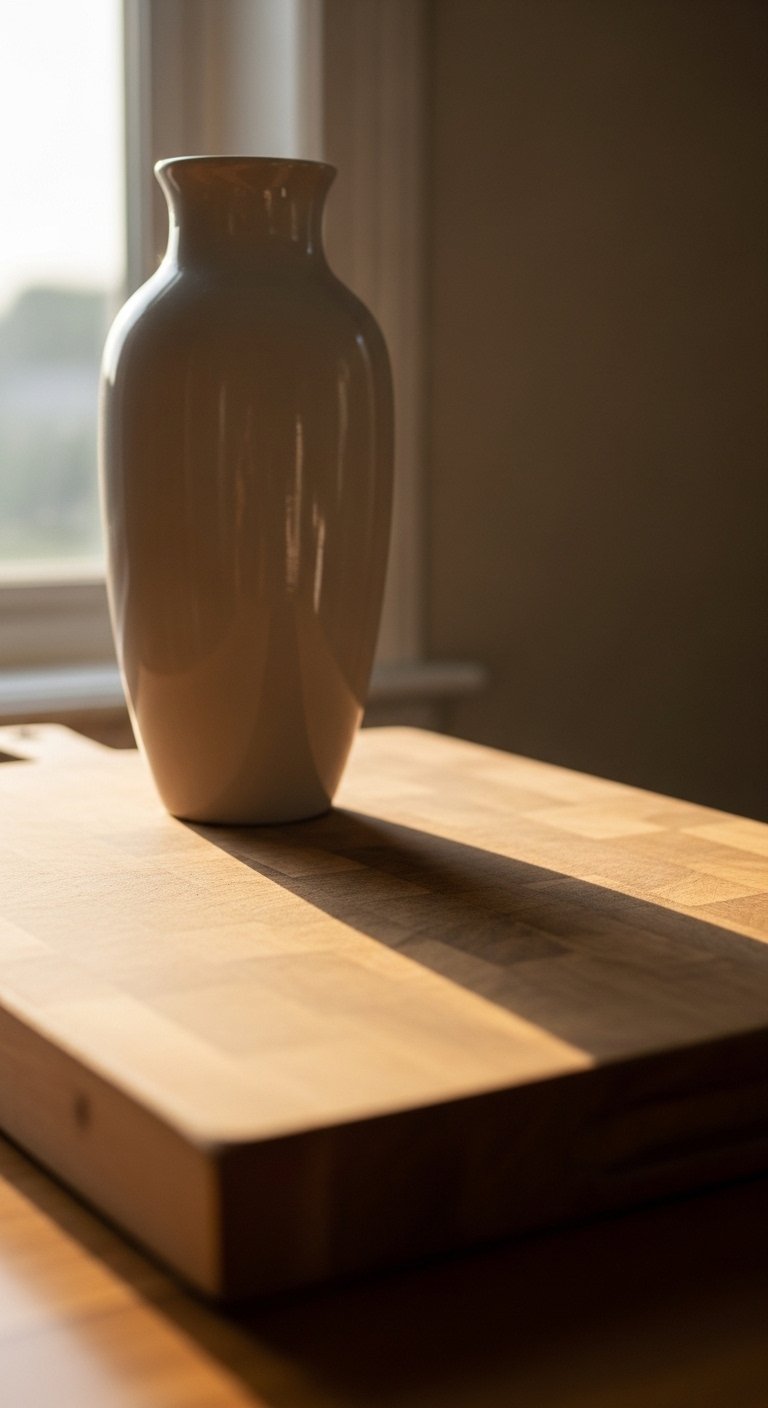
Most people pile decor on a corner and call it styled. Do the opposite. Clear a 3-foot section of counter, set one anchor piece in place, then live with that empty space for five minutes. Good anchor choices are a 12 to 14-inch tall matte ceramic vase, a large wooden board about 18 by 12 inches, or a casserole dish with weight to it. The rule I use is one anchor that takes up roughly two thirds of the width of the cleared area, with about 10 to 12 inches of visible clear counter on either side. The wooden board feels heavy and warm in your hands, which matters. I put things back too fast the first few tries. Waiting made me see what truly belonged.
Step 2: Layer soft textiles and warm light
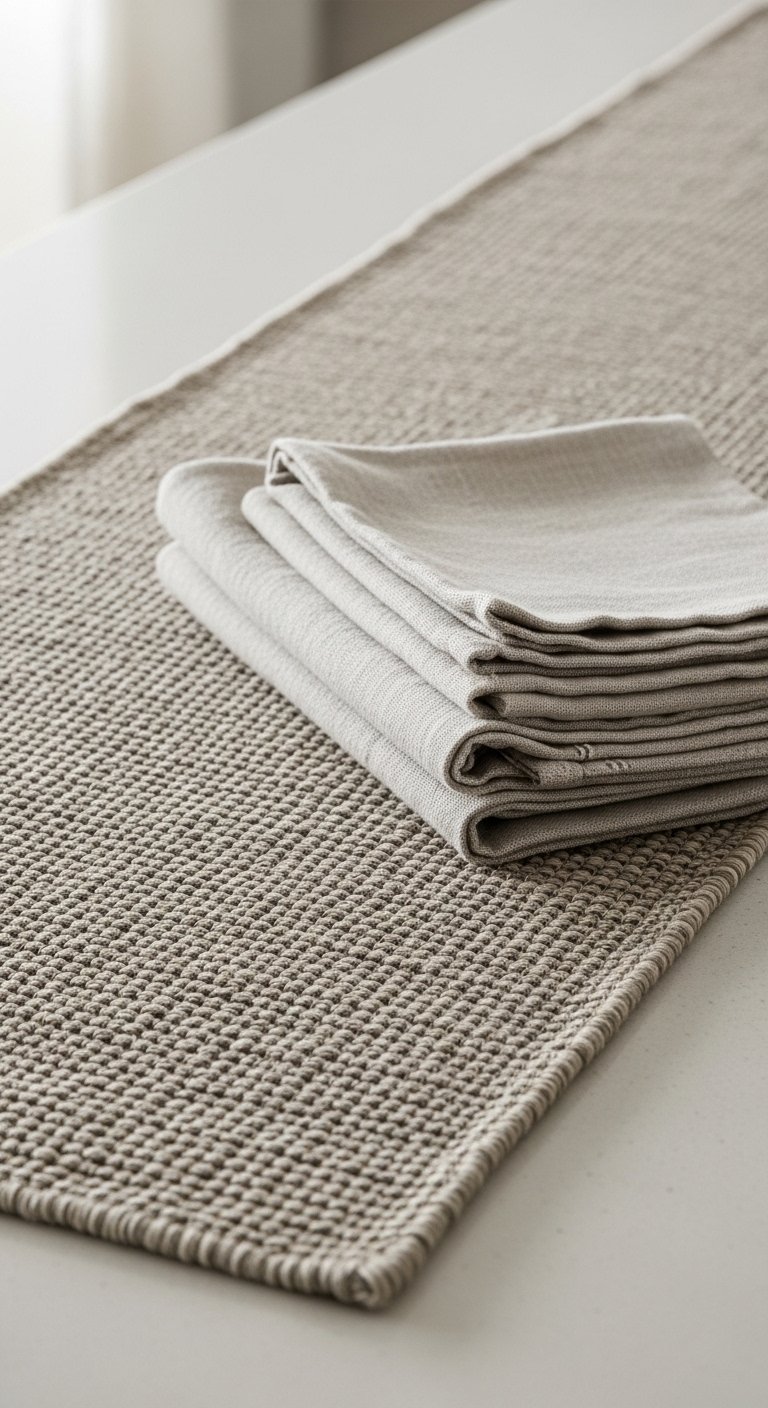
This is the step where the room stops looking like a photo shoot and starts to feel lived-in. Add a narrow runner, roughly 2.5 feet wide, along the prep zone, and swap flat cotton towels for nubby linen towels sized about 18 by 28 inches. Choose bulbs around 2700K in pendant fixtures to soften shadows. A chunky knit throw is tempting in pictures, but in a kitchen it will grab crumbs and spills. I learned that the hard way. Linen and cotton take spills better and still feel soft under your wrist as you wash dishes. The visual change is quiet, but it softens edges and invites you to linger.
Step 3: Group objects by odd numbers and varied heights
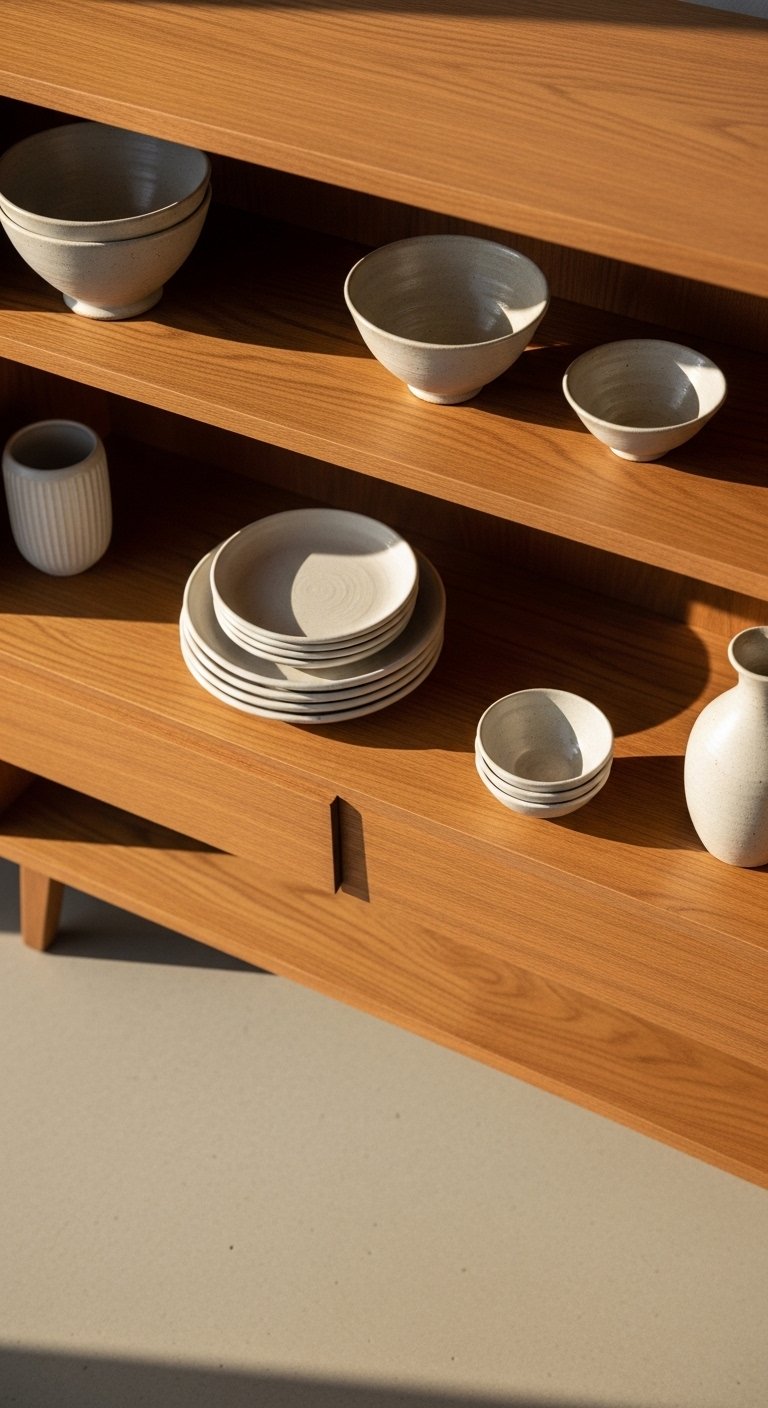
Pull everything off the open shelf. Yes, everything. Start each small grouping with a tall item, add one medium piece, then one or two small items. I usually shoot for three items on a shelf face. Keep 2 to 3 inches of space between objects so each piece reads. The formula I use is one tall, two mid, three small if the shelf is wide. A set of matte ceramic vases about 10 to 14 inches tall gives vertical interest. The surface of those vases feels cool and slightly grainy, which contrasts nicely with smooth glass or shiny metal. My first three groupings looked like random clutter. Once I forced the odd-number rule and varied heights, balance arrived.
Step 4: Add used items and living accents
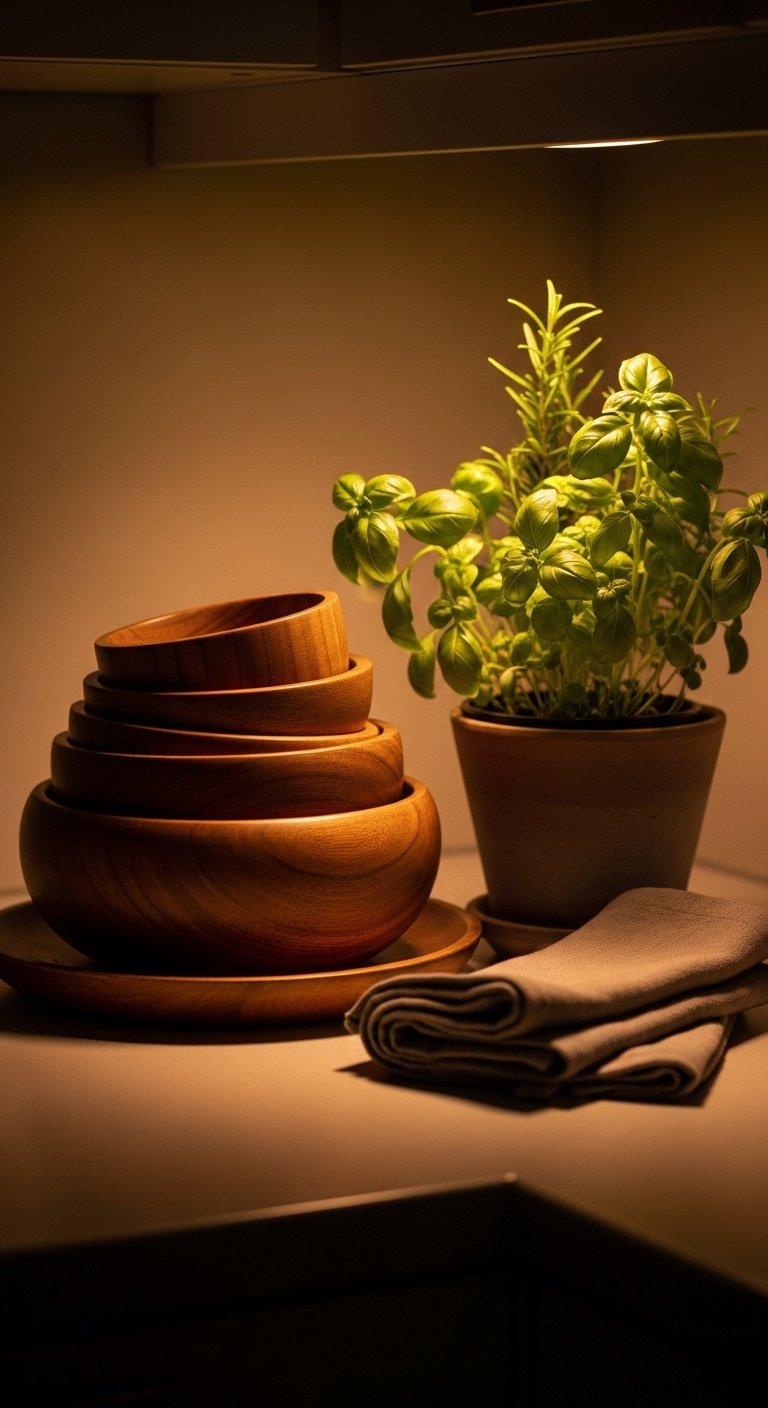
This step makes the kitchen feel used, not staged. Replace a decorative bowl with one you actually eat from. Stack two wooden bowls, tuck a bundle of linen napkins about 18 by 18 inches next to them, and add a small 3- to 4-inch herb pot. The scent of rosemary or basil will do more for cozy than another ceramic ornament. Textures matter here. A rough wooden bowl has weight in your hands and reads as honest. One mistake I kept making was buying new decor pieces that never left their box. Use what you touch daily. It will wear in and look better faster.
Step 5: Anchor the floor and define functional zones
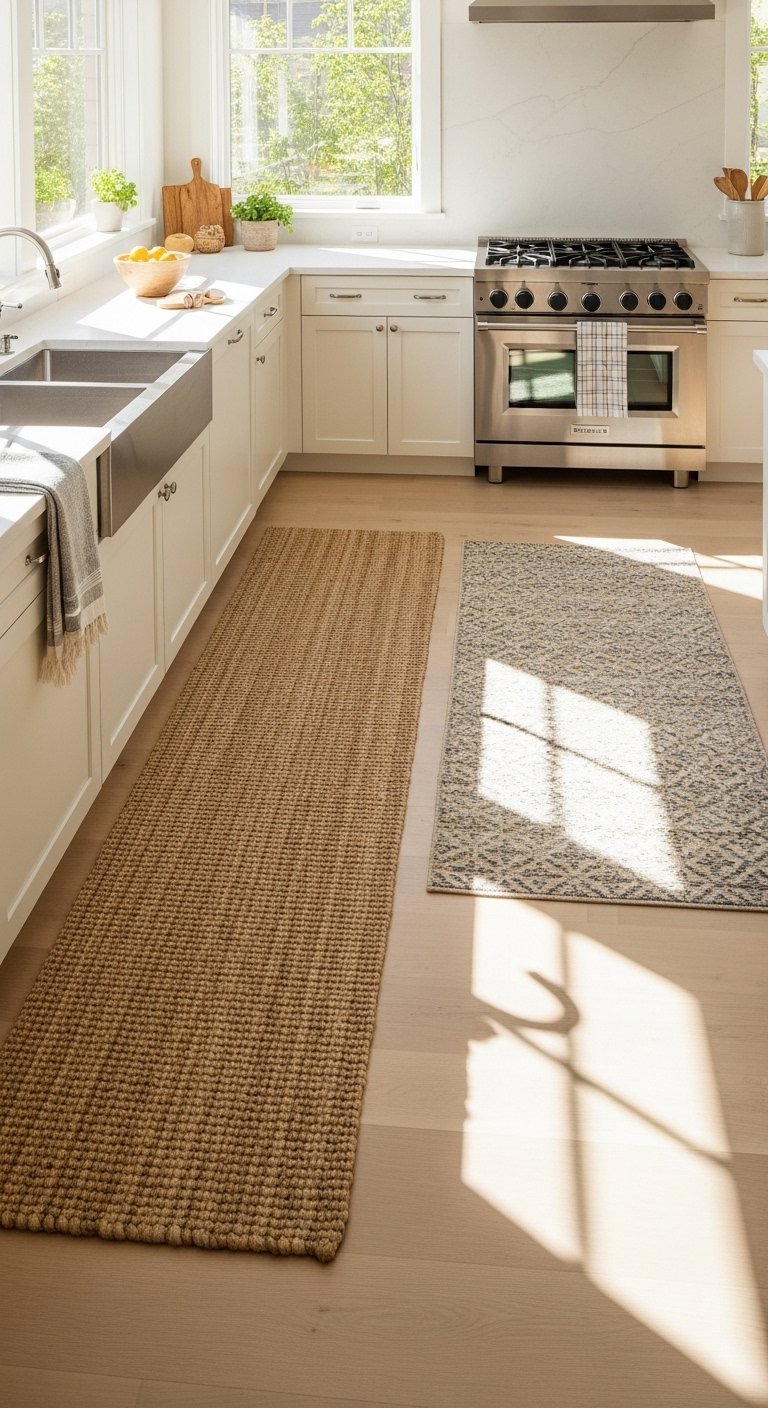
The floor settles everything. Place a runner at least 2.5 feet wide running the length of your main prep area. If you have a small standing zone in front of the sink, a 3 by 5 rug works well there. Leave 6 to 12 inches of bare floor visible between the rug edge and the cabinets so the rug reads as a layer, not a mat. I used too-small rugs for years and they vanished underfoot. A jute runner adds a dry, fibrous texture under bare feet that warms the room without feeling heavy. Add a non-slip pad so it will stay in place when you move quickly.
Everything You Need for a Cozy Kitchen
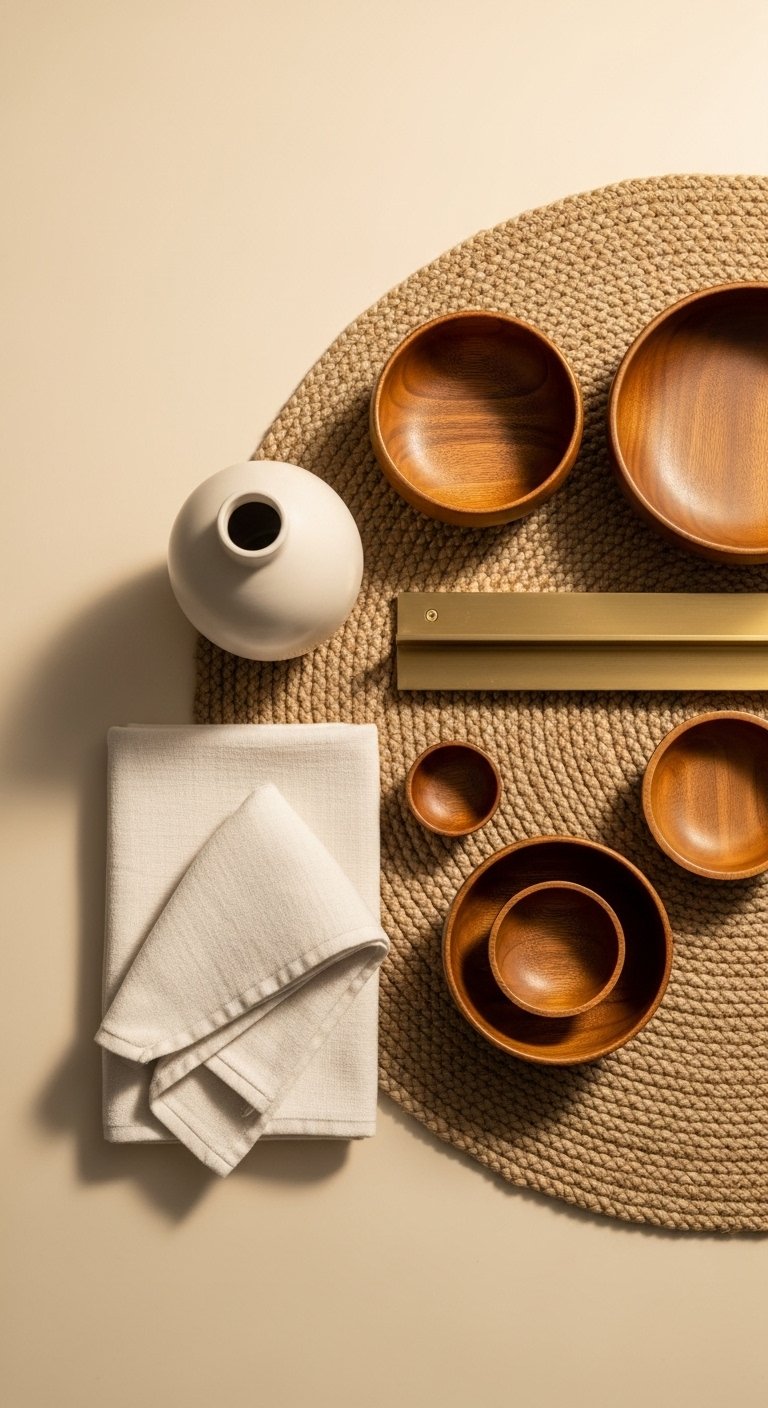
- Matte ceramic vase, 12-inch tall, white ($25-40). Use as the tall anchor in Step 1 and Step 3.
- Wooden cutting board, 18×12 inches, walnut ($30-55). I lean this behind the stove as a warm vertical plane in Step 1.
- Linen dish towels, set of 4, 18×28, natural ($20-35). Swap these in Step 2 for a softer, textured hand feel.
- Jute runner, 2.5×8 feet, natural ($90-150). Anchors the floor in Step 5.
- Ceramic vase set, matte white, 10-14 inches ($25-40). For varied-height groupings in Step 3.
- Stackable wooden bowls, set of 2, 8-inch and 6-inch ($20-35). Used as everyday serving pieces in Step 4.
- Brass picture ledge, 24-inch ($18-30). Helpful for rotating prints or recipes near styled shelves in Step 3.
- Non-slip rug pad, cut-to-size, 2.5×8 feet ($15-25). Keeps the runner steady in Step 5.
Why your counters still look cluttered after styling
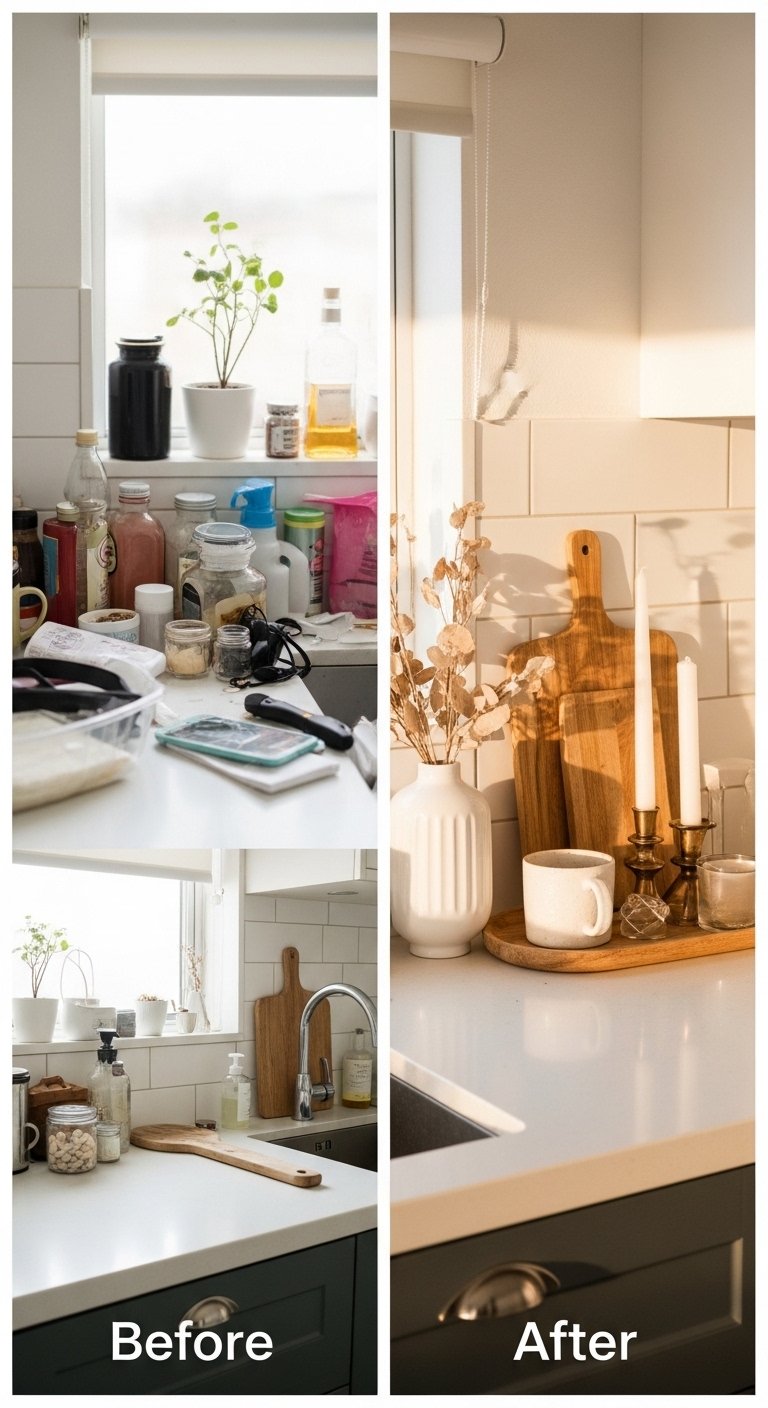
If your counters still feel cluttered it is rarely about quantity. It is about grouping and negative space. When you cluster lots of small, similar items they compete. Choose one functional item to keep, like a mortar and pestle, then group two or three complementary objects nearby. Another common issue is scale mismatch. Tiny jars next to a large appliance look like afterthoughts. I used to set out a row of spice jars. Switching to one jar, a small wooden spoon, and a folded linen towel made the same space read intentional. Keep at least 10 to 12 inches of clear counter as visual breathing room.
Making this work in a small kitchen
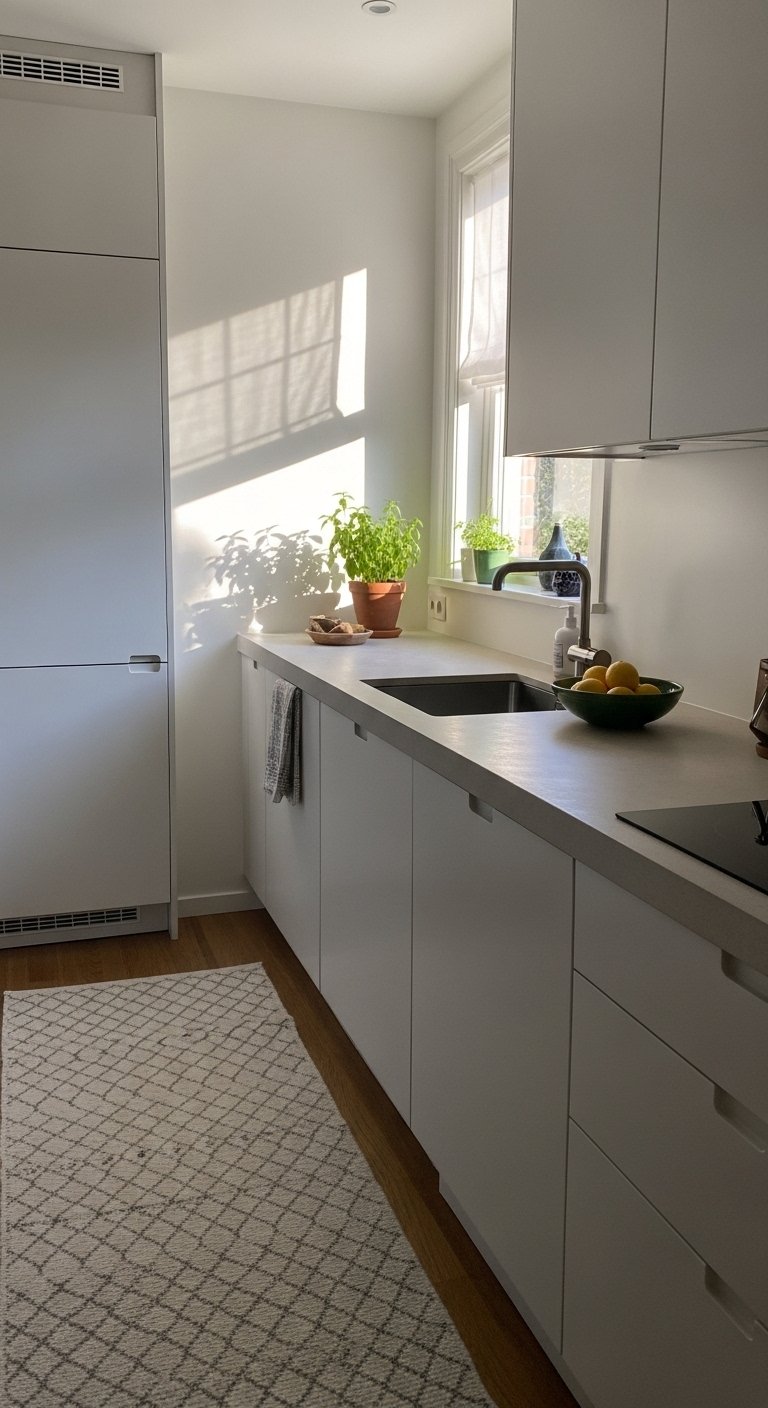
Small kitchens respond to fewer choices and bigger textures. Focus on one textured surface, like a jute runner or a wooden board, rather than many small items. Tips I use:
- Pick a single color accent and repeat it two to three times only.
- Use vertical storage, such as a 24-inch ledge, to lift items off counters.
- Keep rugs narrow, 2 to 2.5 feet wide, so they do not crowd walking space.
I once tried a full mantel approach in a tiny kitchen and it swallowed the room. Less, heavier, and touchable wins in tight spaces.
What this looks like after a week with kids and a dog
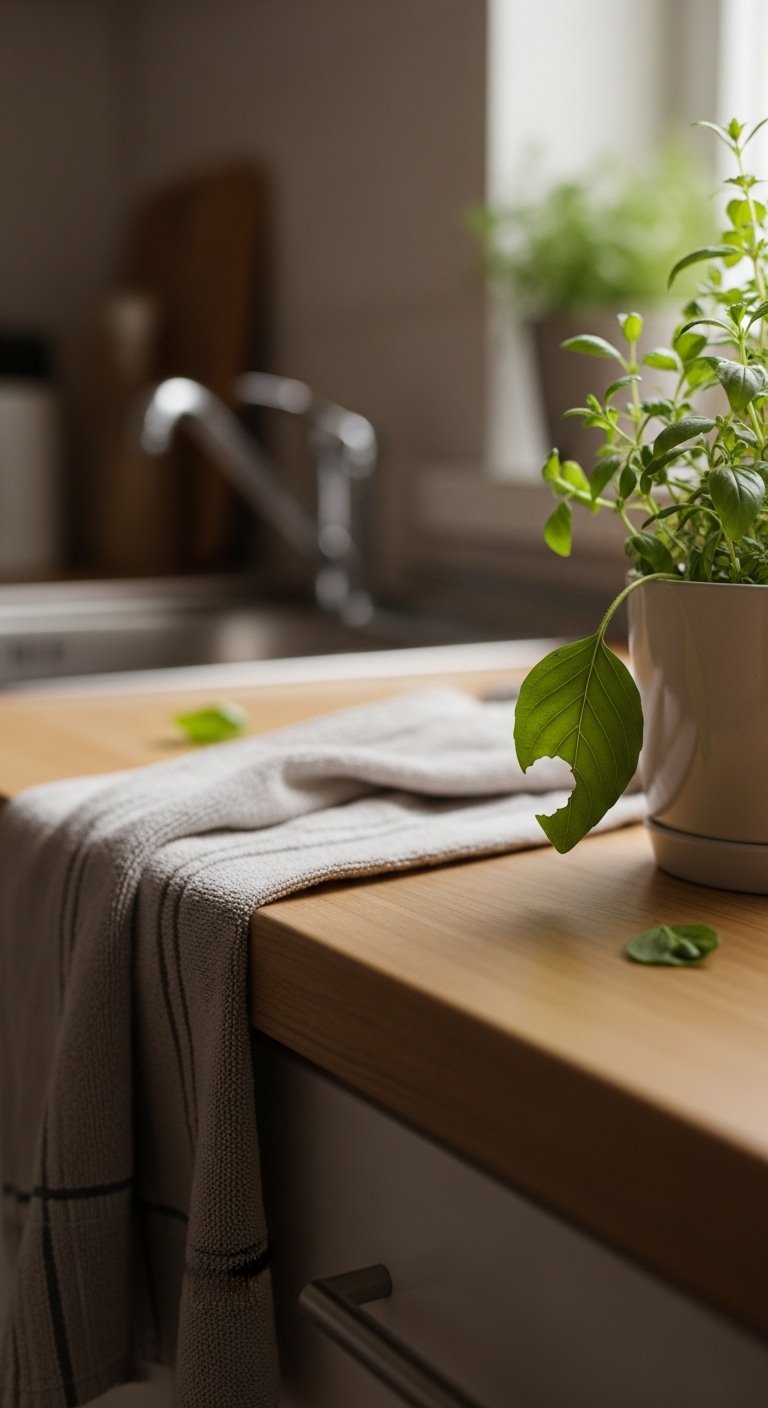
Expect a lived-in look. Towels will be used, crumbs will appear, and a herb pot will lose a leaf. The measure of success is that the kitchen still feels calm. Keep one small basket for stray toys or mail. Re-tuck a towel and stack one wooden bowl after meals. I learned to place the busiest decorative element out of direct traffic. My roommate knocked over a ceramic vase twice before I moved it back 6 inches. It still looks good and now it stays upright.
Start with One Corner
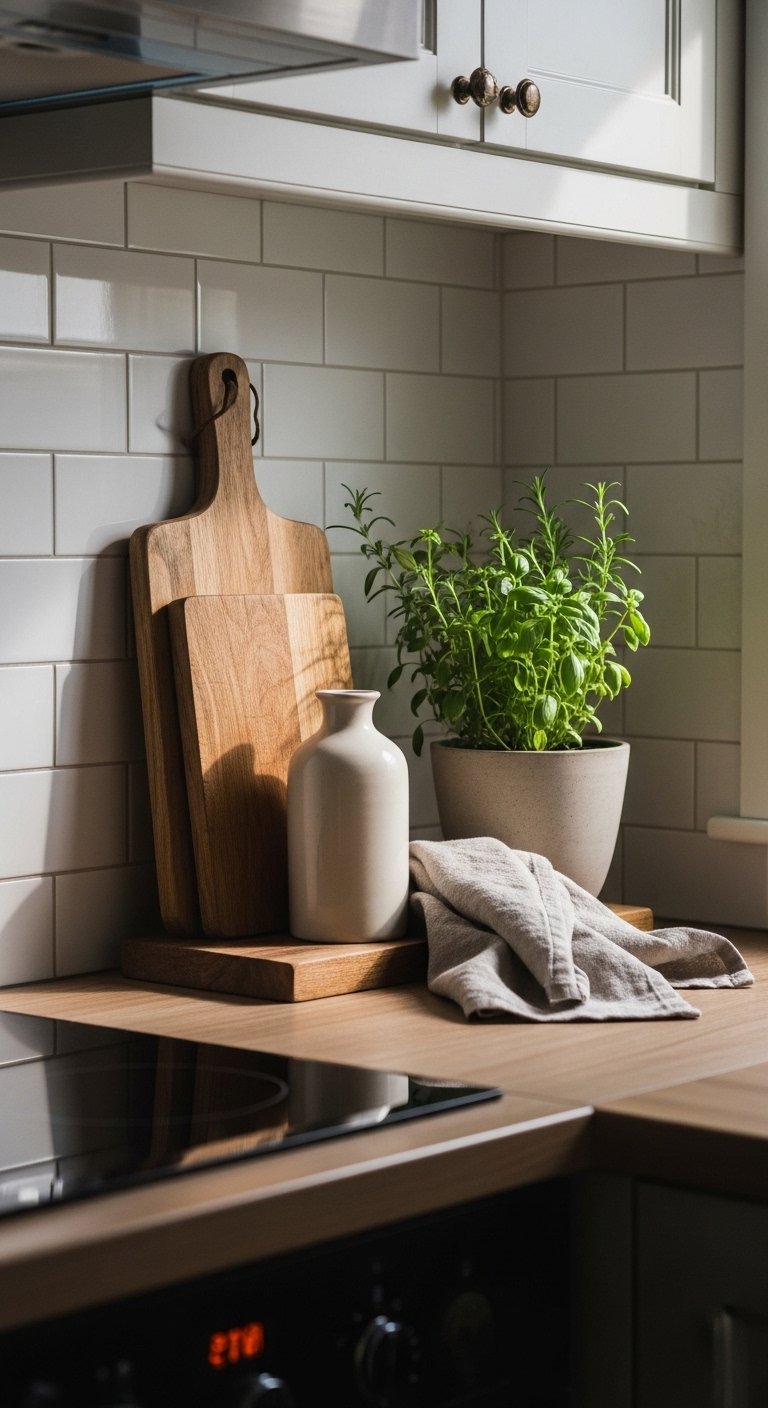
Pick one corner, clear it, and style it using the anchor-plus-texture approach from Step 1 and Step 2. Keep the changes reversible so you can live with them for a week.
Start small, notice how the textures and empty space feel, and adjust. A linen towel or a single wooden bowl is all you need to begin.

