

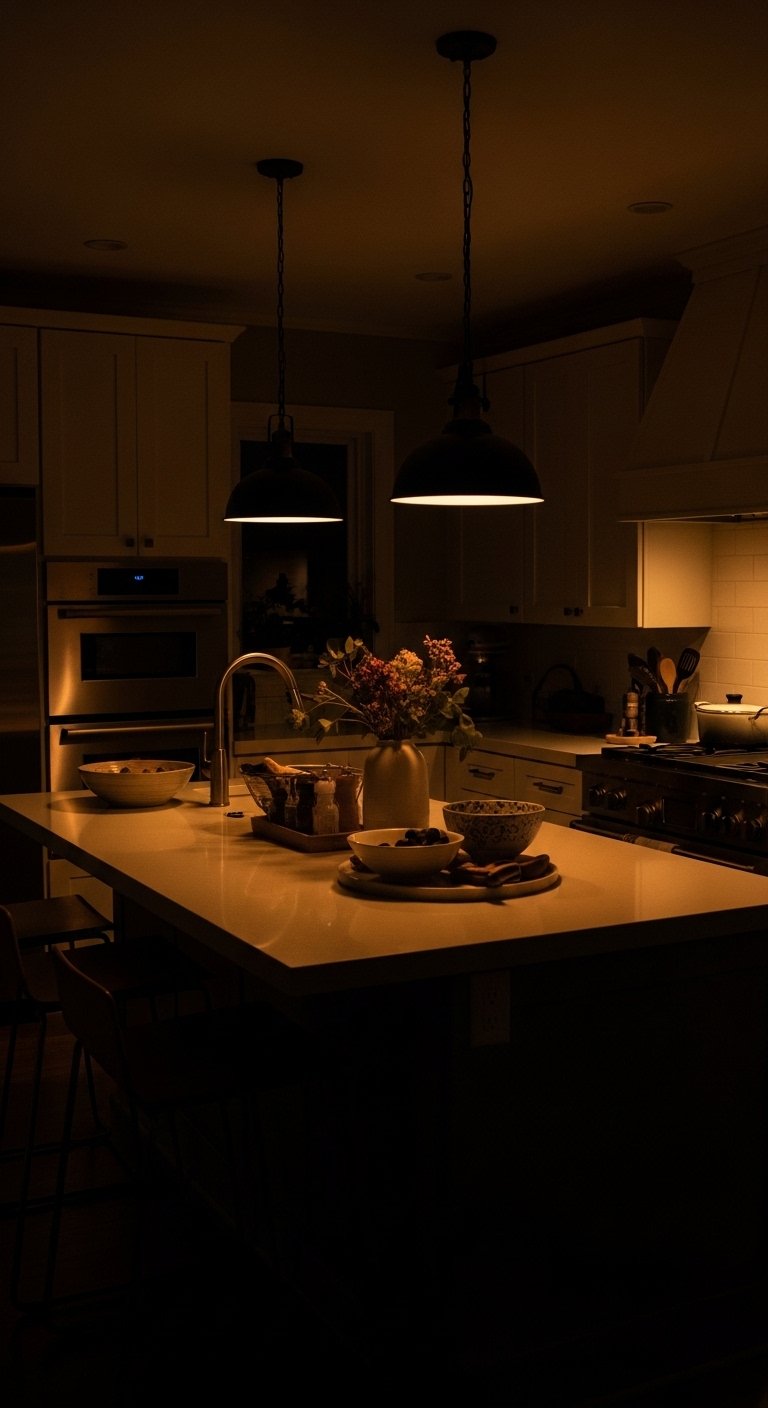
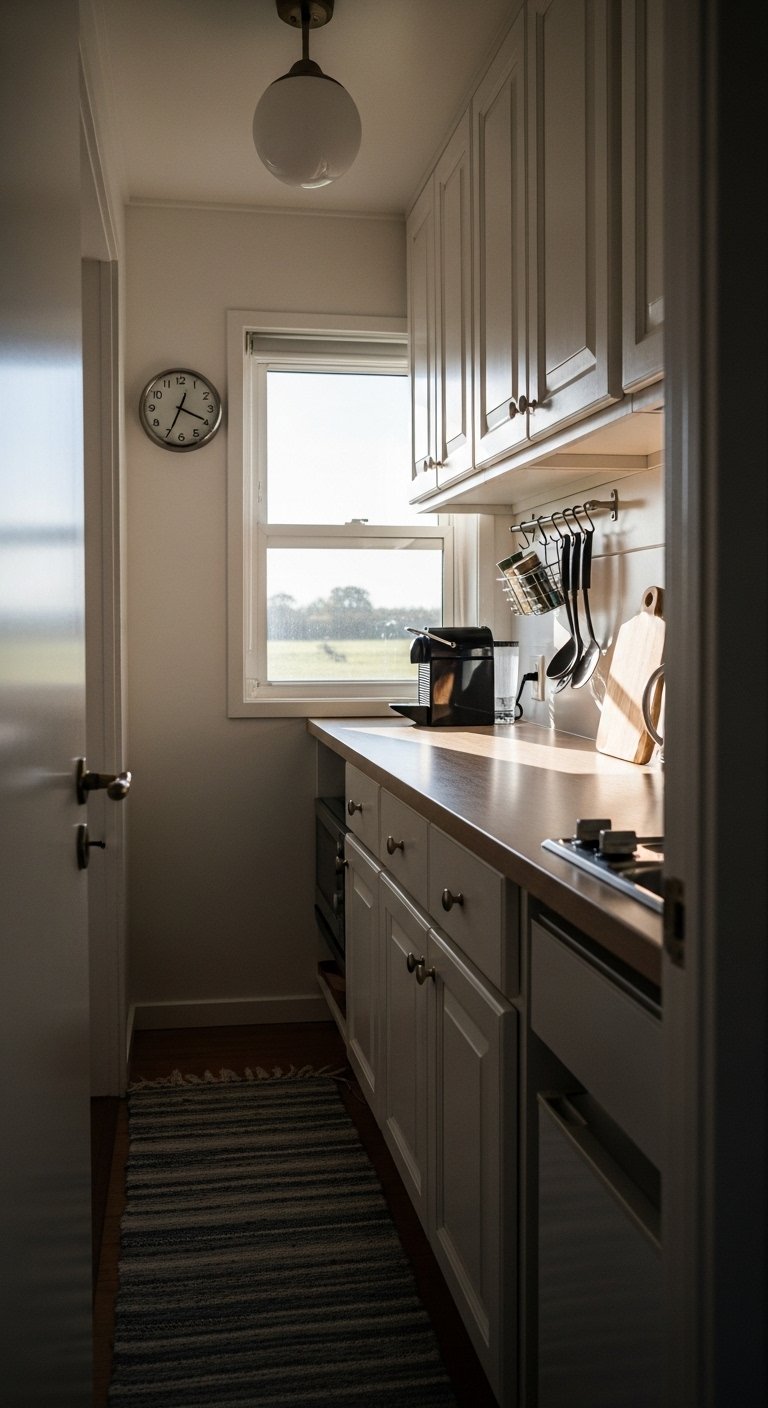
I used to clear my counters for a cooking marathon and still come back to a jammed, awkward mess. Plates, a jar of utensils, a potted plant, and a stack of mail all seemed necessary until I realized the problem was not the objects themselves. It was how I grouped and where I left space.
At first I tried matching everything, lining things up like soldiers. That looked rigid and made the whole counter feel smaller. After the third redo I learned to think in zones, measured gaps, and let empty space do some of the work. It made the kitchen feel calmer and actually easier to cook in.
Step 1: Strip the Counter and Define Two or Three Zones
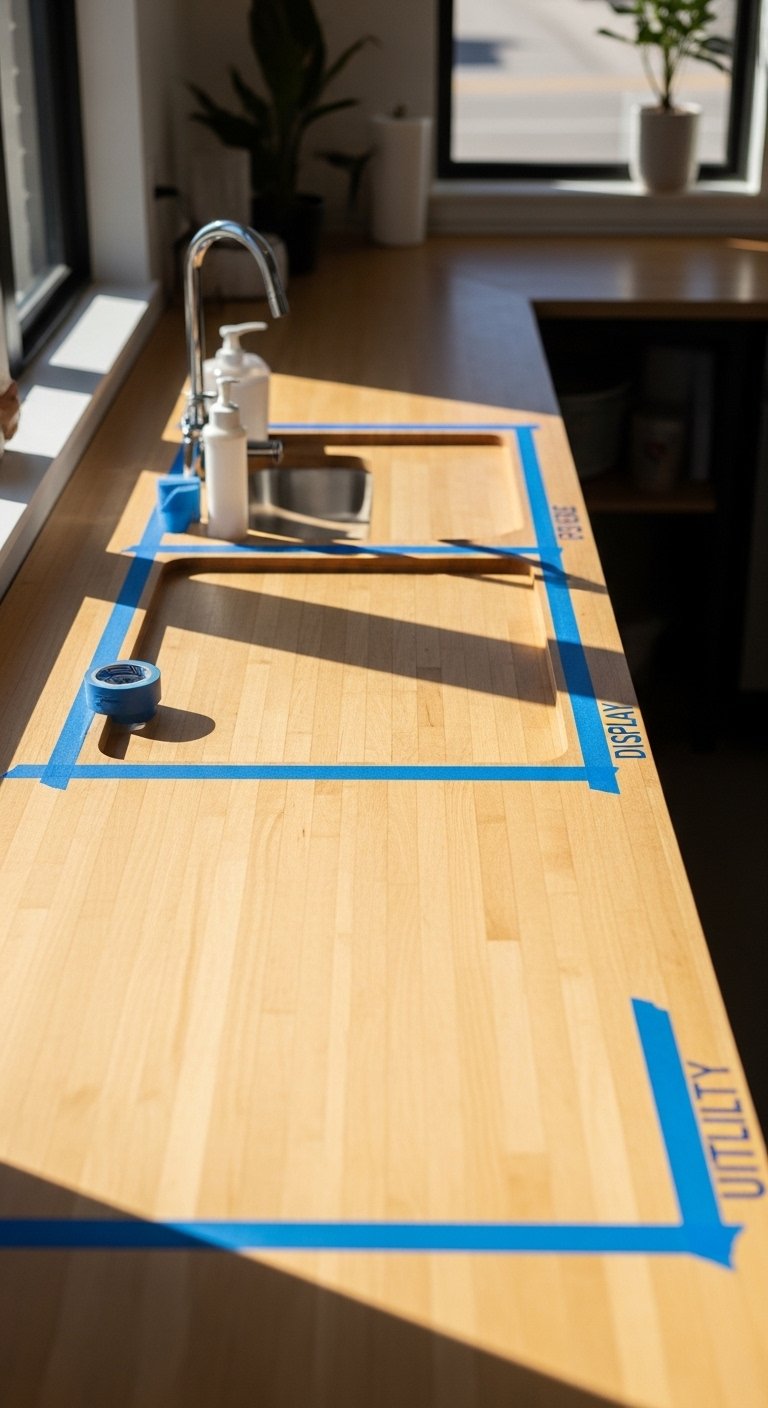
Pull everything off the counter. Yes, everything. I know this feels dramatic. Wipe the surface and stand back. The first win is seeing how much actual usable space you have. Aim to keep about 60 percent of the longest countertop length free for working. That number helped me when I kept squeezing items onto the only clear spot.
Now mark rough zones in your head or with tape. I use a 24-inch width in front of the stove as the main prep lane so I can chop without moving things. Common mistake, and I did this, is treating the whole counter as one zone. It is not. When you separate a juice station from a cooking zone the clutter looks purposeful instead of accidental.
Step 2: Pick an Anchor Item and Build Around It
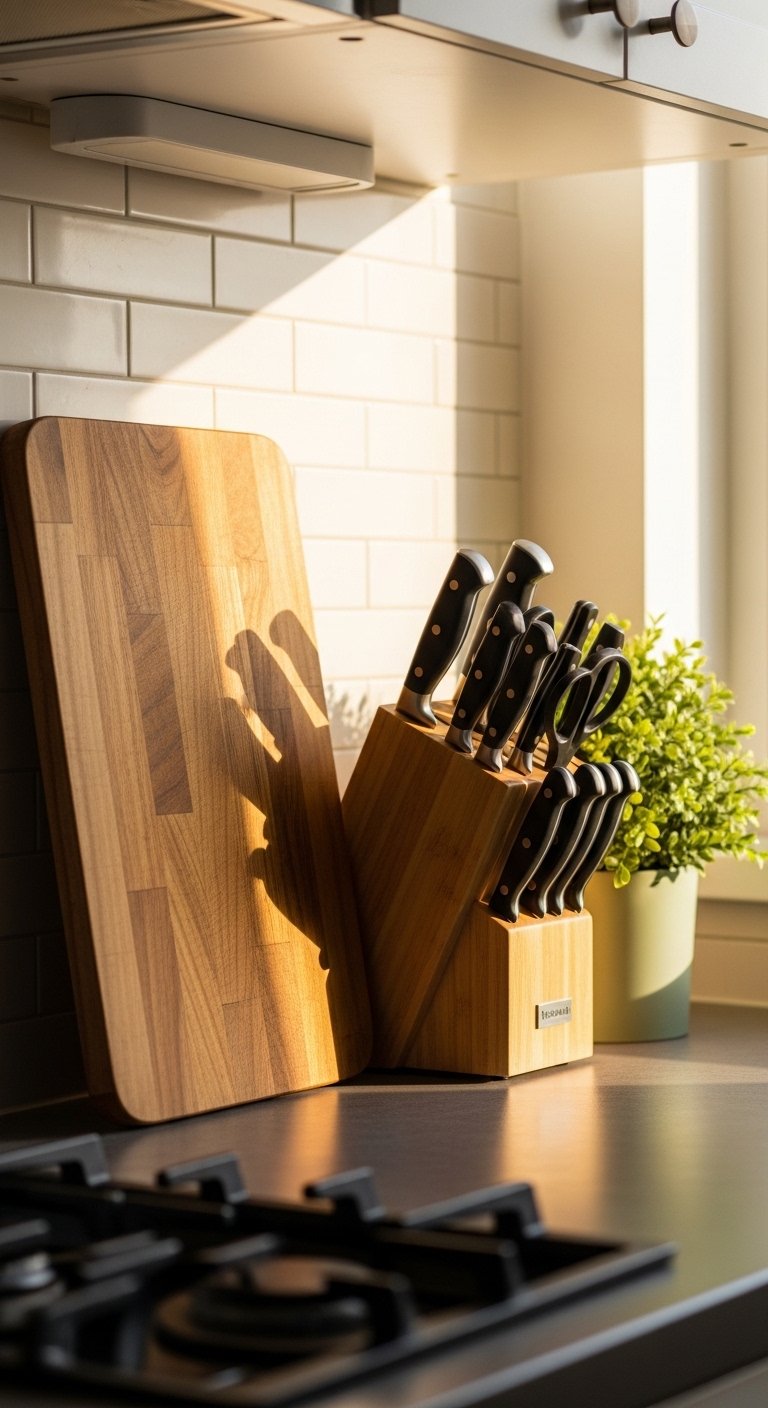
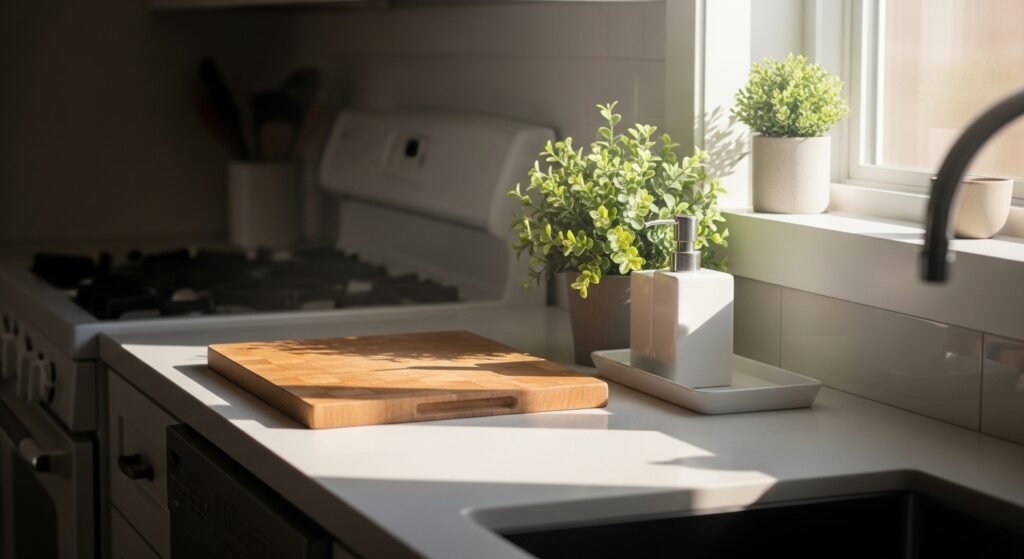
Most people start with small items and wonder why it looks messy. Start with the biggest object instead. A tall wooden cutting board, about 18 inches high, or a narrow knife block becomes your anchor visually and physically. Place it at the back so the surface in front stays usable.
I once used two equal boards side by side and it felt heavy. Switching to one board plus a lower item balanced the eye. For practical use, leave 12 inches of clear countertop immediately in front of that anchor so you can prep without reaching. Add a utensil crock for frequently used tools, but corral it on a tray so it does not creep into the work zone.
Step 3: Group Items in Odds and Layer Heights
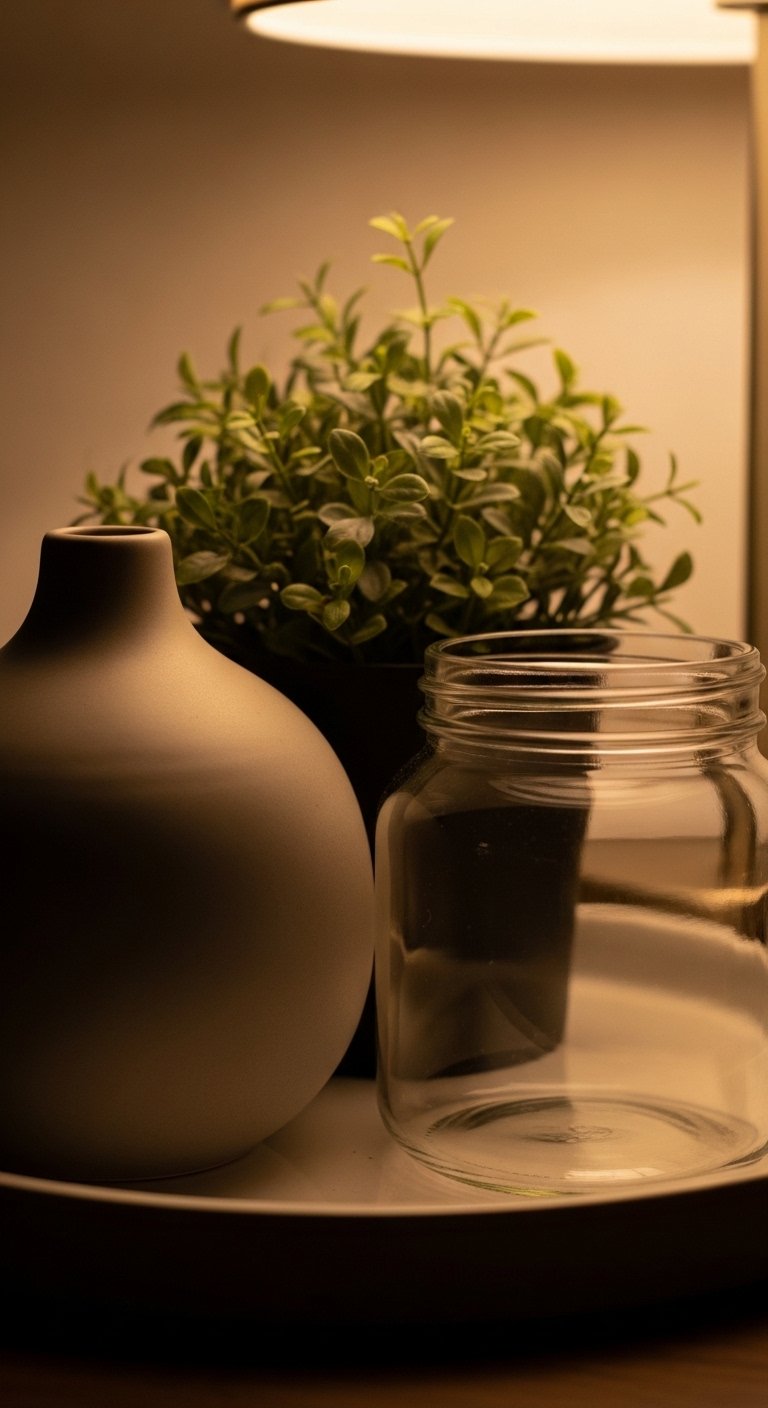
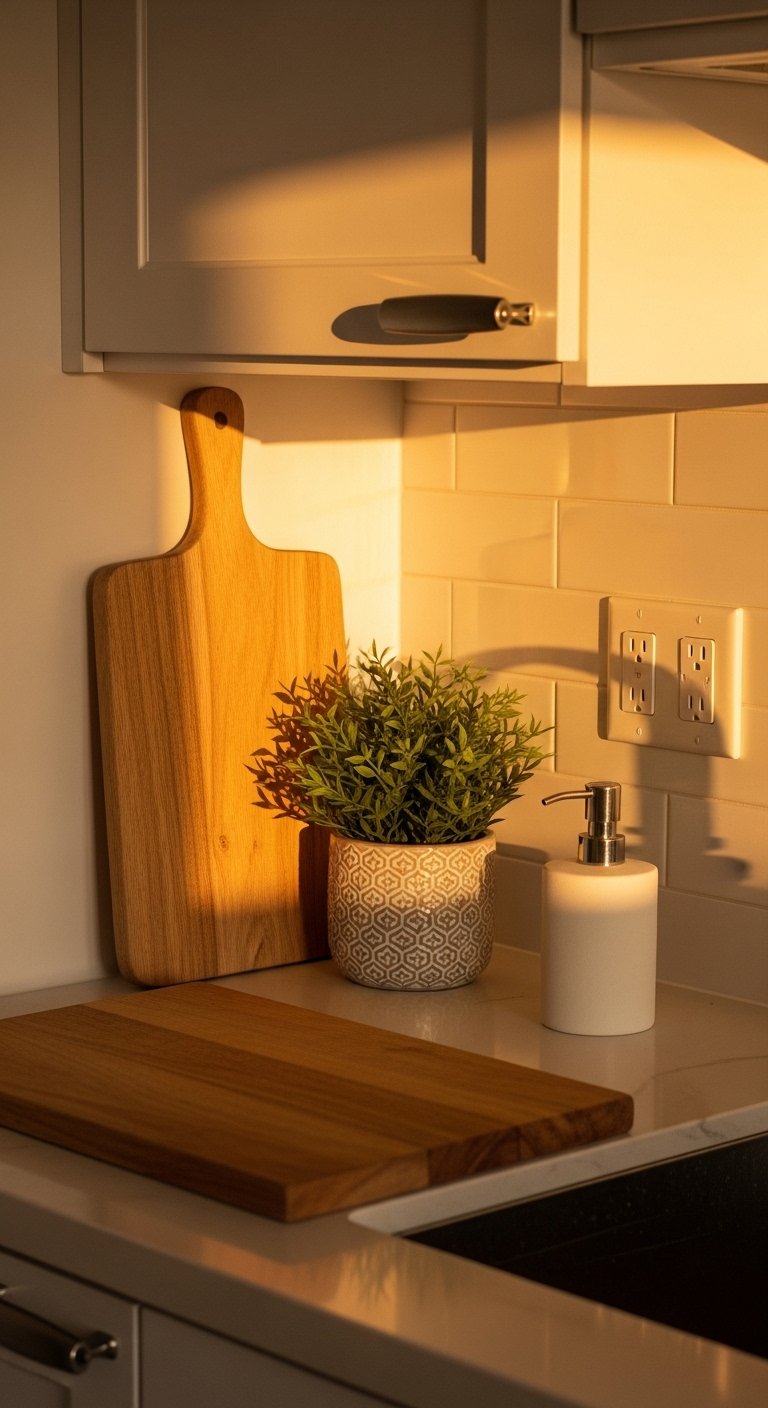
Group items in threes or fives. Odd numbers read as intentional, not cluttered. A good formula I use is one tall thing around 10 to 14 inches, one medium item, and a small object. The result is balanced without being matchy.
Texture matters here. A cool ceramic vase, the warm grain of a wooden board, and the soft leaves of an herb plant feel different to the hand and look different from a distance. I messed up this balance by using only glass once, and the counter felt flat and slippery. Layer items on a small tray, about 12 inches wide, to make them feel like a single piece and to protect the countertop from drips.
Step 4: Respect Negative Space and the 6-12 Inch Rule
This is the part where you will want to add more stuff. Don't. Give each grouping 6 to 12 inches of breathing room on either side. When you step back the arrangement reads as intentional instead of piled on. Empty space creates a visual pause that makes the objects matter.
At first I thought the empty gaps looked unfinished. After a week of living with the layout I noticed those gaps kept surfaces usable and made crumbs easier to spot. If you need to corral daily items, use a narrow tray for soap and sponge near the sink, not a scatter of bottles. That single choice made the whole row look neater immediately.
Step 5: Live with It for One Week and Adjust
Put everything back and use the kitchen for seven days. Watch what you reach for and what becomes dead weight. I moved my olive oil and coffee canister twice after noticing I rarely touched them while cooking. The goal is not perfection on day one. It is a layout that survives real life.
Common mistake is rearranging every day. Wait three mornings, then make one change. Swap a heavy ceramic soap dispenser for a smaller glass one if the weight feels wrong. After a week mine looked the same as the staged version but with lived-in crumbs and a tea towel that gave it personality. That final tweak is satisfying and quiet.
Your Countertop Organization Shopping List
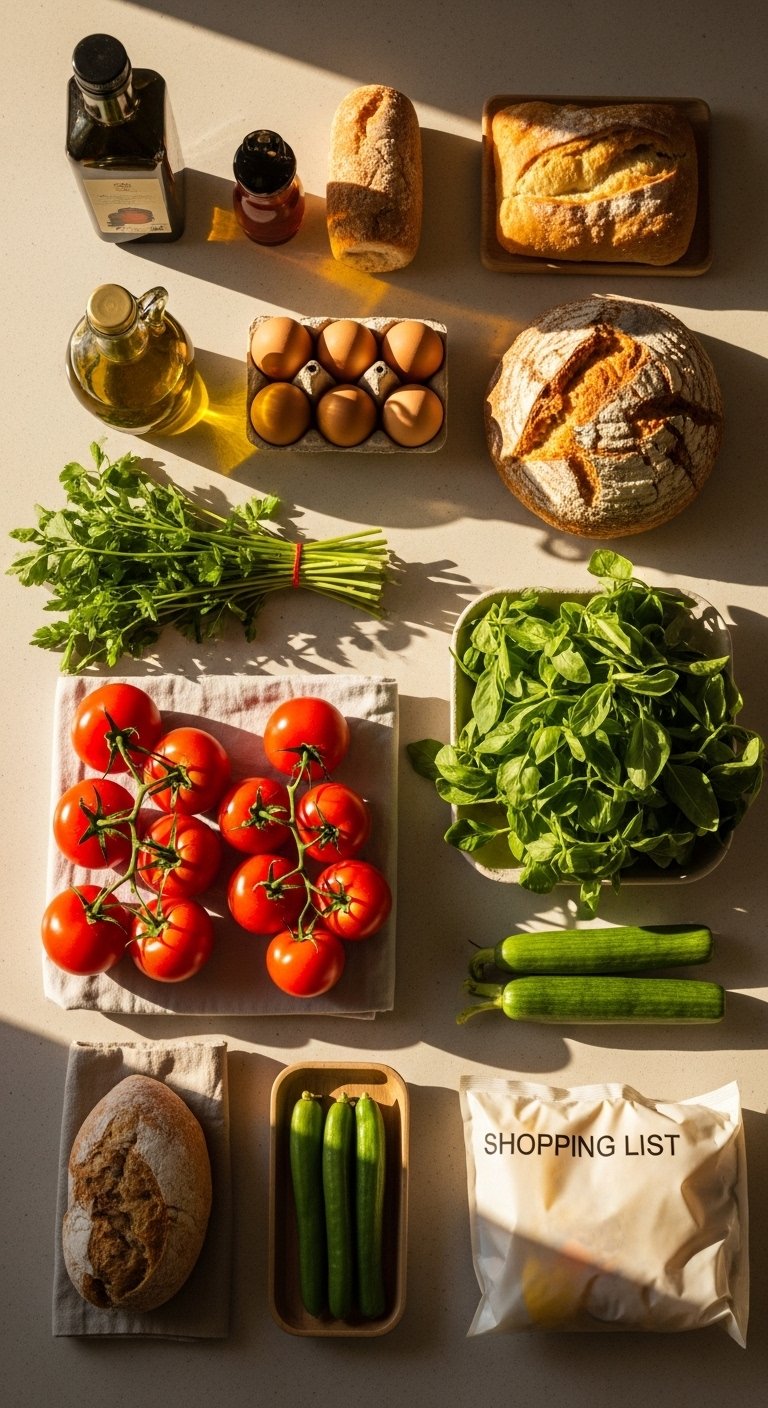
- Matte ceramic vase set, assorted heights (8, 12, 16 inches) ($25-45). Use one tall piece in Step 3, the smaller ones can move to a shelf.
- Round wooden cutting board, 18×12 inches, acacia ($30-55). Anchor item in Step 2. Great when leaned against the backsplash.
- Narrow metal tray, 12×6 inches, matte black ($12-22). For grouping in Steps 3 and 4. Similar at Target.
- Ceramic soap dispenser, 10 ounces, speckled white ($18-30). Swap in Step 5 if weight is an issue.
- Utensil crock, 5 inch diameter, glazed stoneware ($15-28). Keeps utensils tidy in Step 2.
- Glass storage jars with bamboo lids, set of 3 (16oz, 24oz, 32oz) ($20-35). For dry goods in Step 1 and Step 4. Similar options at HomeGoods.
- Small potted herb planter, 4 inch ceramic pot ($12-20). Adds texture and scent in Step 3.
- Linen hand towel, 18×28 inches, natural ($8-15). Functional and soft, used after Step 5 adjustments.
Why Your Counters Still Look Cluttered After Styling
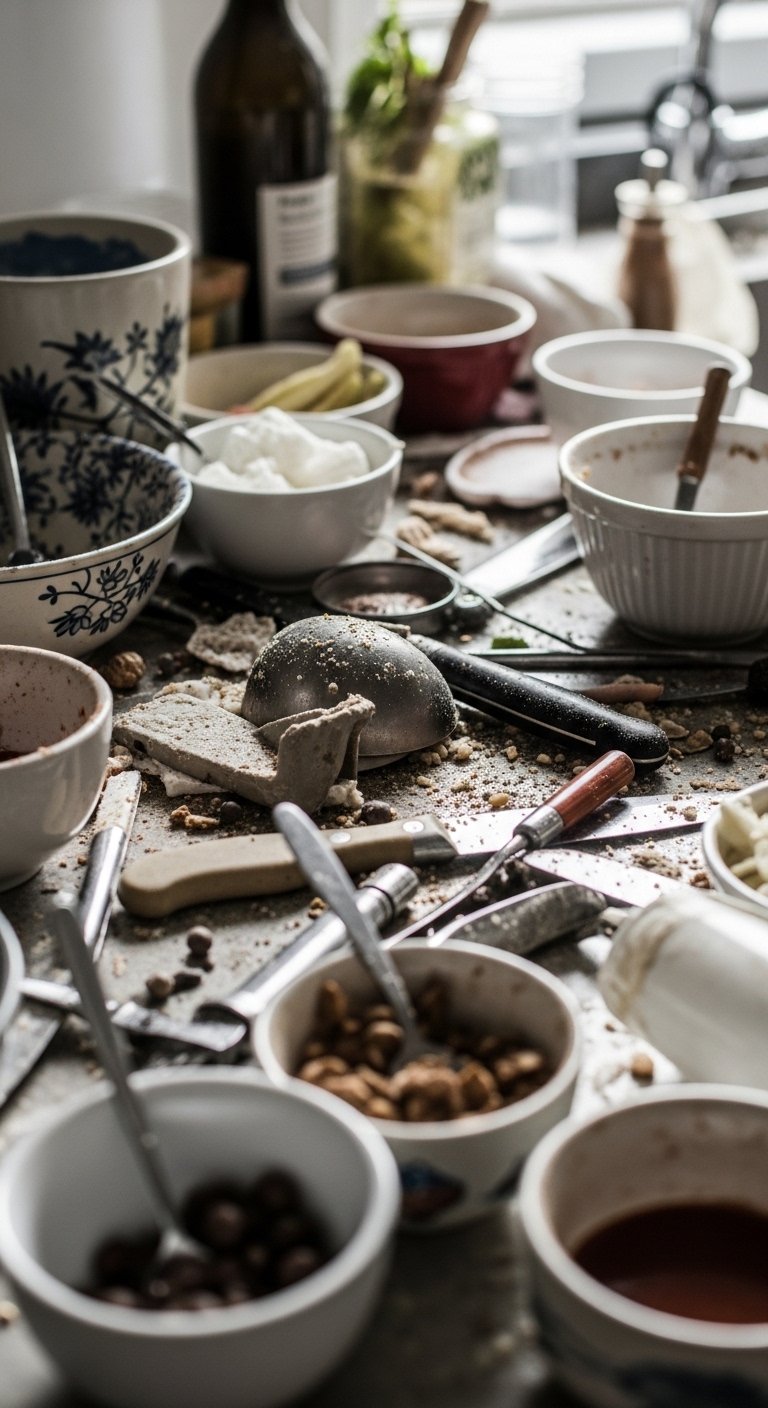
A lot of people style by adding items until it "feels right." The issue is not how many pieces you have. It is how they relate to each other and the workspace. If you lack a clear anchor item, everything competes for attention and the eye gets tired. Another common problem is grouping too many similar textures. A row of glass jars looks like a single object from afar, but up close it reads as repetitive.
Fixable points include reducing active items to three per cluster and making sure at least one item in each grouping is taller than the others. I used to forget to check how things felt when I picked them up. Weight and edge temperature matter. A heavy ceramic jar makes the counter feel grounded. A thin plastic bottle feels flimsy and looks cheap.
Making This Work in a Small Kitchen
Small counters need proportion. Use one vertical anchor no taller than 16 inches, and keep the central 18 to 24 inches completely clear for prep. If you only have 30 inches of continuous counter, choose a single display area and keep the rest strictly functional. Consider wall-mounted rails for utensils to free surface space.
Practical swaps: choose a slim, vertical soap dispenser instead of a wide tray near the sink. Pick storage jars that stack or tuck under a shelf. My roommate's tiny kitchen improved when we moved the plant to a floating shelf. Side note, if you have cats, skip an open bottom shelf unless you enjoy plant topple.
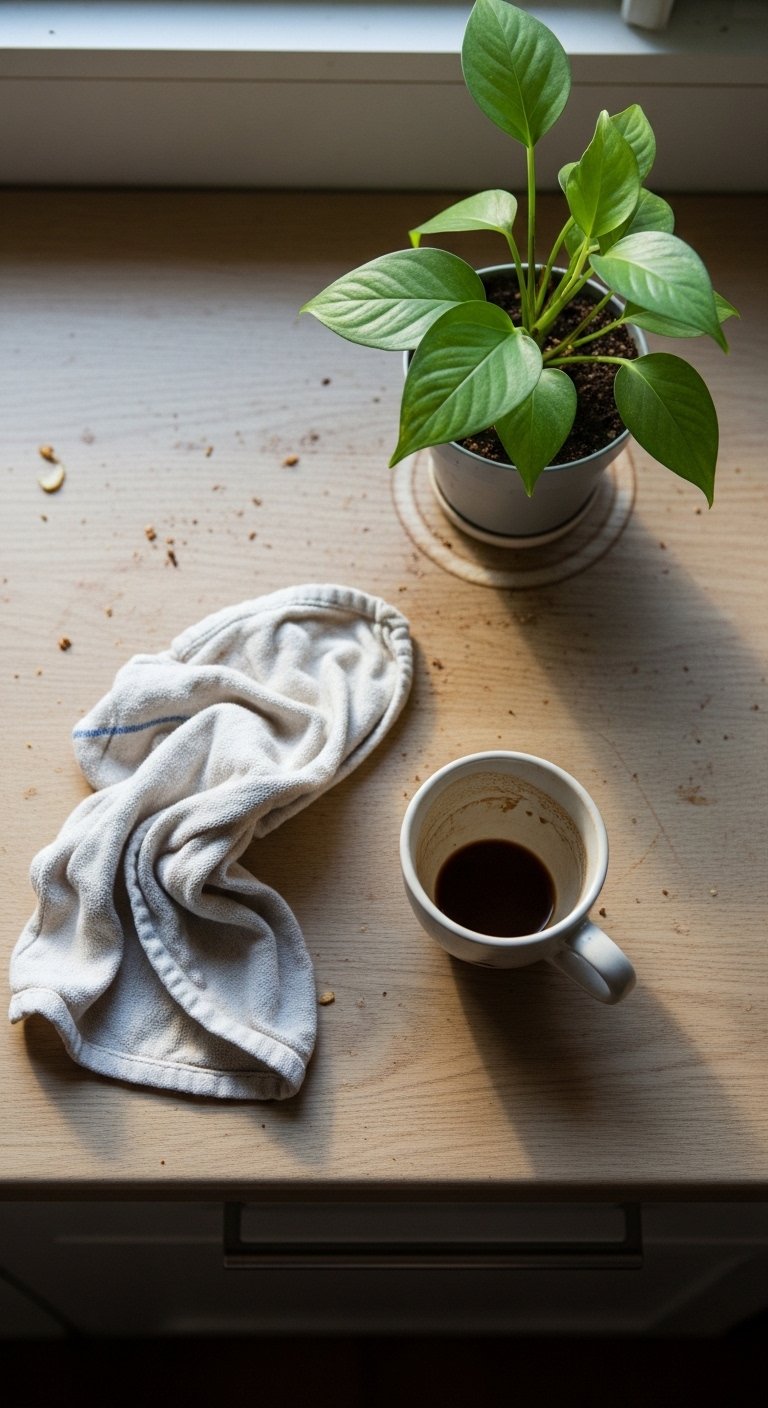
What It Actually Looks Like After a Week with Kids and a Dog

You will have crumbs. A towel will be used and not folded perfectly. That is normal. In family kitchens the best approach is to designate one low-maintenance grouping for daily chaos. Keep frequently used items like a coffee canister and a small tray for mail close to the edge where kids can reach. Put fragile or tall anchors farther from traffic.
Do a five-minute reset each evening. I trained my partner to push everything on the tray back to the corner and wipe the prep lane. After a week the counters looked tidy most mornings and the arrangement survived habit, which is the real test.
Start with One Counter Corner
Pick one corner and spend 20 minutes stripping it, choosing an anchor, and grouping three items on a tray. Use the matte ceramic vase or the narrow metal tray from the shopping list if you want an easy starting point.
Live with that corner for a week. Make one small change after three days based on what you actually use. That slow, observational approach is how the whole kitchen stops feeling overwhelming and starts feeling like yours.

