

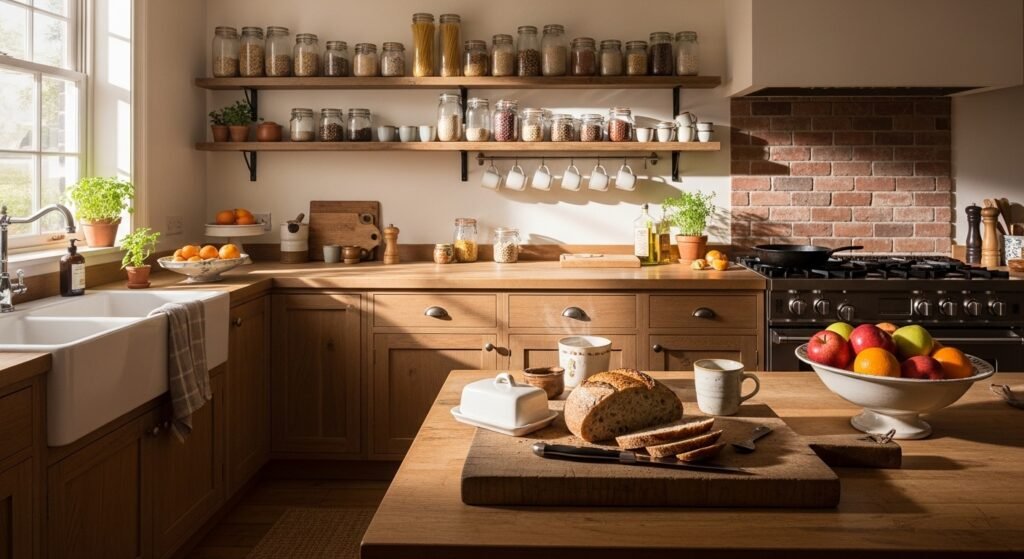
I had a line of empty jars leaning against the backsplash for weeks. They made the counter feel cluttered, not curated. I kept moving them and nothing improved.
I finally treated the jars like furniture. I grouped, labeled, and added a few living bits. The kitchen felt calmer in an afternoon. It was simple to do and I kept the results practical.
I've noticed glass jars are everywhere I look this year, used for pantry storage and simple decor. I will show how I edit, place, and balance them so the kitchen looks intentional. The end result reads lived-in and clean, not busy.
What You'll Need
- Wide-mouth glass jar set, 4-piece ($25-40). Use mixed sizes so you can layer heights
- Small chalkboard labels, 48-pack ($6-12). I write contents and date with a white chalk marker
- Round wooden tray, 12-inch ($18-35). Anchors a countertop vignette
- Set of clear spice jars, 12-piece ($20-30). Narrow necks are great for spices and dried citrus
- Terracotta plant pot, 4-inch ($8-15). Adds warmth and life to a shelf
- Bamboo lazy susan, 10-inch ($25-45). Keeps frequently used jars accessible
- Woven storage basket, medium ($20-40). Hides extra lids or tea towels
Step 1: Clear and Group by Purpose
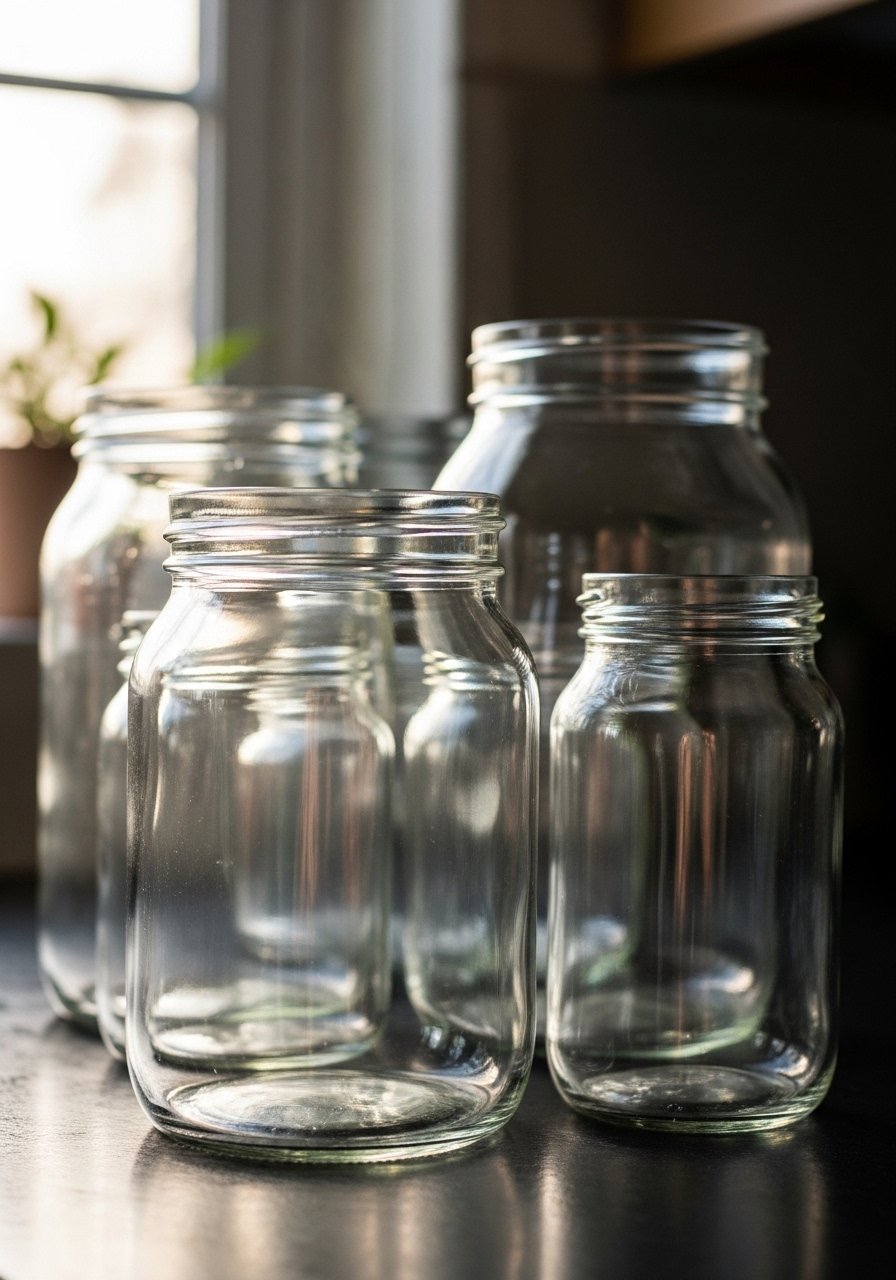
I start by pulling every jar off the shelf and emptying them. Seeing the blank surface helps me decide what to keep. I sort jars into cooking, baking, and decorative groups. The visual change is immediate. Counters feel less cluttered when like items are together. A common miss is mixing uses in one group. Keep edible jars separate from purely decorative ones. Avoid the urge to leave single jars scattered. One lonely jar looks accidental. I keep a set of four sizes so each group reads cohesive.
Step 2: Fill with Intent, Not Everything
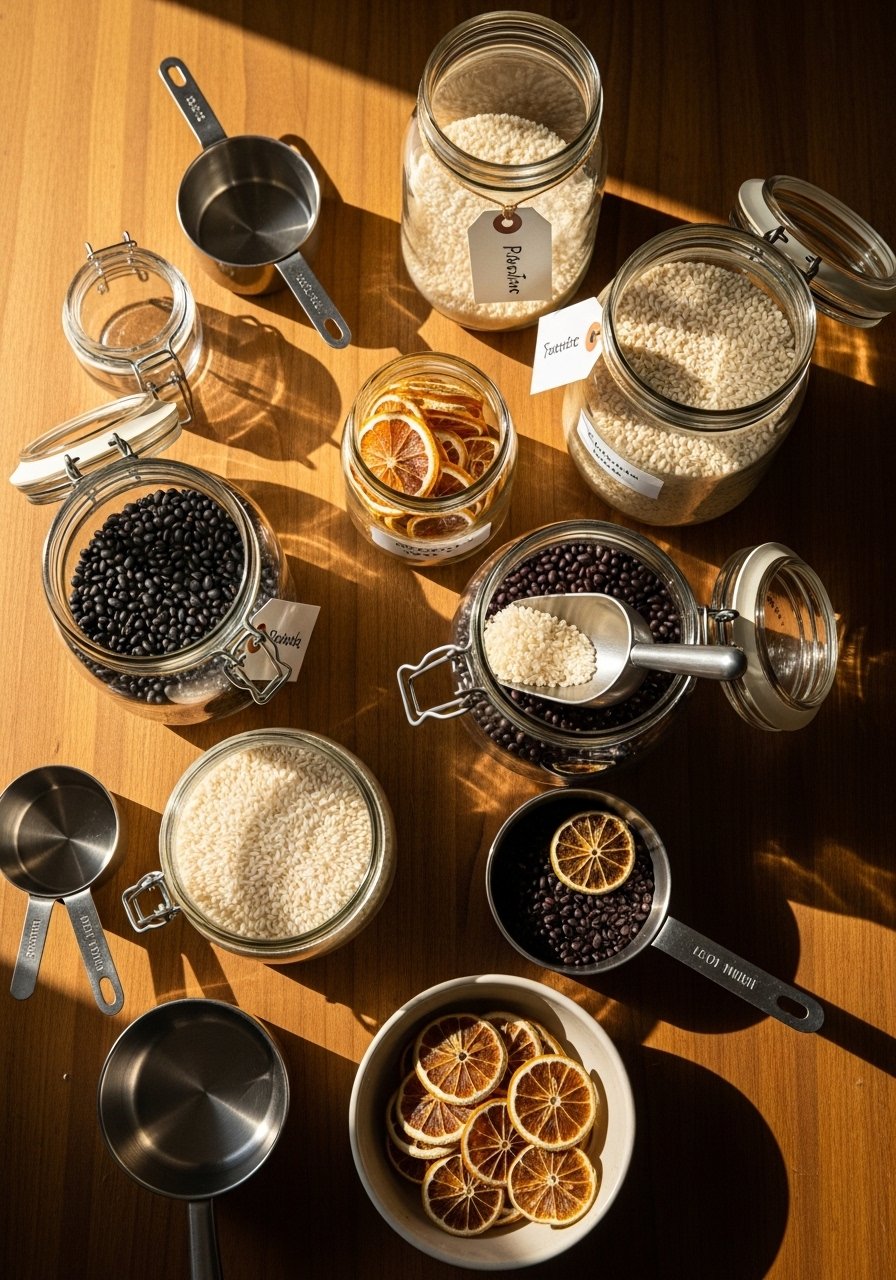
I decide what each jar will hold before filling it. Function first. Then style. I use pantry staples that show texture, such as white rice, brown sugar, lentils, and dried citrus slices. The visual change is texture and tone instead of a jumble of labels. One insight is that color variation matters more than matching lids. A mix of clear glass and a single metal lid reads purposeful. A mistake is filling every jar the same way, which makes the display flat. Leave 1/4 inch of headspace so contents look intentional. I label each jar with a chalk label for clarity.
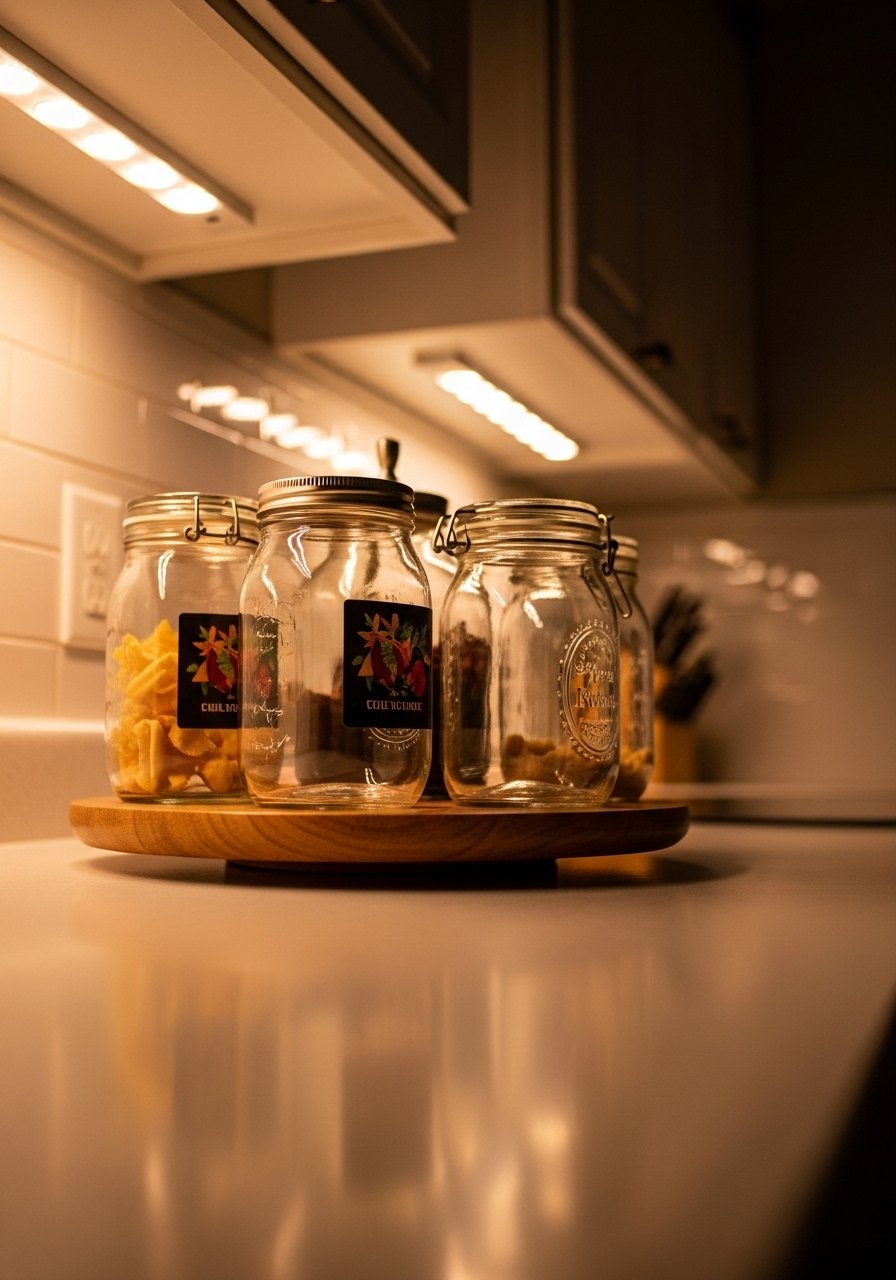
Step 3: Build Height and Rhythm
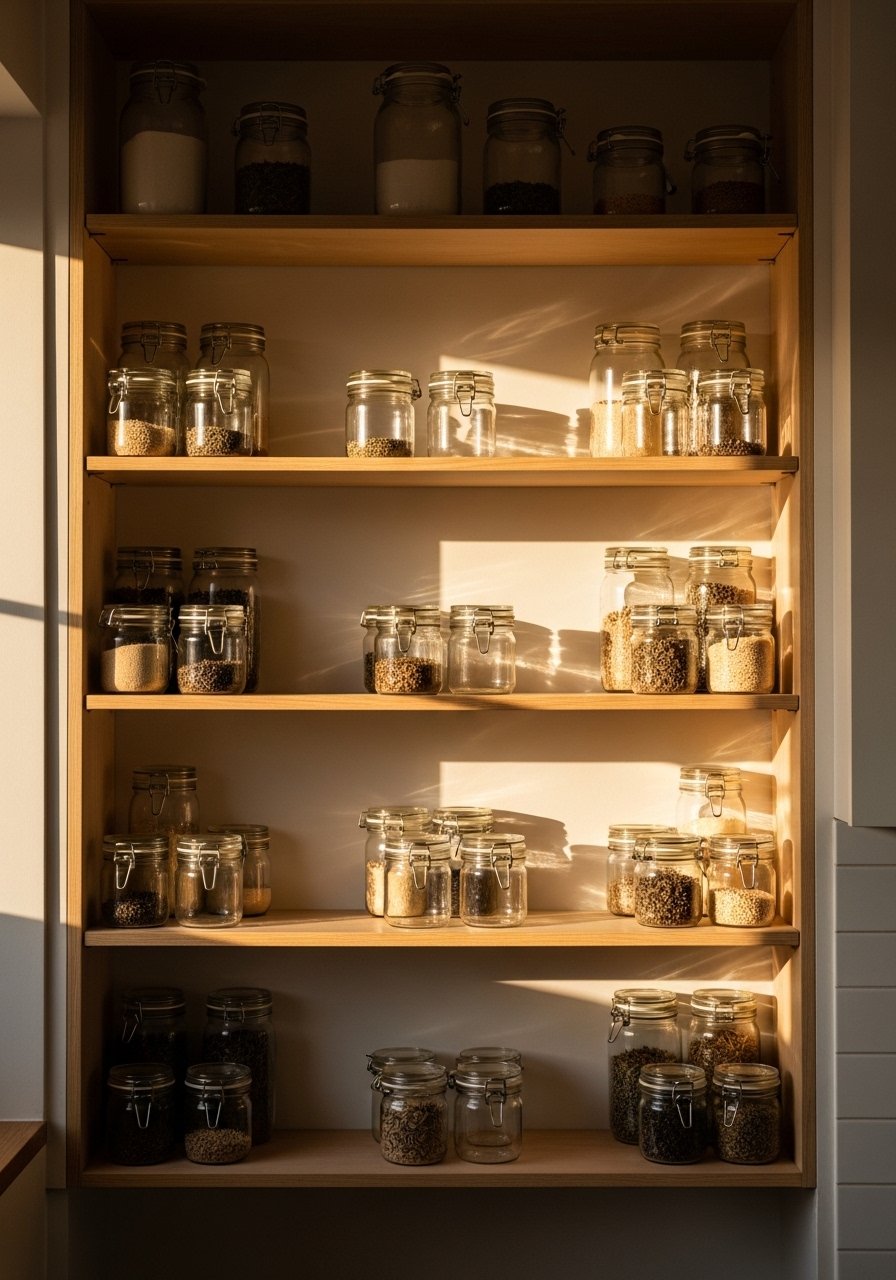
I arrange jars in groups of three or five, not pairs. Odd numbers read natural. I stagger heights so the tallest jar sits slightly behind a medium one, then a low jar in front. The visual change is rhythm. Shelves stop feeling static and start to lead the eye. People often align everything in a row. Avoid that. Leave about 2-3 inches between groups so each vignette breathes. On narrow shelves I swap a jar for a small plant to break the line. I sometimes anchor a group on a small tray for extra cohesion.
Step 4: Layer in Warmth and Greenery
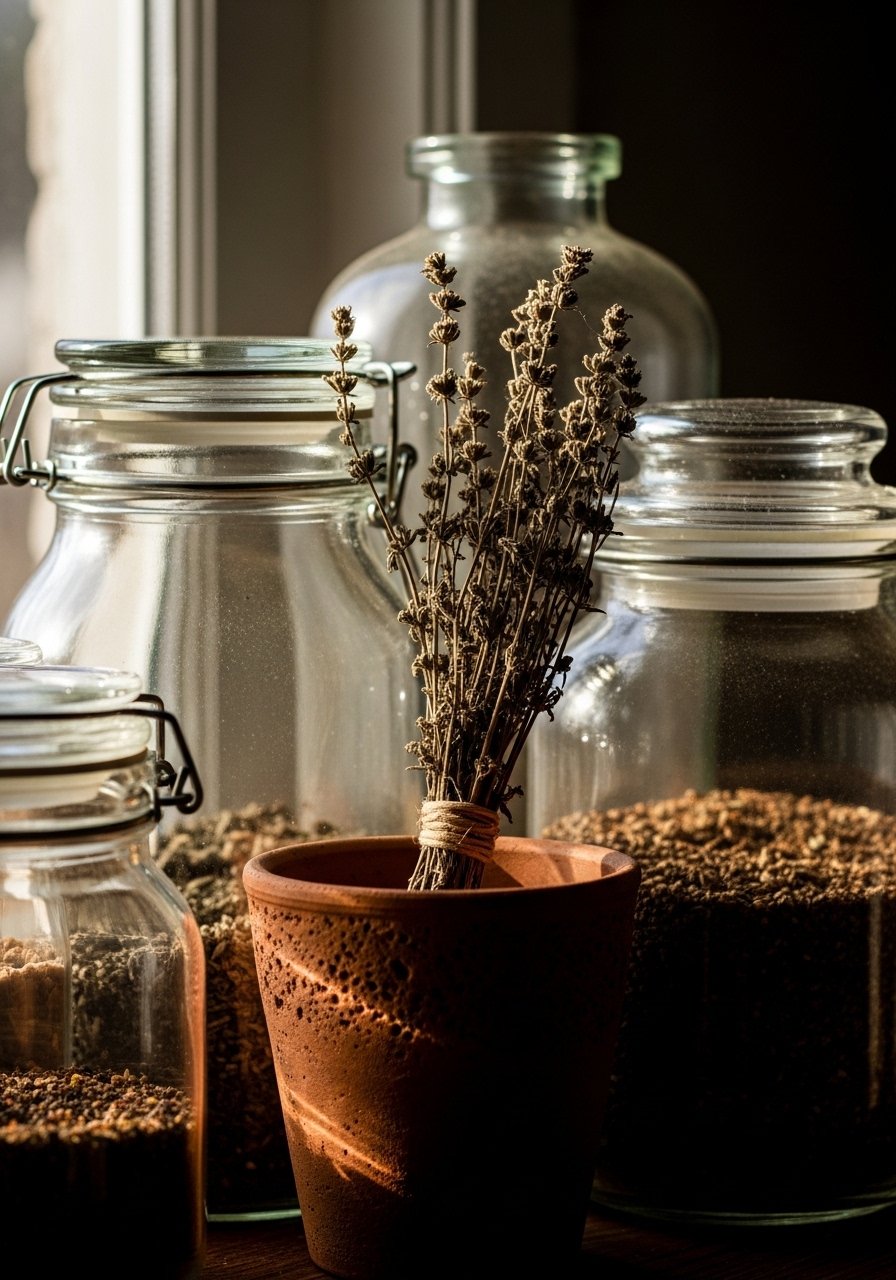
I add a living element to every third grouping. A small terracotta pot or a bundle of dried rosemary softens the glass. The change is immediate. The display stops feeling sterile and starts to feel lived-in. One insight many miss is scale. Tiny plants work better than large ones on shallow shelves. A mistake is using fake greenery that is too glossy. It reads artificial. I prefer small potted herbs on the counter where I can use them. The terracotta pot gives a warm tone against clear glass and wood.
Step 5: Rotate Seasonally and Keep It Tidy
I rotate jar contents as seasons change. Summer gets preserved lemons and charcoal-colored salts. Winter gets whole spices and dried oranges. The visual change keeps the kitchen feeling fresh. One insight is that small swaps work better than full overhauls. Swap one jar every two weeks until the set feels right. A mistake is leaving fingerprints and dusty lids. I wipe glass and rims monthly. A lazy susan helps keep daily-use jars accessible and prevents crowding. Labels make rotation painless.
Why Your Counter Still Feels Busy
I've seen countertops that still look crowded after jars are added. Often the issue is rhythm and negative space. I look for these fixes.
- Group jars into two or three clusters, not five or six. Less is more
- Anchor one cluster on a tray, the other on a small plant. That creates balance
- Keep frequently used jars on a lazy susan. It reduces the need to pull out half the counter
- Store extra lids or spare jars in a woven basket under the counter to reduce visual clutter
I learned to edit like I edit closets. The jars that stay earn their spot.
Making This Work in a Small Kitchen
I used to think open jars only worked in large kitchens. Then I tried a pared-down approach. Narrow jars fit better on a shallow shelf. Choose two to four jars and one plant. Keep the tallest jar less than 10 inches for low upper cabinets. Use the space under wall cupboards for a rail with hanging spice jars. If counter space is tight, put a small tray on top of the fridge. I often swap full jars for labeled spice tins when space demands it. Small kitchens benefit from a single focal cluster rather than scattered pieces.
Seasonal Swaps That Keep Jars Feeling Fresh
My feed is full of seasonal jar ideas and I like simple swaps. Pick three swap levels.
- Quick: Replace one jar content and change one label. Dried citrus in winter, citrus peel in summer
- Moderate: Rotate three jars and move a plant to a different shelf. Swap a wood tray for a woven one
- Full: Edit contents, change lid finishes, and add a new small vase or bundle of dried flowers
I keep a list on my phone of seasonal contents that photograph well and actually get used. Rotation keeps the jars from becoming background noise.
Start with One Shelf
Start small. I usually pick one shelf or one section of counter to style first. Commit to one jar set and one plant. Edit from there.
I felt less overwhelmed when I limited myself to three jars and one tray. If something does not feel right, I swap one jar and leave the rest. The first shelf is the hardest. Once it works, the rest of the kitchen follows.

