

My counters used to be a graveyard of gadgets and mail. Every flat surface felt useful until it just looked messy. I kept moving things around and nothing stuck.
I learned to pick one small change that shifts the whole room. The aim is not perfection. The aim is easy, repeatable balance that feels intentional.
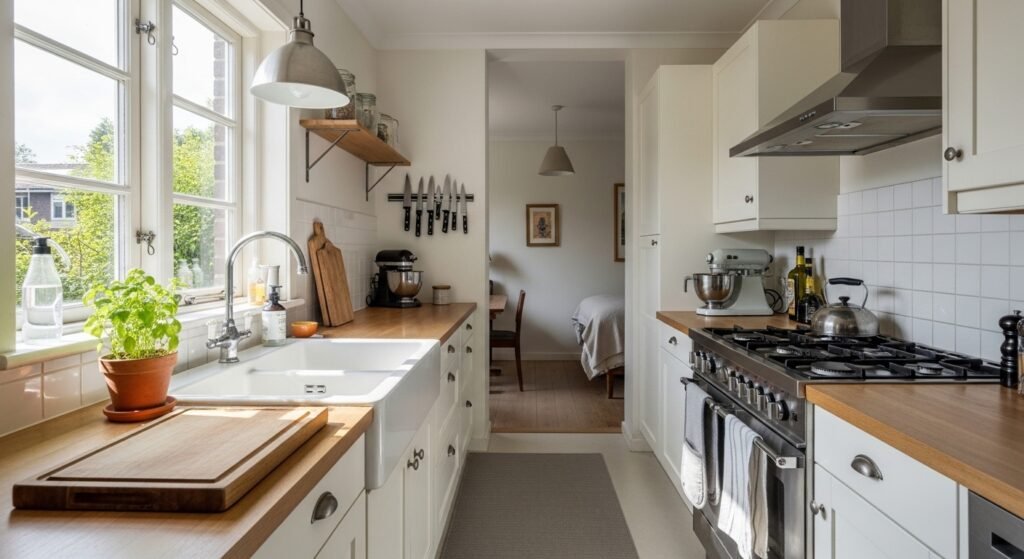
Everywhere I look this year, kitchens that feel calm have one dominant focal choice. My method pares surfaces back, adds texture, and keeps prep zones clear, so the room works as well as it looks.
What You'll Need
- Set of linen dish towels ($15 to 30). Thin texture dries quickly and makes counters look purposeful
- Jute runner, 2×8 feet ($90 to 140). Use in a galley or in front of the sink to ground the layout
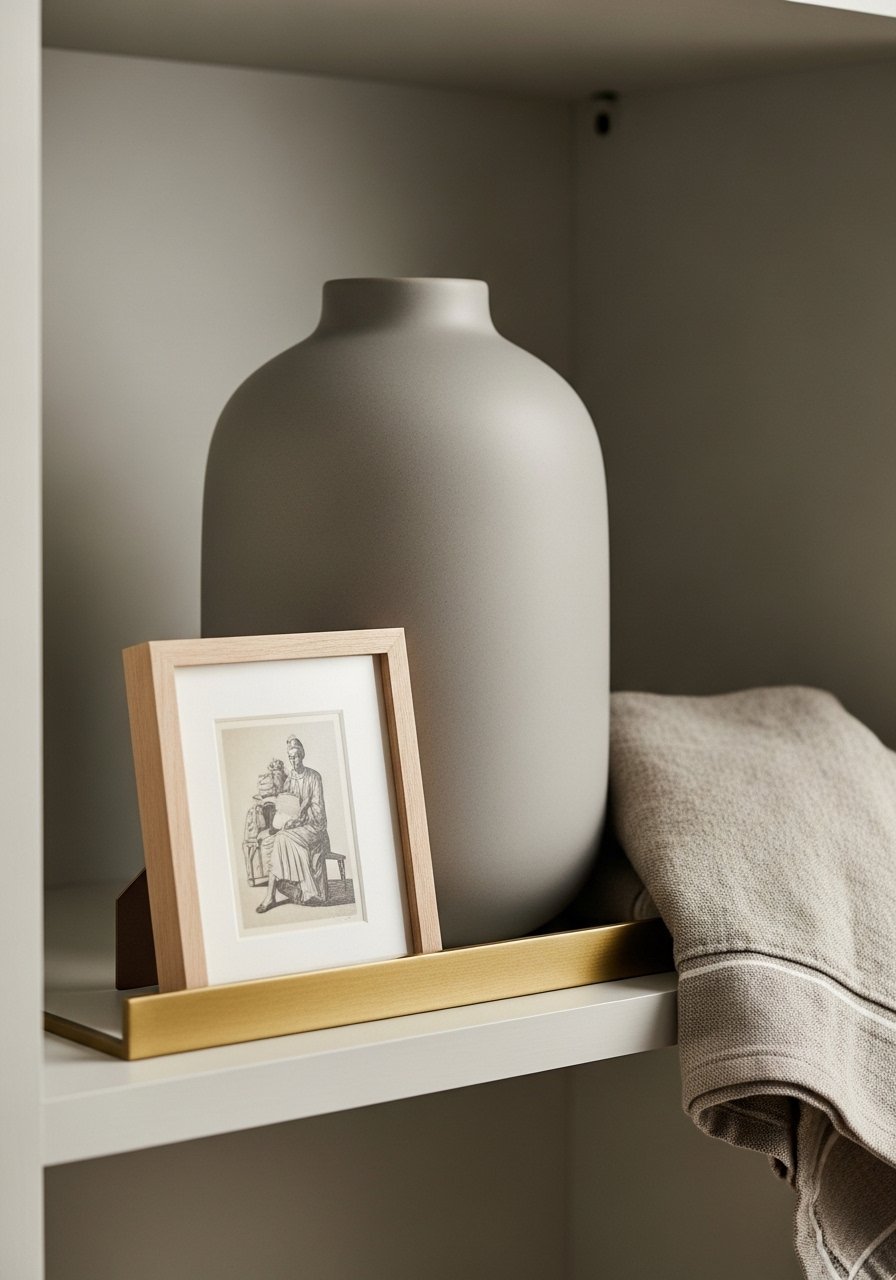
- Set of 3 ceramic vases, matte white ($25 to 40). Great for herb clippings or one-stem flowers
- Brass picture ledges, 24-inch ($18 to 30). I use one for a rotating small print and a cookbook
- Under-cabinet LED puck lights kit ($25 to 60). Low-commitment lighting that warms the counters
- Small ceramic herb planter, 4-inch ($12 to 25). Fresh herbs are the easiest living touch
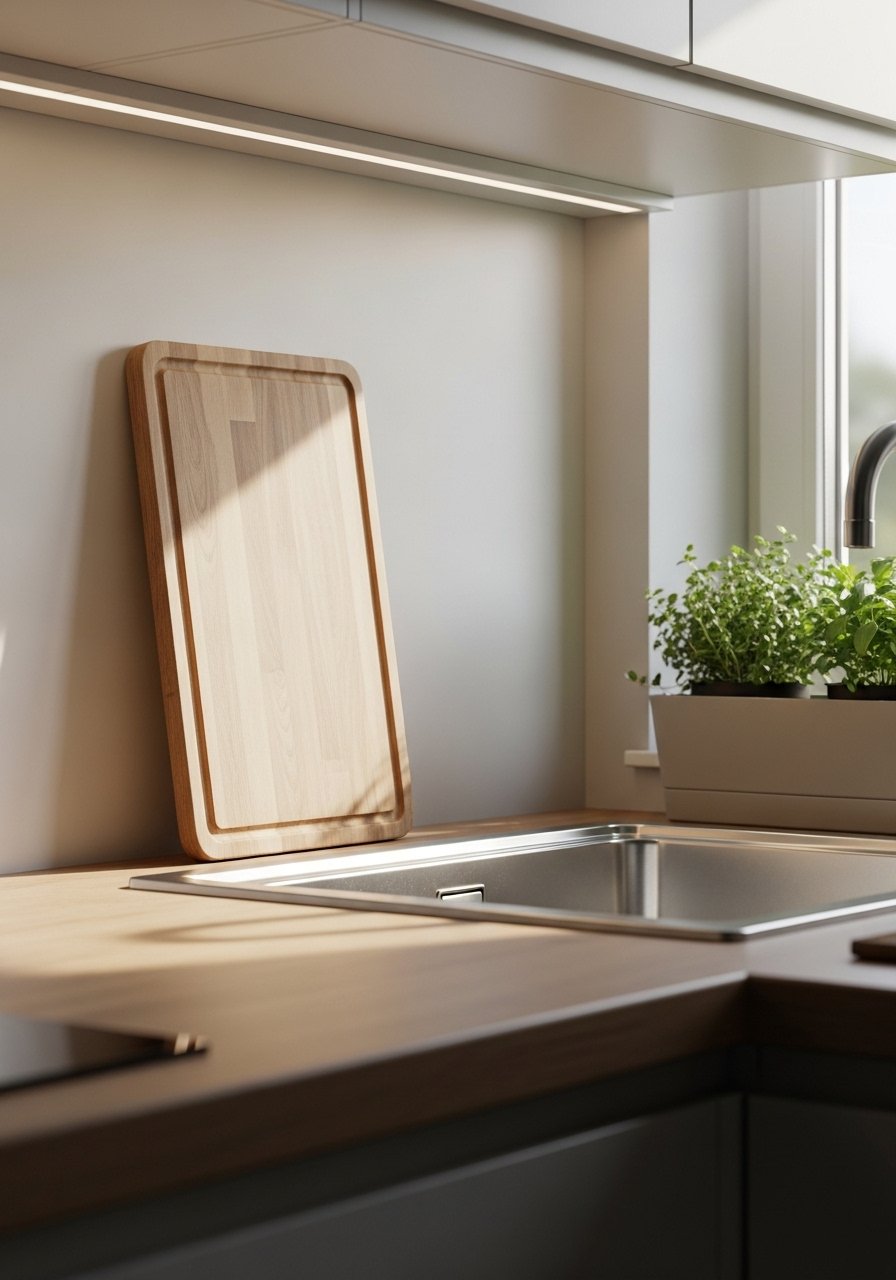
- Edge-grain wooden cutting board, large ($25 to 60). Lean it against the backsplash for height and warmth
- Set of ceramic canisters, stoneware ($30 to 70). Keep essentials in one place, not scattered
Step 1: Clear, Then Define One Prep Zone
I start by clearing everything off. I put back only what I use daily. That culling alone cuts the visual noise. I aim to leave 2 to 3 inches of free counter at each side of the main prep area. That tiny margin makes the workspace read intentional.
What changes is immediate. Counters look resting instead of crowded. A mistake I made was keeping small appliances lined up evenly. That creates visual monotony. I now tuck rarely used appliances into cabinets and keep only one or two items on show, like a cutting board and a canister. Under-cabinet LED pucks add a tidy glow and make the pared-back look feel warm.
Step 2: Pick One Anchor and Commit
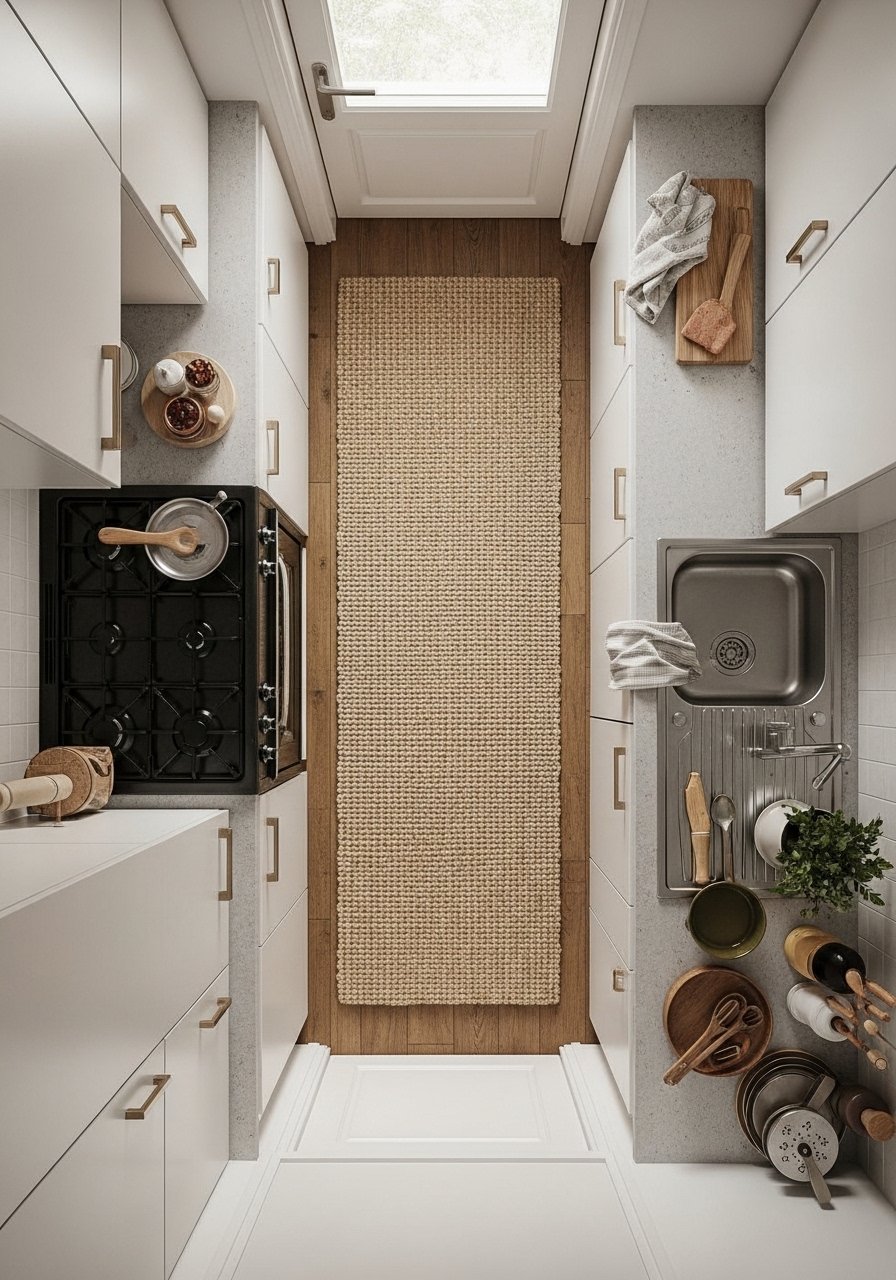
Most people try to anchor with many small things. I pick one bigger element instead. In a narrow kitchen, a runner about 24 to 30 inches wide works best. In an open-plan layout, I use a 2×8 runner to connect zones. The anchor gives the eye a place to rest.
Visually the room gains direction. The common mistake is choosing a busy pattern that competes with everything else. I prefer natural texture like jute. It pairs with wood, white cabinets, and matte ceramics. Committing to one anchor prevents endless tweaking later.
Step 3: Create Three Small Vignettes
This is where the kitchen starts to feel styled instead of cluttered. I group items in threes. One tall, one medium, one low. Leave 2 to 3 inches between grouped pieces. Keep the tallest item at roughly twice the height of the lowest for pleasing scale.
When it's wrong, pieces look like leftovers. When it's right, the group reads as a single visual thought. People often cram too many same-sized things together. Vary materials and heights. I use a ceramic vase, a small print on a brass ledge, and a folded linen towel for contrast. That variety keeps the eye moving.
Step 4: Balance Open Shelves With Closed Storage
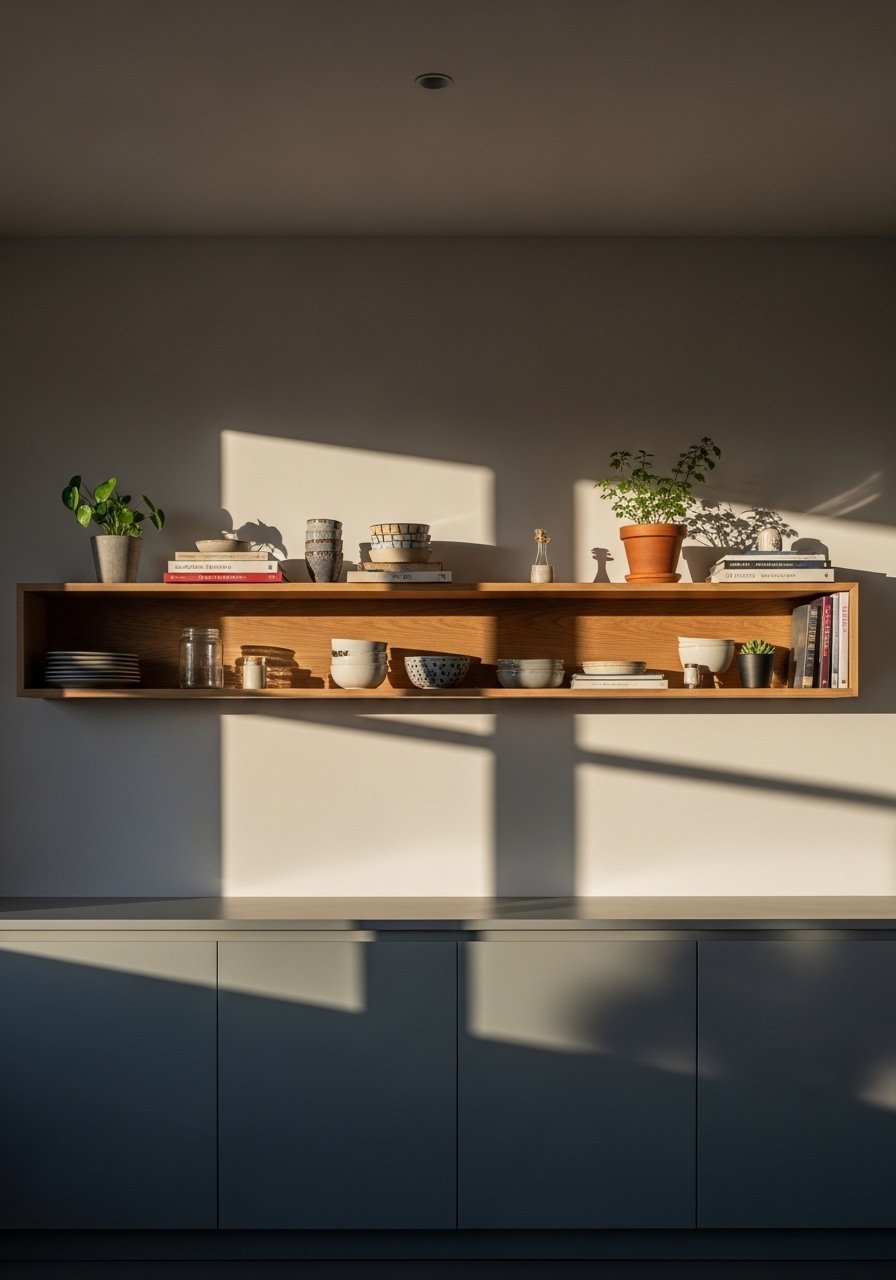
I stopped styling every shelf and started limiting open space to one or two rows. Open shelves are for items I reach for or love visually. Closed cabinets hold the rest. On a 12-inch deep shelf, I keep larger items at the back and leave about an inch of negative space at the front edge. That prevents a crowded look.
The visual change is calm order. Shelves read intentional and not like a shop display. A small mistake I used to make was matching every plate and bowl. A little mix of finishes, like matte stoneware and natural wood, makes the shelves feel curated. I also keep one framed print on a brass ledge to break horizontal lines.
Step 5: Add Living Touches and a Simple Rotation Plan
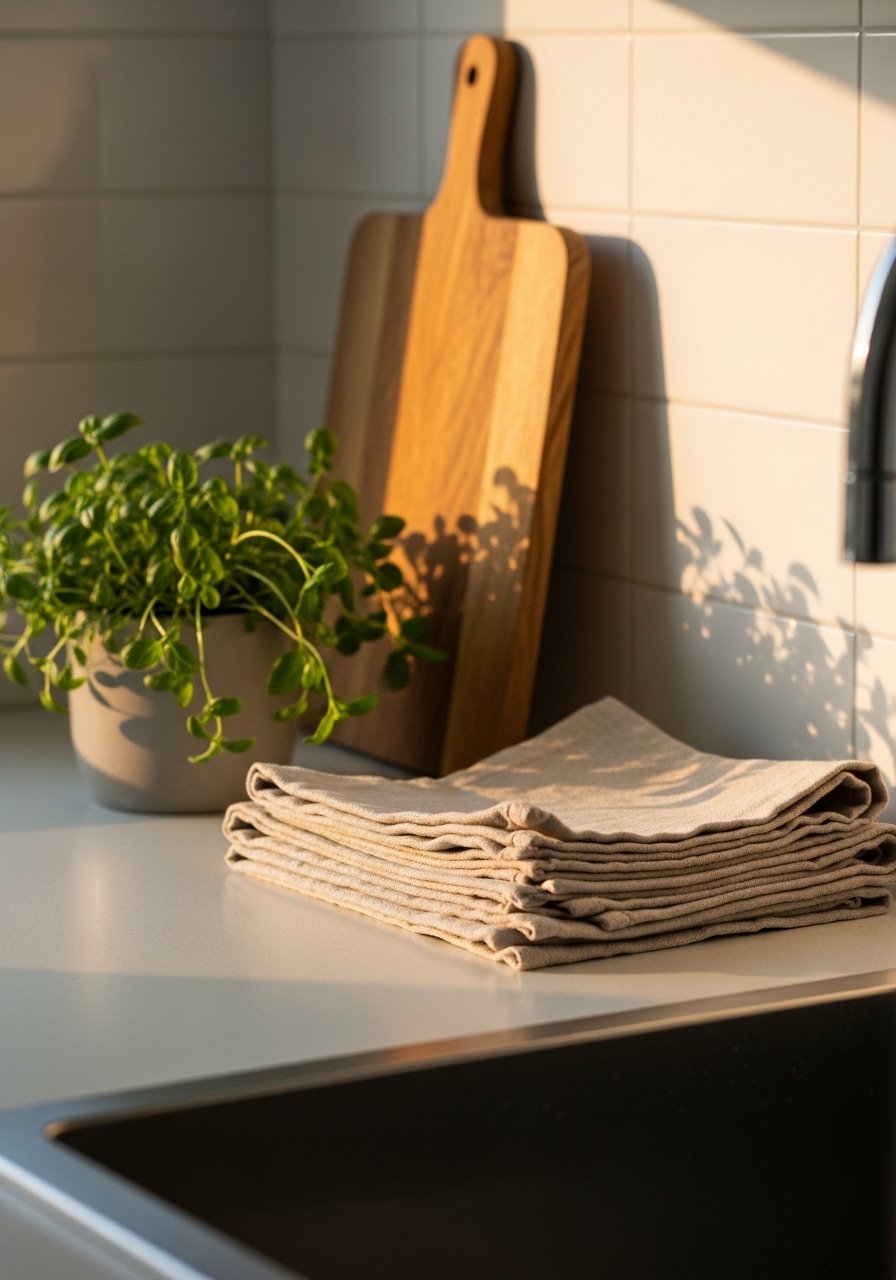
I finish by adding a living element and one soft textile. A 4-inch herb planter by the sink and a set of linen dish towels make the kitchen feel lived-in and useful. I leave about half the counter space empty. That breathing room prevents the room from looking staged.
What I miss sometimes is rotating those touches. I swap herbs and textiles every few weeks. A mistake is over-accessorizing seasonally. Small changes keep the look fresh without a full redo. I store seasonal pieces in one canister or on the lowest shelf so rotation is easy.
Why Your Kitchen Still Feels Cluttered After Styling
I've noticed most clutter comes from not editing habits. A few quick checks fix that. Remove duplicates. Keep flat surfaces reserved for active tasks. Build habit cues, like a tray for mail placed in a drawer instead of on the counter.
A simple rule I use: one landing spot per function. One place to prep. One place to drop keys. One place to display. If anything drifts from its zone, I move it back. Little rituals prevent clutter faster than perfect styling.
Making This Work in a Small Galley Kitchen
I keep seeing small kitchens styled like showrooms, which is impractical. My approach is functional styling. Keep the main walkway clear by choosing a runner no wider than the cabinet depth plus 6 inches on each side. Keep appliances stashed.
Quick checklist:
- Keep counters 50% clear during food prep
- Use vertical space for utensils and spice rails
- Pick one open shelf instead of several
- Rotate a single plant to keep air and light balanced
These small adjustments make a galley read larger and more intentional.
Mixing Trendy Materials Without Feeling Forced
A friend asked me about mixing natural fibers and metallics last week. I told her to start with texture, not trend. Use natural jute and warm wood as the base. Add one metallic accent like a brass ledge or a small utensil holder. Keep color muted.
An example: stoneware canisters on the counter, a wooden cutting board leaned behind them, and a brass ledge above with a tiny framed print. The mix reads current but grounded. I find this approach works across styles from organic modern to quiet luxury because it leans on material contrast rather than on a single flashy piece.
Start With One Counter
Pick the counter you use the most and make it a small, repeatable habit. I style that surface with a cutting board, a herb planter, and a linen towel. That trio keeps the area useful and visually calm.
Start there for a week. Rotate one item after the first week. The momentum builds quickly. A single canister or a simple runner is all it takes to make the whole kitchen feel settled.

